Nissan 240SX Forums banner
21 - 40 of 772 Posts
Discussion starter · #23 ·
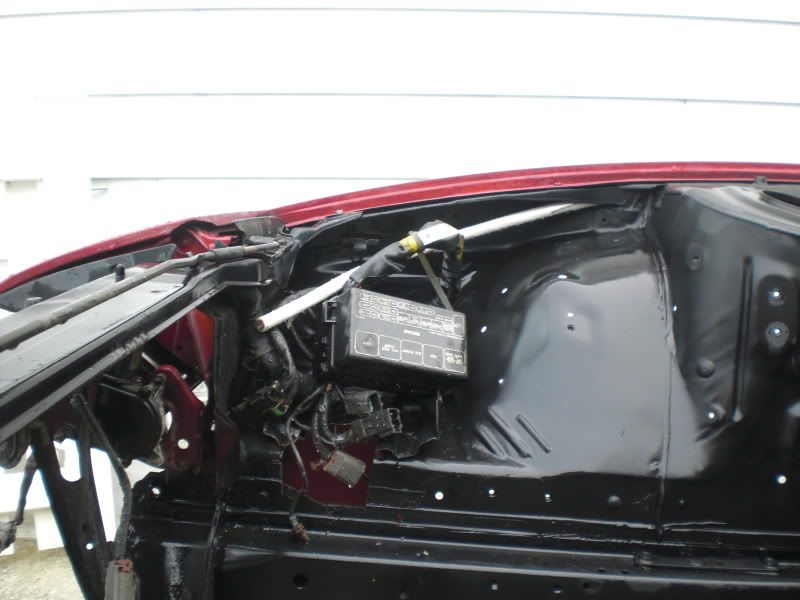
Yeah sorry guys. After returning home from Europe I was left completely broke with barely enough money to live for the past few months. I've just been working and saving up for my move in deadline at the begining of November. I hope to have the car running before I move out. I went out the other day and did a few minor things when I had the time. I relocated the wiring from tire death in both fenderwells. Sorry for the crappy blackberry pics, but my camera was dead.

Image


I also ran the new wire for the battery relocation.

Image


Image


After getting the wiring out of harms way I put the fenders back on. While I had the brake master cylinder, slave master cylinder, and brake booster I decided to clean them up a bit too. The brake booster had a little bit of rust from fluid over flow. I sanded all the parts down and primered them with some high heat auto primer. Afterwards I hit them with a flat black high heat engine enamel. They turned out looking pretty nicely after being completed. I also put all the engine bay trim and windshield wiper assembly back in.

Image


Image


Image


I also put the headlight assemblies back onto the chasis. I love perfect fitment!

Image


The passenger side fender fits perfectly, but because of the wire reloaction the driver's side is a little offset. I decided to make new mounting bolts for the bottom two points. The pic is from before I tightened the bottom ones down to reposition the fender.

Image
 
Discussion starter · #27 ·
Well I finally got some time to go out and work on the car recently. With work, community service, and weather I have hardly been able to find time to get outside. Not having a garage to do this in really effected me because of all the rain in MD we have been having. Anyway, After crashing my first 240 without a crash bar I opted to modify the stock one and use it with my intercooler. The re enforced steel was hell trying to cut through, but after going through 3 blades my saw zaw prevailed.

Image


Image


Image


I also finally decided on a color for my front crossmember. I know there are mad haters out there, but whatever its bright pink. I used aircraft remover to strip it down to bare metal. Next I primered it with some high heat auto primer and laid a good, thick 3 coats on her. It came out pretty nicely.

Image


Image


A buddy of mine got a great deal on steering rack rebuilds and I couldn't pass it up. The one that came in the car looked like hell and the one on my current donor car was starting to go anyway so why not. After getting it rebuild I decided to through some paint on it. I also have a Nismo power brace that I decided to paint with the same color. I found a royal blue that complimented the pink nicely.

Image


Image


Image


Anyway, I'm very happy with the way it all turned out.
 
Discussion starter · #28 ·
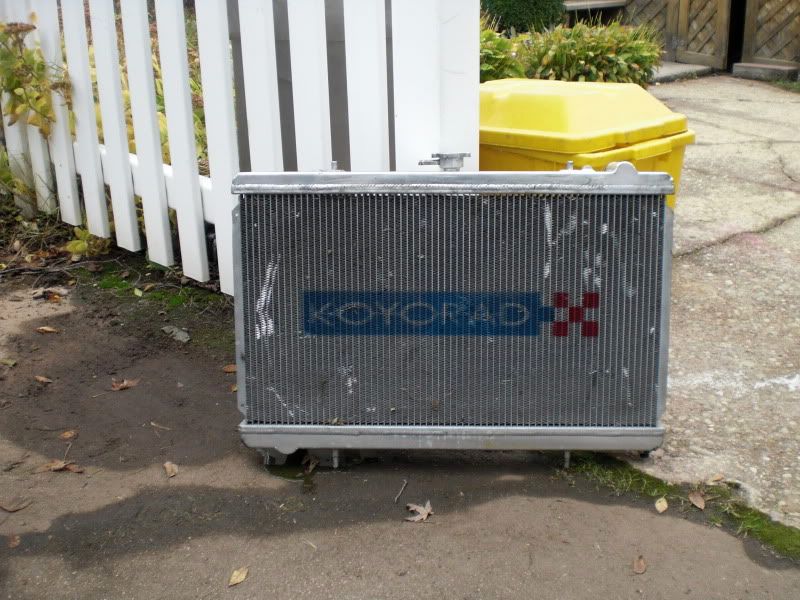
I started taking parts from my donor car and swapping them over as well. I started with intercooler piping, radiator and various connections holding the motor in. Here she is... my daily up until now aka the donor car.

Image


Image


Image


Image


The radiator was in suprisingly good condition considering the accident it went through.

Image


Image


Check out the rust build up over having the car for a year. Wow I'm glad I swapped it over before it got any worse.

Image


I also put the clean carpet into the new car and swapped the dash over aswell. I had an ucracked black dash in my DD so that would have to do. Here is the donor car:

Image


The dash out and cleaned

Image


And into the new chasis

Image


Image


I still have alot of interior putting together to do, but this is a start!
 
Discussion starter · #29 ·
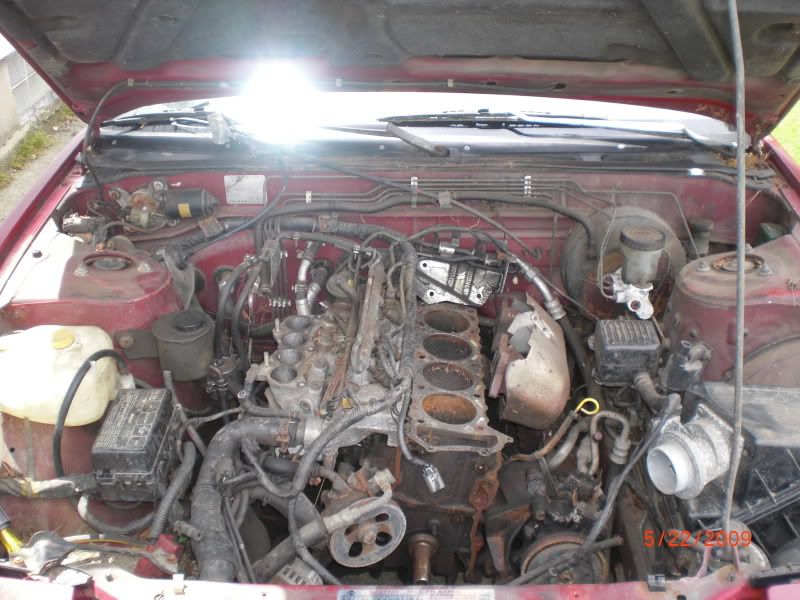
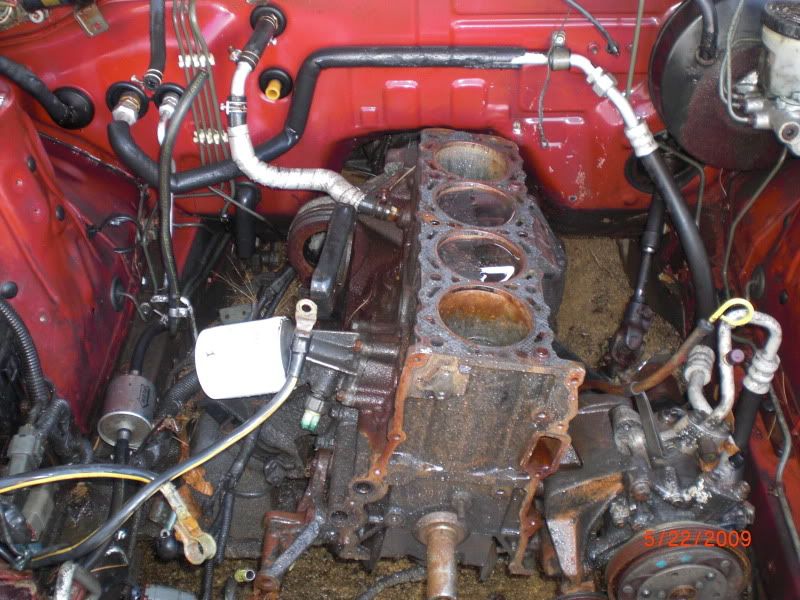
I got the motor out pretty easily after everything was disassembled. I remembered to unhook everything except the ground strap. After realizing why it wasn't budging I dissconnected the ground wire and out she came.

Image


Image


Image


After getting it out successfully I wraped it in a blue tarp and called it a night. More work in the morning.

Image


I woke up early the next morning and started preping the motor to be installed into the new chasis. Keep in mind this is not the motor I plan on using in the end for the car. I have a KA24DE that I will be rebuilding and swapping in before next spring, but the gas mileage of the SR is what I need for the time being. I started to take apart the ehxaust/turbo and swap over for new parts I had ordered.

Image


The turbo was in excellent condition apon inspection. No shaft play at all and the piping was free of too much oil. Btw, I didn't let it sit like this for long because I know the oil lines were still connected... I just needed to take the pictures.

Image


Image
 
Discussion starter · #31 ·
Image


Went to autozone/various auto places to collect some finishing touches to get her running this weekend hopefully. I ended up buying a 300zx o2 sensor to replace my stock one. Does anyone know the correct wiring?? My stock one has 3 wires while the 300zx one has four. Other than that I opted on Redline over Royal Purple for transmission fluid.
 
Discussion starter · #34 ·
I just called four different autozones and finally talked to someone that understood what was going on. The gentleman that sold me the first one actually gave me the wrong part. I had to take it up with management just to find the correct o2 sensor I needed. I'm going to swap it out later this weekend. UGHH I hate autozone employees.

Pete, I work all day until Wednesday so I don't think she will see too much love this weekend.
 
Discussion starter · #37 ·
Got a few updates.

I went to autozone and finally spoke with a certified individual that gave me the CORRECT 3 wire o2 sensor. It has the same part number as the four wire, just different in the box. I also purchased an oil catch can set up so I can do away with the stock PCV setup. It was been raining for 4 days straight so I couldn't work on her :(

Image
 
Discussion starter · #39 ·
I found the can on craigslist or $40 brand new. I had to buy new lines and hose clamps for about $15 so I would say ~$55 all together. Its a Top Fuel brand. The only draw back is it has no drain nipple, but for the price I couldn't beat it.

You can see the L shaped connector I got as well. This connects the crank case vent to the T on the side of the Valve cover. I bought it from 4x4le to complete my setup.
 
Discussion starter · #40 ·
My job requires me to work all weekend so my only days off are Wed-Friday. With that being said I'm not sure why it seems to rain in MD every Wed-Fri for the past month. I haven't had any chances to do any work lately. I finished my oil catch can setup the other day and took some pics on my phone. I bought the L-shaped connector from the crank case to T fitting on the valve cover from 4x4le. I also just received my BOV recirculation kit in the mail so engine wise she is pretty much good to go for now. I started it up for a little the other night and let it run, but in the morning my clutch fluid was gone. I'll have to go out and assess the problem later.

Image


I also swapped the fuel pump from my old car over to the new one. I had a walbro 255lph pump in the black car for about 2k miles so it is still pretty new.

Image


The existing fuel pump from the red car was so dryrotted and rusted I bet it woudn't work if I tried to use it.

Image


On a none rusted note, my buddy with the is300 totaled his car the other night and offered me a great deal on some parts. I picked up his turbo and tial bov from him for almost nothing. The turbo is a t4/to4e 60 trim. The t4 turbine housing is divided, but still huge. I have a KA that I will be building for next spring to throw it onto. This thing is huge!

Image


Image


Image


This turbo WILL NOT be going on the SR. I'm either going to swap the turbine housing for a t3 flange or obtain the t4 turbine and compinsate with a log manifold to spool it quicker. Any advice would be appriciated.

Rip Lily (The donor car of the turbo and BOV)

Image
 
21 - 40 of 772 Posts