I came across a great deal on this clean title 89 hatchback. Maryland Emissions have been annoying the hell outta me so I'm just going to swap my sr20 over and register the new piggy as HISTORIC. Cheaper insurance and no inspection is needed. I posted my fucked up Sportmax 962's on craigslist and got a random offer to do a trade for a clean 89 shell. I inquired more about it and talked the dude down to doing a straight up trade. The rims were a little fucked up so I defintiely think I lucked out on the deal. I rented a tow dolly from U-Haul and drove 4 hours to pick it up. I plan to basically strip the whole chasis down, give it a nice clean, some paint, and swap the motor over. It will be used as a daily driver in my collection of old raggy cars.
This is what it looked like fresh off the trailer. A few door dings but no frame rail rust, hatch rust, or dents.
![Image]()
![Image]()
![Image]()
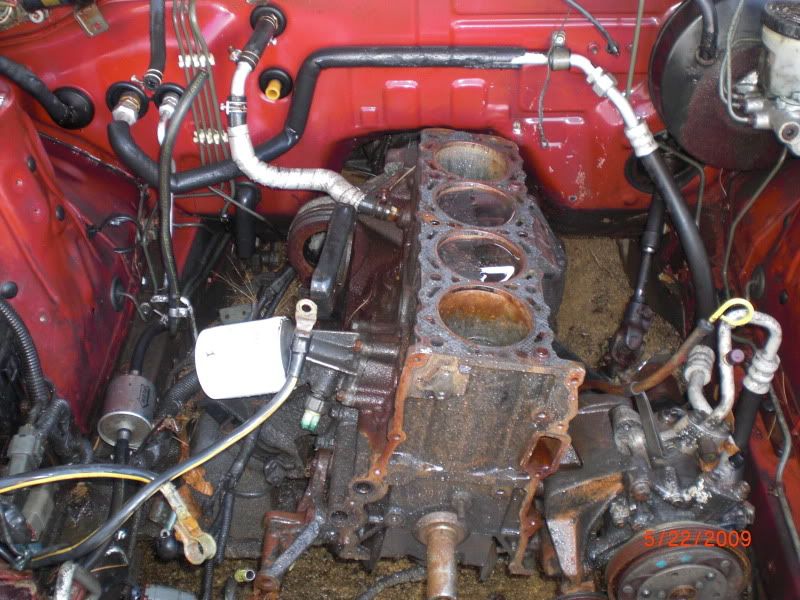
It came with I would say half of a KA24e. No head but intake manifold down to block. I'm parting this stuff out so if you need something just ask.
![Image]()
I started cleaning the engine back up a little bit to see what I actually had and the condition of everything. The chasis has about 230xxx, but the parts actually look in working condition.
![Image]()
![Image]()
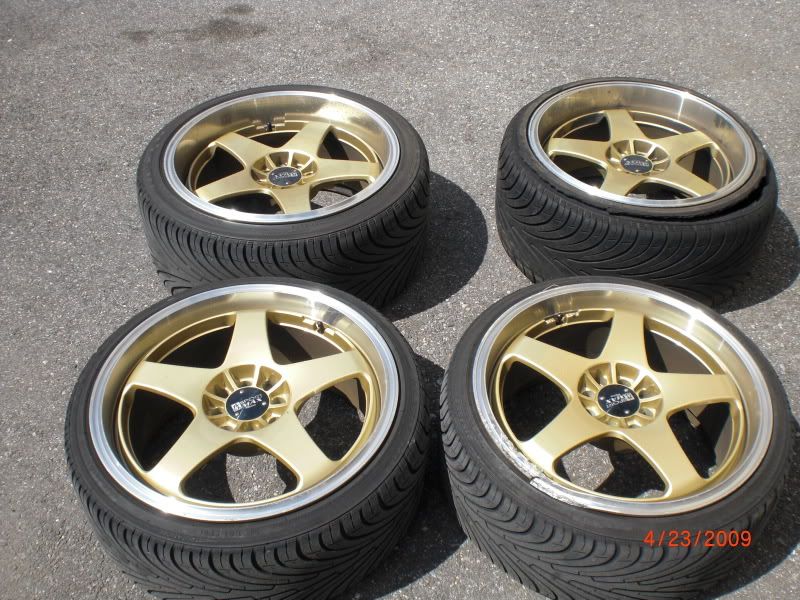
Here is a pic of the wheels I traded for the dirty ole pig.
![Image]()
This is what it looked like fresh off the trailer. A few door dings but no frame rail rust, hatch rust, or dents.


It came with I would say half of a KA24e. No head but intake manifold down to block. I'm parting this stuff out so if you need something just ask.
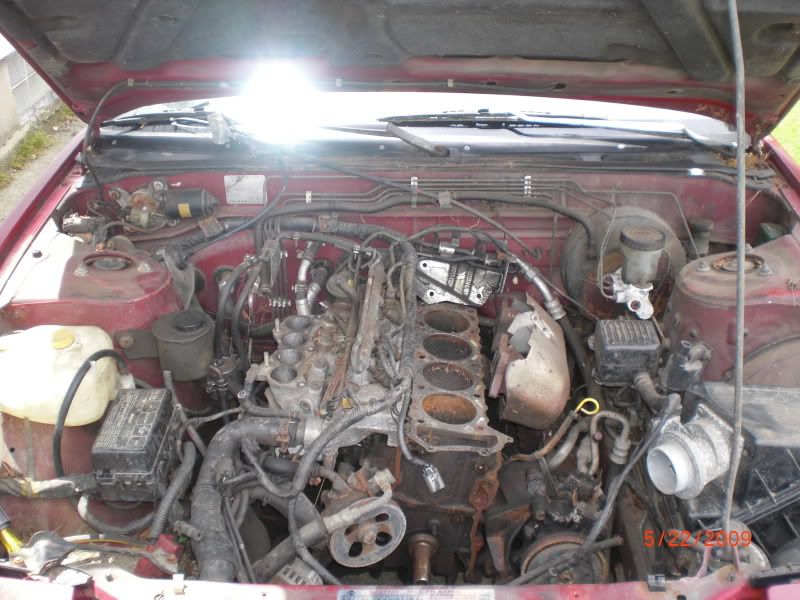
I started cleaning the engine back up a little bit to see what I actually had and the condition of everything. The chasis has about 230xxx, but the parts actually look in working condition.

Here is a pic of the wheels I traded for the dirty ole pig.
")