Nissan 240SX Forums banner

biggn235's Hatch Build

7.9K views 91 replies 14 participants last post by  biggn235  
#1 · (Edited)
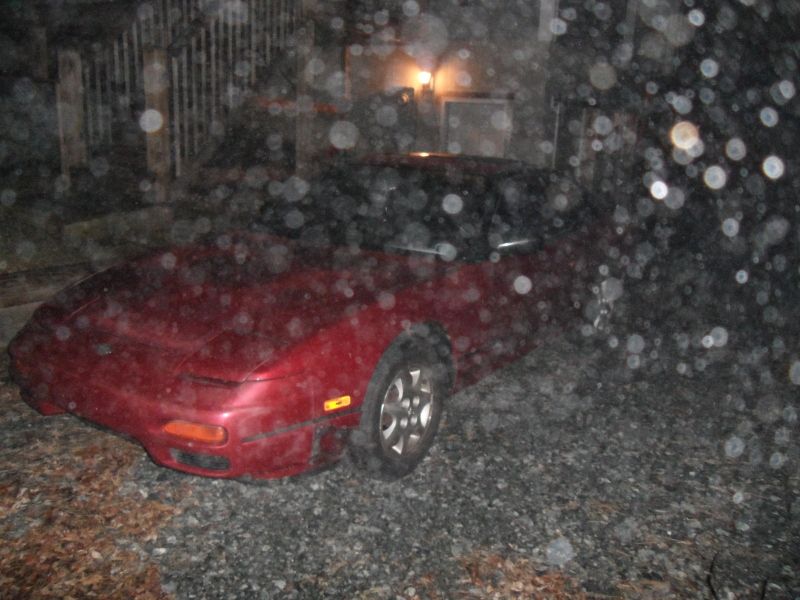
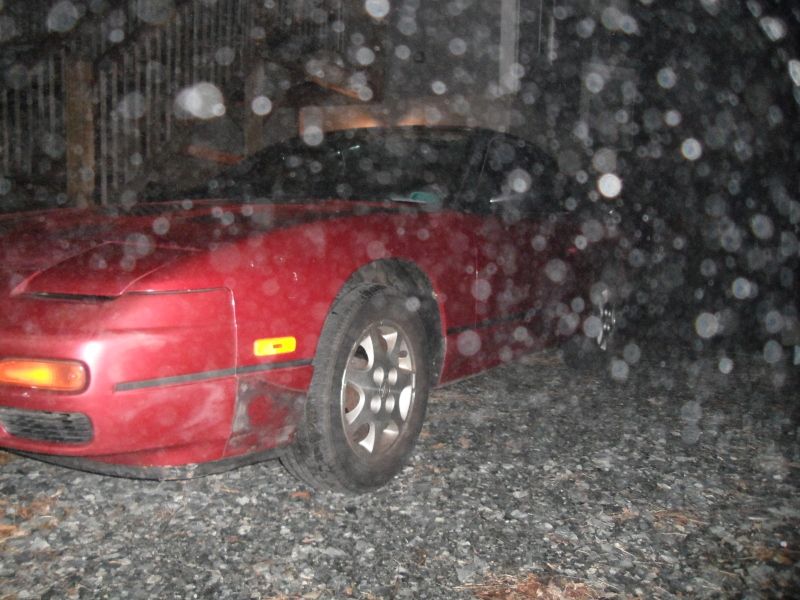
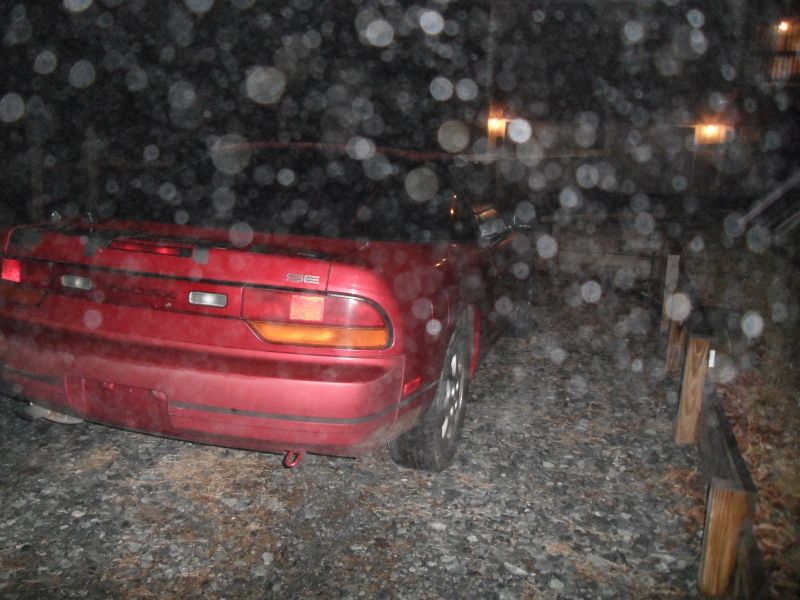
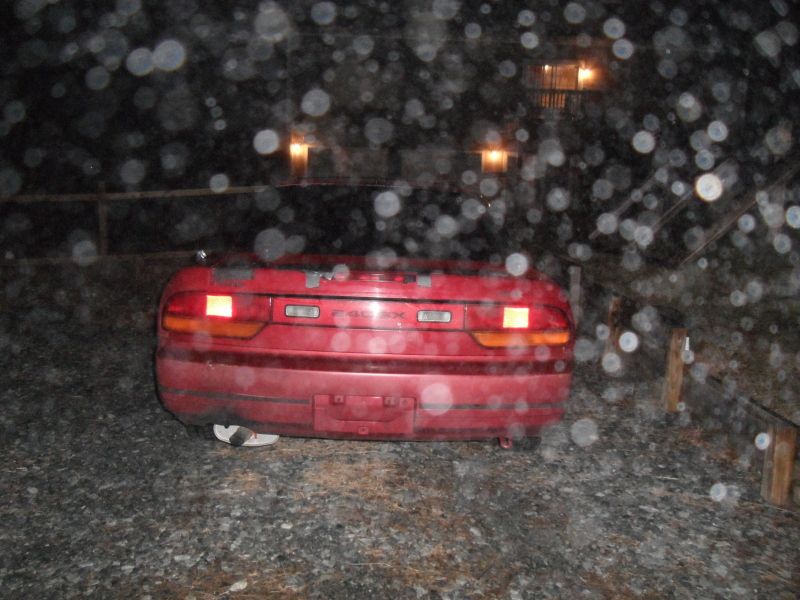
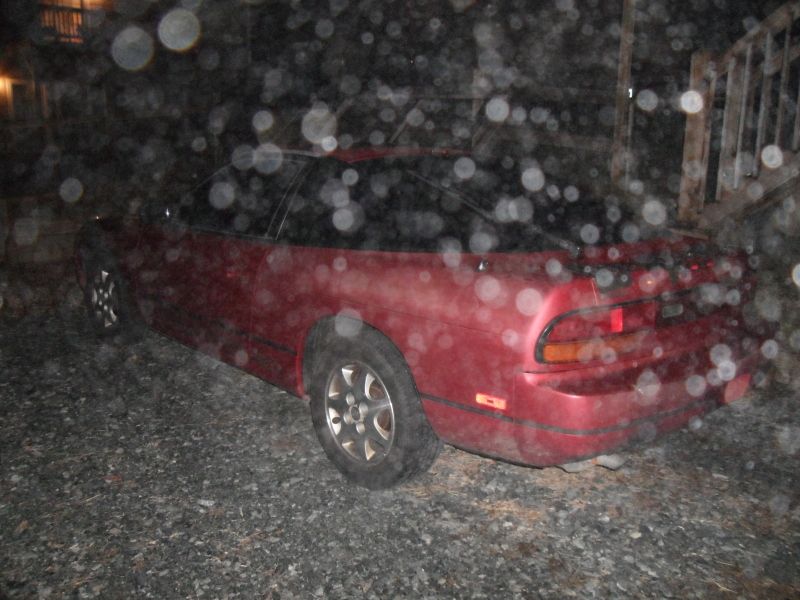
Hey what's up guys, I just bought a '91 SE for $200 out of pocket. It runs and drives but needs a clutch. Here are some pics of when I got it home.

Image


Image


Image


Image


Image


Pics are pretty dark and it was really foggy but you can still see. It is completely rust free other than the holes in the hatch where the spoiler used to be.
 
#3 ·
I bought an Exedy OEM replacement clutch, it should be here tomorrow. I also bought a new Nissan OEM pivot ball and 3 bottles of Pennzoil Synchromesh.

I pulled it into the garage and started working on the hatch while waiting for my clutch to come in.

Image
 
#4 ·
No before pics but I ground off all the rust, cut out some patches using some spare sheet metal I had laying around the shop, welded them from underneath, and then spread on some Bondo. I'll finish sanding it down this weekend, I'm just tired of sanding in general right now.
 
#5 ·
Gave it a quick tuneup. New plugs, wires, oil and new Nissan blue filter. I opened the air box and was pleasantly surprised to see it had a K&N drop in already in there, so I used my cleaning and oil kit to refresh it and dropped it back in. Plugs 2 and 3 were covered in fresh oil when I pulled them out so it needs a new valve cover gasket for sure. And the high pressure power steering line is split so there is power steering fluid everywhere. I bought some Simple Green to clean the bay really good, but the clutch has priority over everything right now.

Image


Image


Drained the tranny in preparation for it to be dropped.

Image


And started unbolting the driveshaft. I'll work on it some more tonight.

Image
 
#6 ·
A few more random pictures of the garage. There are a lot of projects going on. The car in the back is a '79 Impala that is getting a built and blown 383, the orange and black Jeep is getting tons and a set of 38s, and the green Jeep is my roommates daily driver.

Image


Image


Image


So that's it for now. I hope to keep this thread updated pretty often.
 
#8 ·
Already did the tune up, that was post #5 haha. Everything is wired up and it runs perfect, the only thing wrong is the clutch won't disengage. I drove it onto the trailer and drove it off the trailer into the shop, it was really sketchy with no clutch haha, but I know it moves on its own.

I forgot to mention that I've already replaced the master and slave cylinder, deleted the extra clutch surge box thing, replaced the soft line with a new one, and bled the lines with new brake fluid. That didn't fix the clutch so now I'm just going to do a full clutch job and do it right the first time.

I plan on painting it at some point but I won't be spending a lot, it was only a $200 car so there is no need to spend any more than that on the paint job. And I will paint it red, preferably cherry red pearl to match the factory paint.
 
#10 ·
Well I pulled the trans off and got my first real look at the clutch. Wow. It is terrible. I took some pictures and made a little video to explain better, but pretty much everything is shot. The TO bearing fell off the fork when I barely touched it, some of the fingers on the pressure plate are bent outwards more than the others, and there was clutch material EVERYWHERE. The plate and clutch both had "Made in China" stamped on them, so I can guarantee that this is a 30 dollar ebay special clutch. Exedy kit gets here tomorrow.

Image


Image


Image


Image


Image
 
#22 ·
Good call. I took it off and took it to a local guy. 20 minutes later and my flywheel is super shiny. Got everything back together and just took the 240 to get pizza. IT LIVES!
 
#23 ·
These are some older pictures but I figured I would throw them up.

On the trailer on the way home the night I bought it.

Image


First thing I did was strip it out and get all the water out.

Image


Image


About a week ago when I started to fix the hatch.

Image


Image


Image


Image


Image


Image


Image


Image


I used some sheet metal that I had laying around the shop and cut it up, bent it if needed, and welded it in from the bottom of the hatch.

Image


Image


Image


Image


Had a lot left over.

Image


In.

Image


That was a week ago, the hatch has been sanded and has Bondo on top now. Eventually I'll finish that (maybe tomorrow) and sand it down really good and spray some primer.
 
#24 ·
Drove it to the auto parts store to return the pilot bushing puller, and then took it out on a nice drive on the Blue Ridge Parkway.

Image


Image


Image


Image


Image


After the parkway I had the urge to drive a little faster. I took the 240 on my favorite back mountain road for a little twisty, speedy fun. The good thing about this road unlike the parkway is that it is almost always deserted and there are no where for cops to sit and hide. But- sometimes a stupid tourist will clog it up, which is what happened today for about 5 minutes.

Image


Stupid tourists. I hate them.

While out driving I was amazed at how well the car handles, even with the old worn out suspension. I can't wait to start upgrading that at some point. One thing I made sure to buy immediately though was subframe collars. The ass end has a tendency to bounce just like my Z does. The 8 piece collars will fix that very easily.

Image
 
#26 ·
Made some good progress on the hatch tonight.

Sanded down, added more Bondo to the low areas, and sanded some more.

Image


Image


Image


Image


Then I hit it with two lights coats followed by two heavy coats of primer. This was after the first heavy coat.

Image


I'm going to let it dry really well overnight then wet sand a little and maybe hit it with another coat if it looks like it needs it.