Nissan 240SX Forums banner

Monkichi57's S14 Fun DD Build

115K views 576 replies 51 participants last post by  Monkichi57  
#1 · (Edited)
Hi.


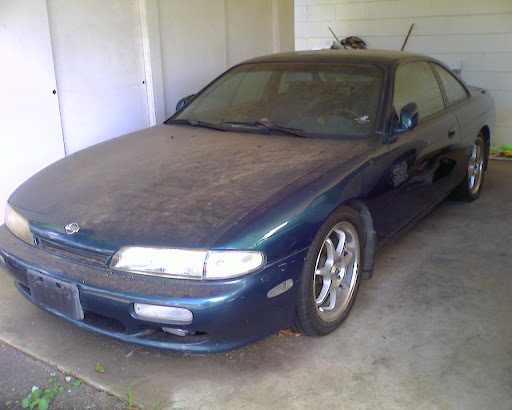
After a few months of getting my other half to say ok to this project, I am finally starting on getting this S14 to work again. I have received this 240 from my mother as she used to drive it and it was the car I used during my college years. Unfortunately, it wasn't being used for about a year and when I opened the hood to look at it, it was pretty gross as rats ate the wiring on the KA.

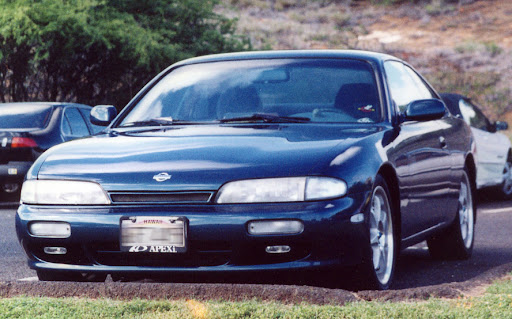
Using that as an excuse, I am planning on doing the SR20DET swap. For now, here's some pics of the car back in the hayday (my college years) and how it is right now.

I'll post pics when I continue to work on them (probably be a pretty long build time :1duh)
Any comments are welcome. I'll definitely have a lot of questions (yes, i'll do a search first before I ask)

Currently, it has the following items:
Tein Type RA Coilovers - front and rear
Tein Front Tension Rods
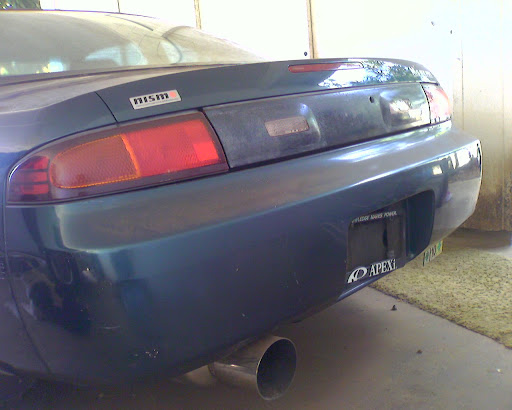
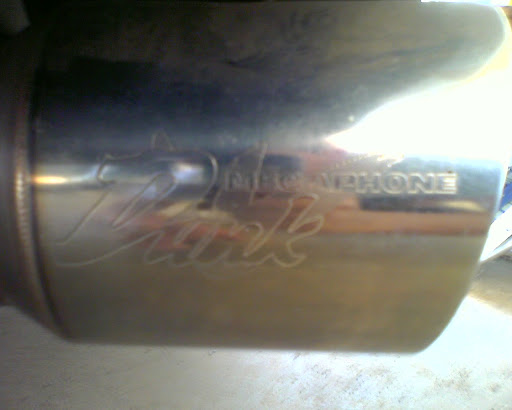
Apexi - S14 Cat-back Super Megaphone Dunk (special ordered from Japan back in '97)
17x7" Rims (don't remember the name) w/ 215/45

back in '97
Image

Now:
Image


Image
 
#3 ·
Yes, it does need a wash. I'll give it a wash the next time I go over to work on it.

I got home and I saw some big white thing on my yard
Image


I received my Redtop SR20DET. The donor car is from a '93 RPS13. Actually, I was looking for an S14 front clip as I wanted to do the RHD conversion, but I saw this on (yes, gasp) eBay for a good price. ($2K w/shipping) I think I got a good deal (considering shipping to HI is a b#$ch :crazyrant) as yes it came with the usual items (ECU, ignitor, wire harness with both fuse boxes attached, etc), but it also had the piping to use with the stock SMIC, and it even had a drive shaft included. If you ever buy from the eBay seller JDMhot, she's really good. Answered all my questions, pre and post purchase (yes, shameless plug). :rolleyes:

Anyways, more pics:
Image


Image


I had to move it off the yard (damn stupid townhouse rules), so for the next couple of days, I removed whatever I could and with help with a couple of neighbors (no cherry picker atm), lifted the block and mounted it onto an engine stand.

Image


After looking at the engine the next day, I noticed that the oil pan is dented :1duh
Image

Looks like I'll have to get a new pan and oil pickup/strainer. :rolleyes:

During the next few days, I'll prolly start removing the intake side and clean the block up with some simple green.
 
#7 ·
I started picking up some items that I wanted to a rebuild of the engine before I put it in.

Engine Gasket Set
Image


Peak Performance RAS
Image


Turbo SS Lines
Image


I also Piked up this Freedy Oil Pan on eBay
Image


I started to put the flaps into the oil pan, but I noticed fitment was not too good. The flaps were rubbing and didn't move freely. I guess I'll be either re-drilling the brackets, or sanding the flaps down to clear. Any suggestions as to which way I should do it?
Image


I also started to clean the turbo as it was a little dirty.
Image


I took off the actuator and started cleaning, but I somehow lost the clip. :eek4: I guess I'll see if one of my e-clips from my RC car would work. Would anyone know where I could get a new clip, or if there's a part# for it ?
Image


As where I live doesn't like having an engine outside in the back, I had to move it back to my mother's home. Hence, it'll take me longer to work on it. :dancingwt
Pic of the SR in my cousin's truck on the way to my parent's place
Image
 
#9 ·
Thanks. Its still a little dirty near the crank pulley and the bottom. I'll clean it out when I go over to pull out the KA.

Since I really can't do anything, I decided to clean some of the mounts that I removed from the block. I wanted to get rid of any oil/grease that's on those parts before painting them.

Before:
Image

Image


After cleaning:
Image


The spout here was pretty dirty, so I used a dremel and a wire brush attachment, and it removed most of the gunk that was there. Not bad.
Image


Since I had my dremel with me, I decided to remove the rust that were on the water pulley:
Image


After using the dremel:
Image


I'll continue on cleaning the rest of the mounts until I can go to remove the KA. :crossfing
 
#11 ·
Sorry man. My nephew just blew his KA that's in his S13. Since I have been neglecting his b-day, and it's coming up, i'm planning on giving it to him.

Just wished that the engine still looked like this:
Image


Oh well.. not like that anymore to say the least. I'll post pics when I go take um outta there.
 
#17 · (Edited)
I'm also planning on painting the OEM exhaust manifold and the exhaust end of the turbo, as they look pretty brown. Not too sure if I'll keep the exhaust manifold, we'll see. :rolleyes:

I picked up these paints and am guessing that the can on the right (VHT) should be alright for the manifold and the turbo.
Image

Anyone with experience with that particular paint? I was wondering how long that paint would last before I have to either paint it again, or just forget the paint and leave it as is.
 
#18 ·
Got my Timing Chain Kit and Greddy Turbo Timer (Thanks xyquine!) Looks Perfect! :thumbsup

Image

Image


Also, since I'm planning on changing my Oil Pan and Oil Pickup/Strainer, I decided to follow Positron's SR20DET build and go with the S14 Oil Strainer.
Image


Now I'm still looking for some ARP Head Studs and can't wait for next week. :yesnod
 
#20 ·
Update

As it's the 8th, I was able to finally get to pull out the KA today. Here's a pic of the engine bay after we drained most of the fluids
Image


Removed the front lights and OEM bumper
Image


Another shot of the KA. Yes, it is filthy.:eek:
Image


I then removed the tranny crossmember and held the tranny up with a jack stand for now.
Image


After taking out the front tires, I noticed that my steering column needs fixing. :tears
Image


Starting to remove the KA
Image


While I was trying to remove the KA, My downpipe was giving me some trouble as it was hitting the steering column (among some other wires), so i removed it.
Image


While we were lifting the KA out, I didn't realize that the tranny still had fluid after I drained it from the plug, so it coated my garage floor. Just don't me like me, have a container handy just in case fluid starts coming out from the rear of the tranny.
Image


Here's a pic of the KA finally out of the S14
Image


Engine bay after removing the KA
Image


Another shot
Image


Looks like the bay needs some cleaning. That isn't the part I'm worried about. As I am probably want to keep the ABS and cruise control (yes, it'll most likely be a DD, and don't want to bother making new hardlines :eek:), I am not looking forward to removing the ABS and cruise control to remove the wiring harness... I'll do that at a later date. Here's a closer look at where the ABS and the cruise control is sitting
Image


Oh well, I'll do it again at a later date. And that's it for today. I am planning on cleaning the bay as soon as I can get the ok from the missus :12dunno
 
#21 ·
Couldn't really do much with the engine bay yet (couldn't go to where the S14 is). So since I had some at home, I decided to fix the oil pan I got (See post #7).

I glad that just by enlarging the holes on the bracket so it'll match up with the mounts and it fixed the rubbing.
Image


But, i think the quality is not as great as an actual Greddy as the flaps doesn't properly line up with the walls in the oil pan.
Image

Image


Oh well, at least it'll hold a little bit more oil than OEM and I needed a replacement pan :rolleyes:
Image

I'll work on more things as I get more time. Hopefully it'll stop raining (been raining for the past 3 days :thumbsdow).
 
#23 ·
If I remember correctly, those flaps are there to keep oil in the center during hard cornering so the engine always has oil to pick up (Oil pickup/strainer is in the middle). I'm guessing the reason is because the pan is wider than OEM. Can anyone else chime in if i'm incorrect?
 
#24 ·
More SR Parts Cleanup/Painting

As I still can't go to work on the SR or the S14, I am only able to work on the pieces that I took off of the SR before moving it.

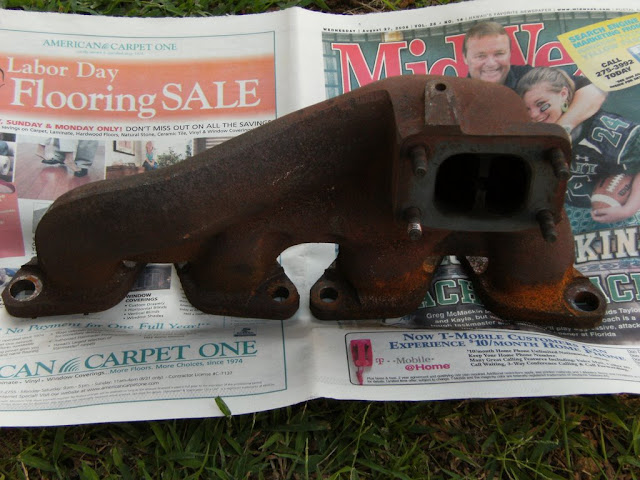
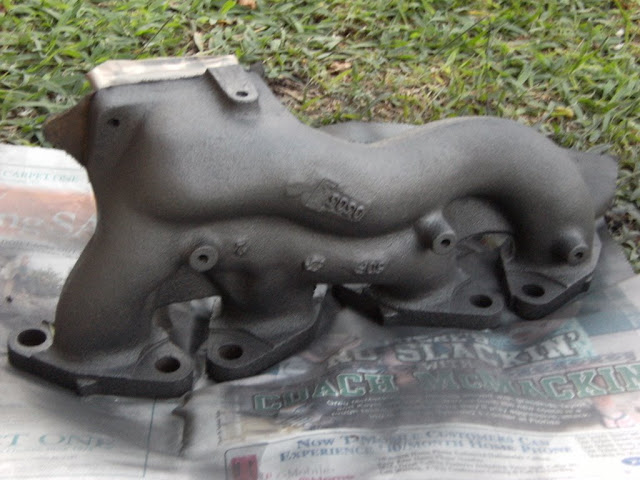
As I am not sure whether I want to run the stock exhaust manifold, or get an aftermarket one, I decided to clean up and paint the stock one with some very hi-temp paint. I thought it looked pretty good. I'll contemplate it more when I get further down the line of actually working on the actual SR.. :12dunno

Here's the before and after shots:

Before
Image

Image


After
Image

Image


I am hopeful that I get to work on the engine bay and remove the steering rack to replace the boots (and maybe tie rods too?) next week. :heyhey
 
#27 ·
Nah, i didn't get it blasted. I used a steel wire wheel brush mainly just to remove the rust and other crud that was on it before i painted it. Hopefully that will be alright, but we'll see....

Ding ding ding, you are correct sir.

The flaps are know as baffles and trap doors.
Thanks man. :thumbsup I wasn't sure what those flaps were actually called.
 
#28 ·
After seeing how nice the manifold came out after painting it, I was thinking about how the turbo would look painted. So here it is after some Hi-Temp paint:
Image

Image

After seeing it complete, it's not that bad.

Also, my friend called me up and had some parts that I could have as he didn't need them anymore. He already upgraded the injectors in R32 GT-R, so I took his old set of 444cc injectors off his hands. After grabbing them, I'm now not sure how much HP I want to shoot for.
Image

Maybe I'll make an excuse to use these. :rotflmao

He gave me some other parts he had left over from his S13.5 that he sold. Don't have pics of them as I dropped them off at the house. I am really hoping I can work on cleaning the bay, or at least removing the steering rack to replace the boots (and maybe tein tie rods :thumbsup)...