

Hi.
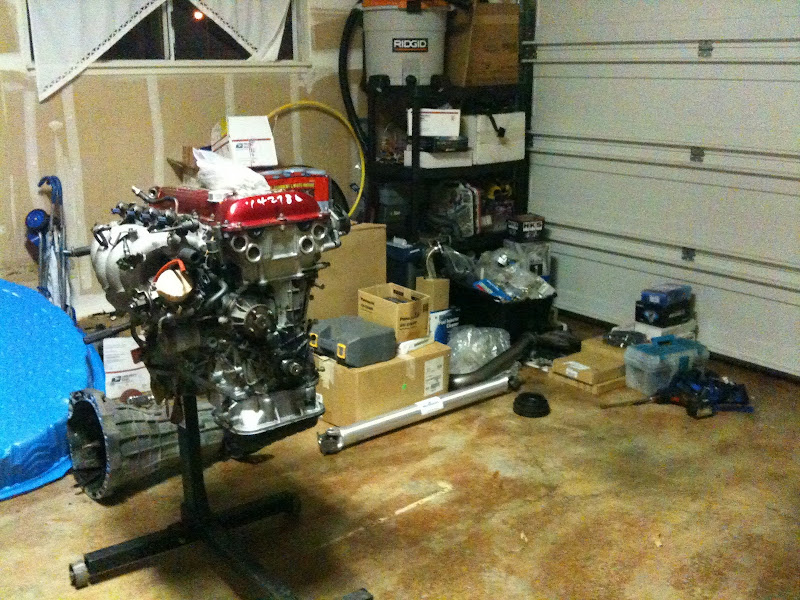
After a few months of getting my other half to say ok to this project, I am finally starting on getting this S14 to work again. I have received this 240 from my mother as she used to drive it and it was the car I used during my college years. Unfortunately, it wasn't being used for about a year and when I opened the hood to look at it, it was pretty gross as rats ate the wiring on the KA.
Using that as an excuse, I am planning on doing the SR20DET swap. For now, here's some pics of the car back in the hayday (my college years) and how it is right now.
I'll post pics when I continue to work on them (probably be a pretty long build time :1duh)
Any comments are welcome. I'll definitely have a lot of questions (yes, i'll do a search first before I ask)
Currently, it has the following items:
Tein Type RA Coilovers - front and rear
Tein Front Tension Rods
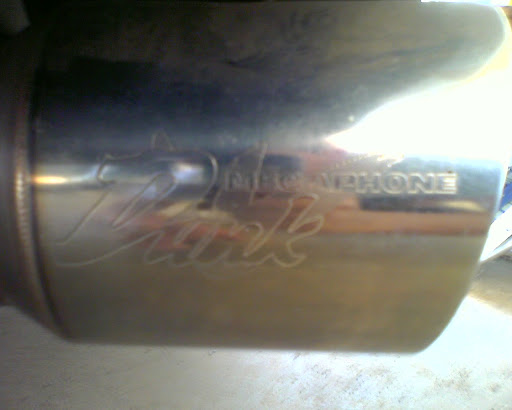
Apexi - S14 Cat-back Super Megaphone Dunk (special ordered from Japan back in '97)
17x7" Rims (don't remember the name) w/ 215/45
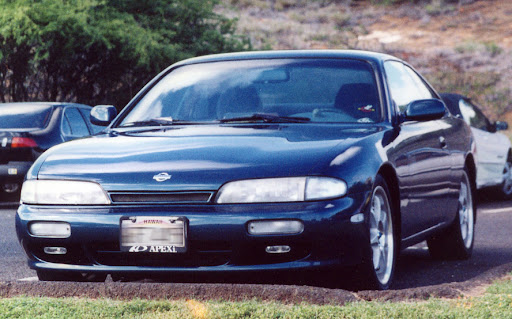
back in '97
![Image]()
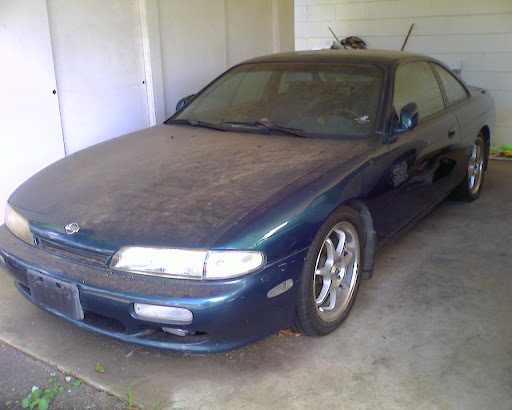
Now:
![Image]()
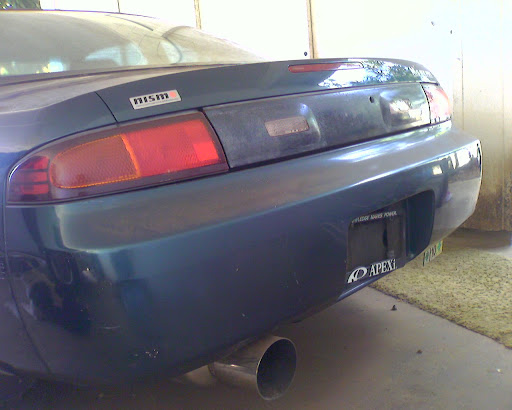
![Image]()
After a few months of getting my other half to say ok to this project, I am finally starting on getting this S14 to work again. I have received this 240 from my mother as she used to drive it and it was the car I used during my college years. Unfortunately, it wasn't being used for about a year and when I opened the hood to look at it, it was pretty gross as rats ate the wiring on the KA.
Using that as an excuse, I am planning on doing the SR20DET swap. For now, here's some pics of the car back in the hayday (my college years) and how it is right now.
I'll post pics when I continue to work on them (probably be a pretty long build time :1duh)
Any comments are welcome. I'll definitely have a lot of questions (yes, i'll do a search first before I ask)
Currently, it has the following items:
Tein Type RA Coilovers - front and rear
Tein Front Tension Rods
Apexi - S14 Cat-back Super Megaphone Dunk (special ordered from Japan back in '97)
17x7" Rims (don't remember the name) w/ 215/45
back in '97
Now:


 mg:
mg:


