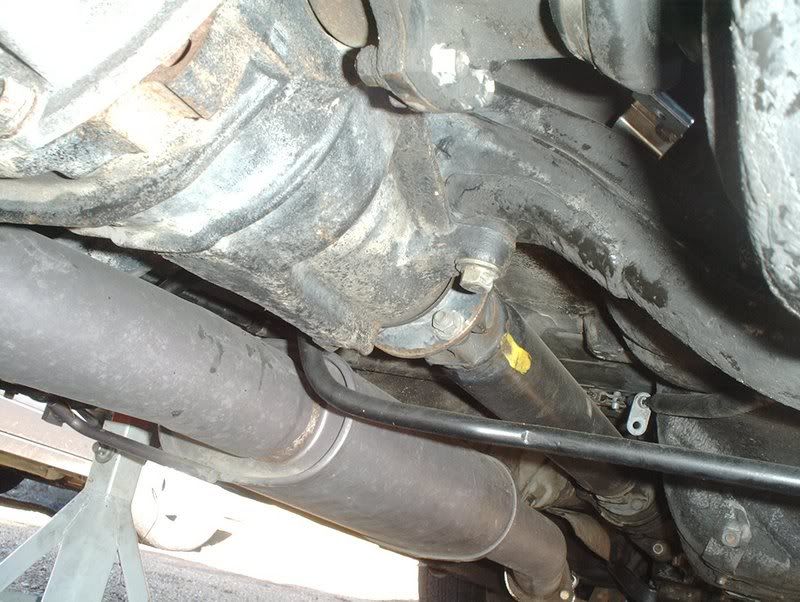
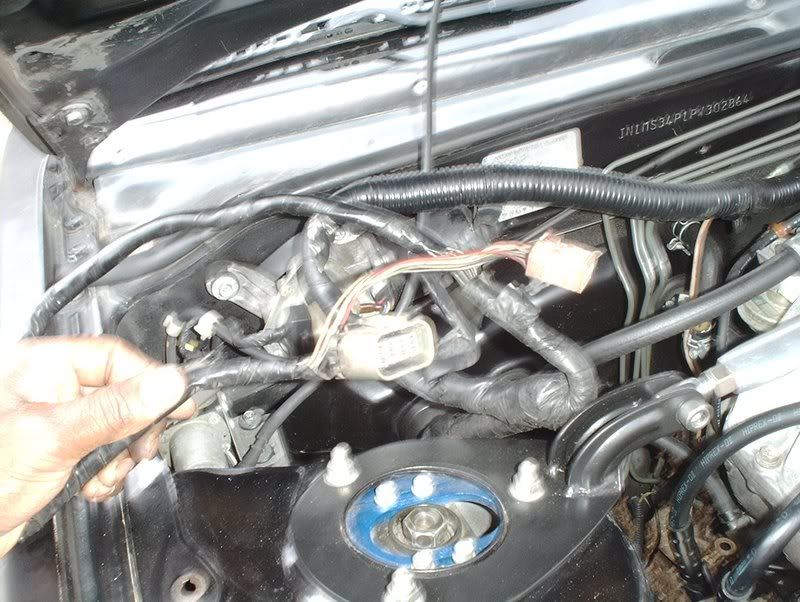
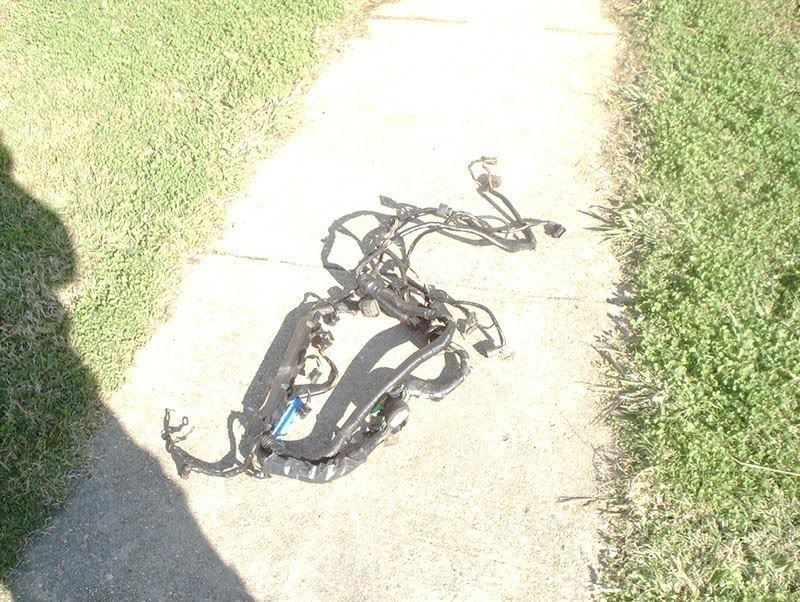
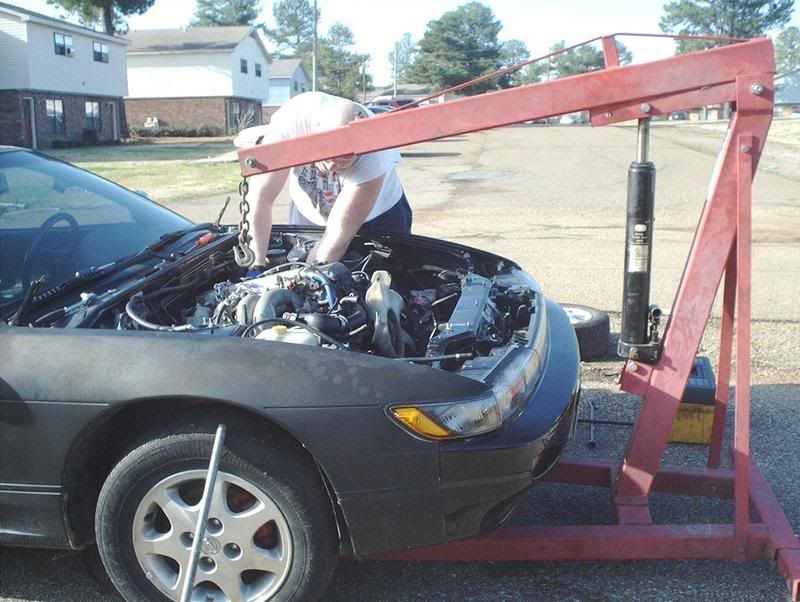
I took some pictures to document the removal of my KA in preparation for my engine swap. I did this write-up to help anyone with little mechanical knowledge, like me
![Image]()
, who would be wanting to attempt to do an engine swap themselves in the future and are skeptical about the procedure. I'm not doing this myself because I don't want to spend the money to have a professional shop do it
![Image]()
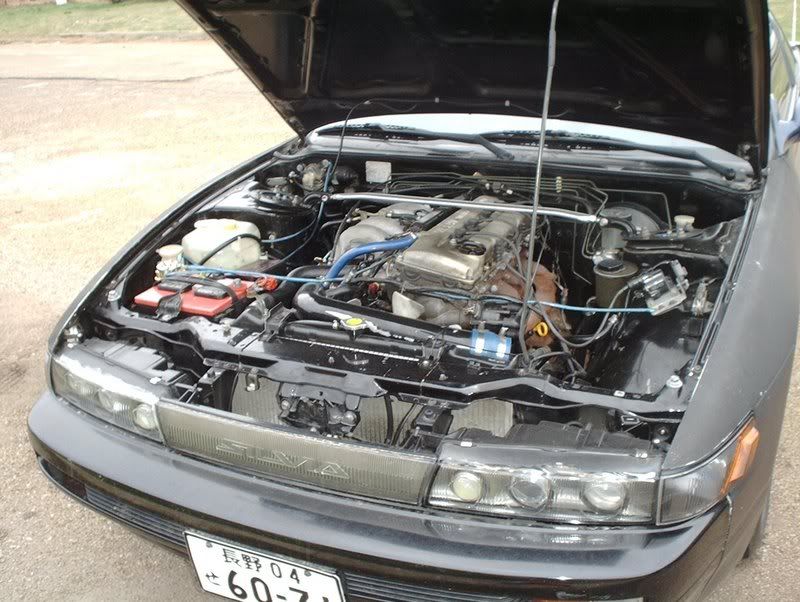
but because I have been building this car with my own hands, I've done the frontend conversion, suspension, climate, steering wheel, seats, brakes, exhaust, etc. and completing the engine swap myself would be the icing on the cake. I want this to be as complete as possible so if anyone notices something that I missed...please chime in and add to the write-up.
![Image]()
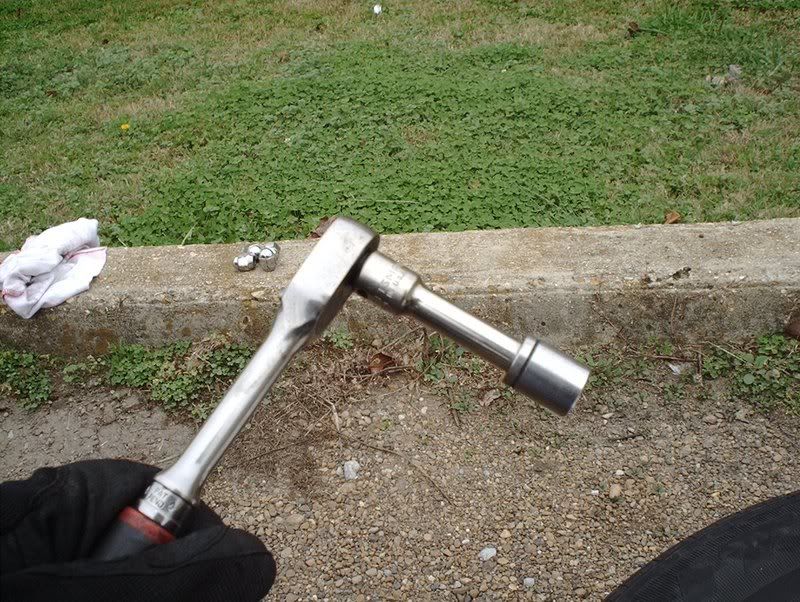
Tools needed:
Jack
Jackstands
Wrenchs
Socket wrench
Sockets(different sizes)
Hammer
Screwdrivers(flathead/phillips)
Needle nose pliers
Prybar
Drain pan
Line wrench 10mm
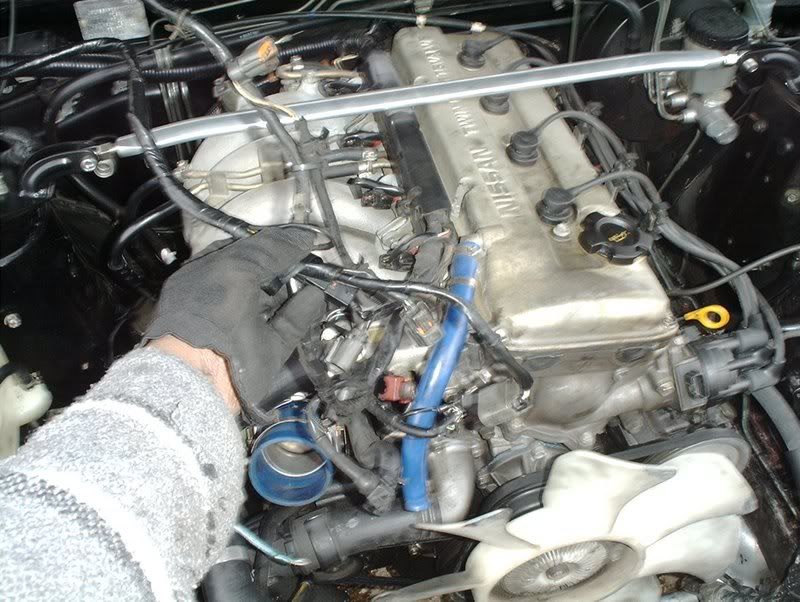
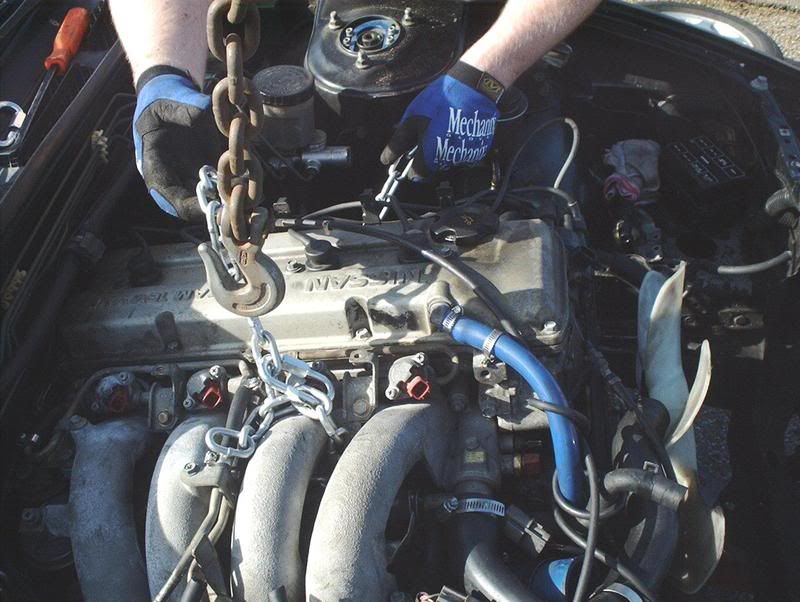
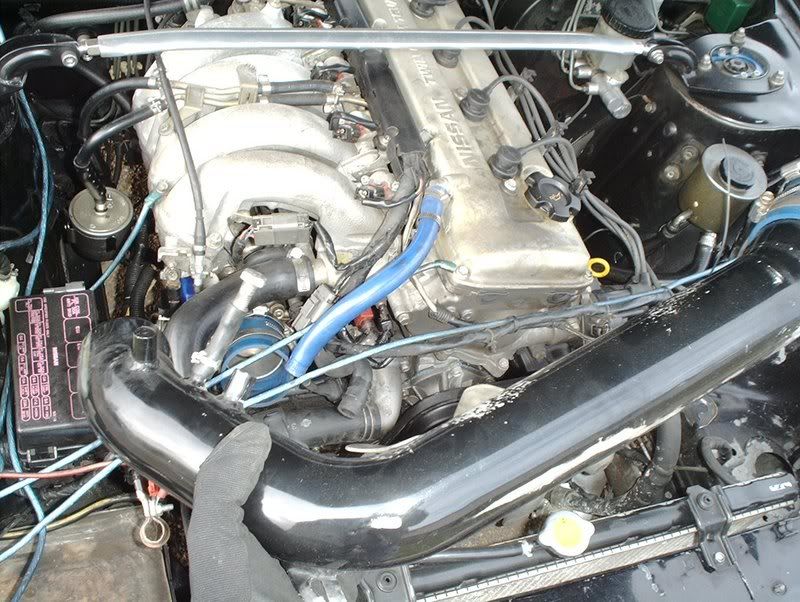
My car is a '93 240SX with a KA24DE engine. This isn't a complete write-up on removing the engine because my car doesn't have emissions or the A/C components so those of you with those will have to look elsewhere about how to handle those systems. I'm just a regular joe doing this swap in the driveway of my apartment with handtools and time.
![Image]()
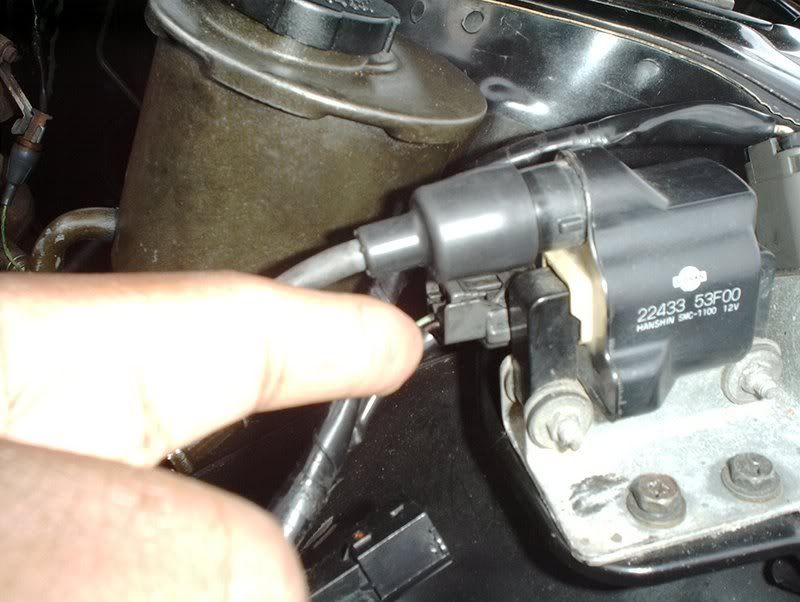
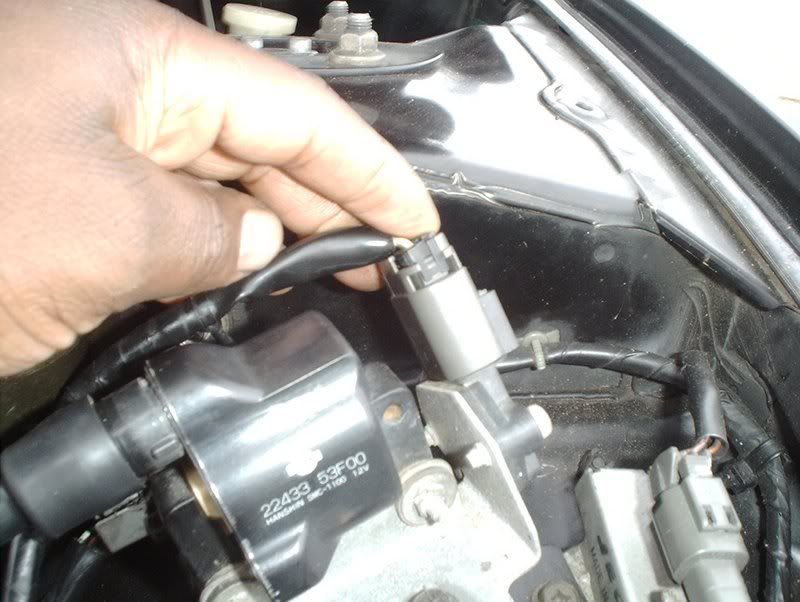
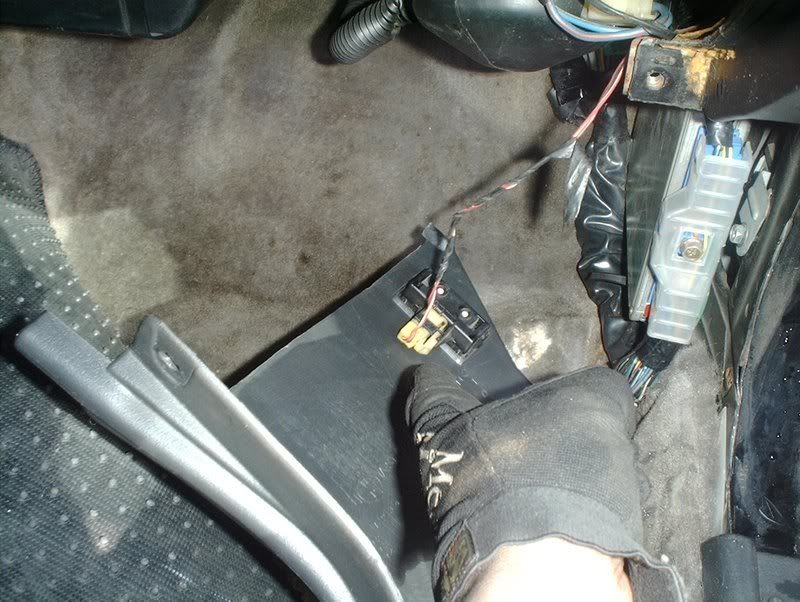
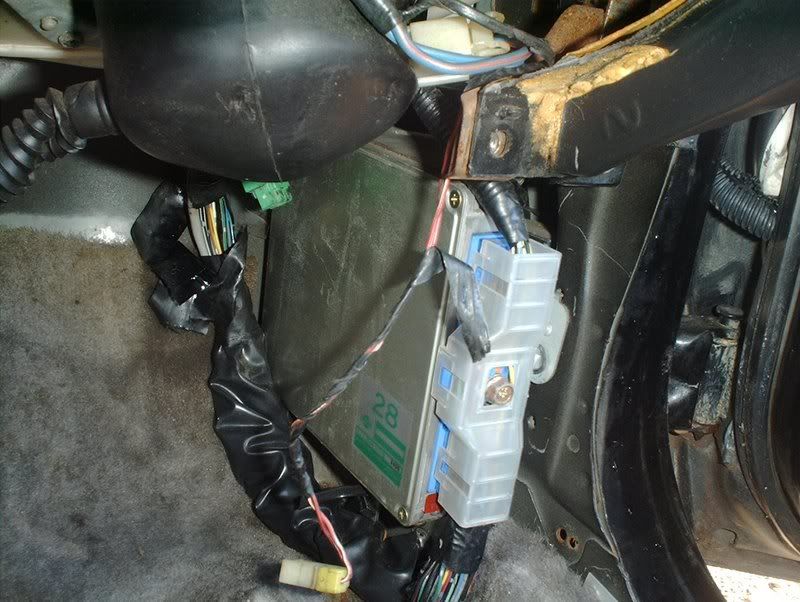
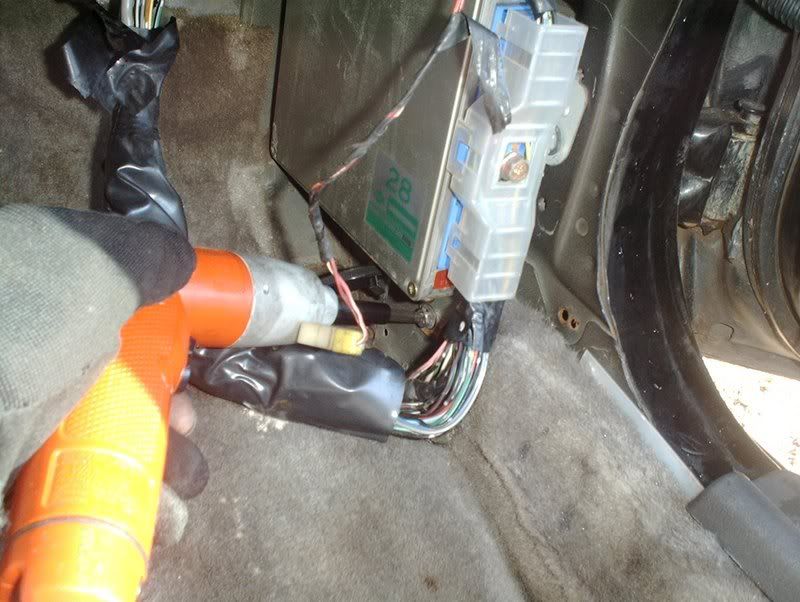
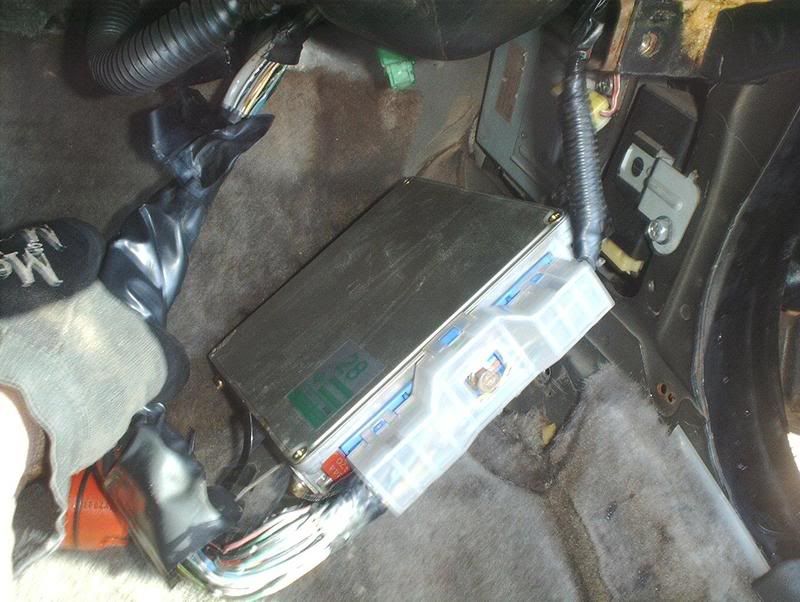
The first thing I did was to relieve the fuel pressure so when I remove the fuel lines in the engine bay I won't have fuel squirting all over the place.
![Image]()
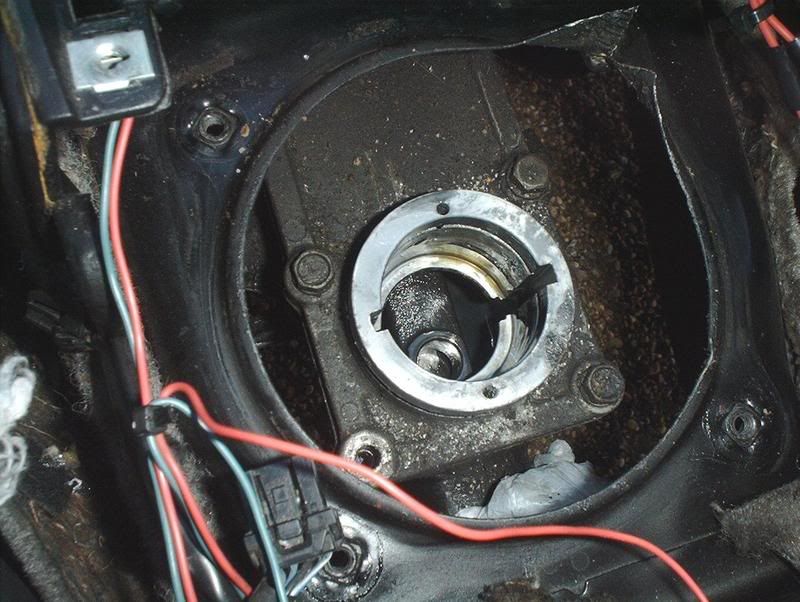
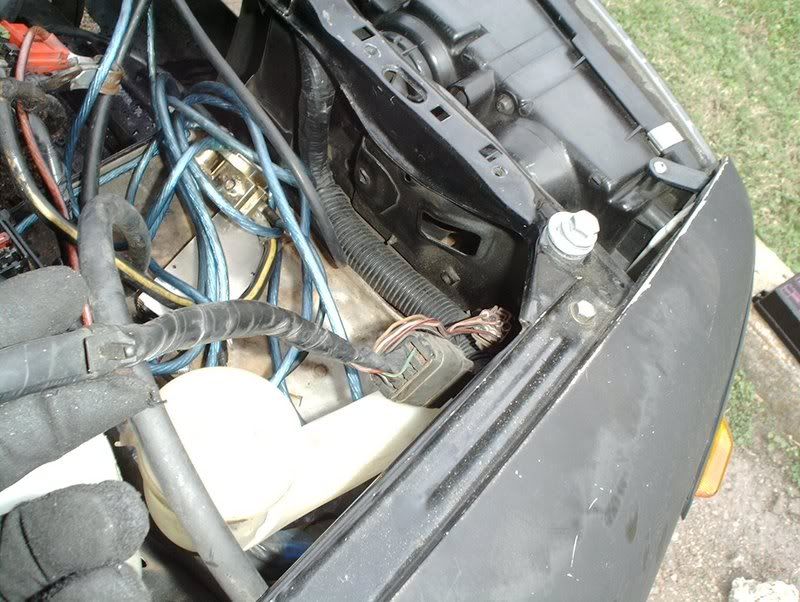
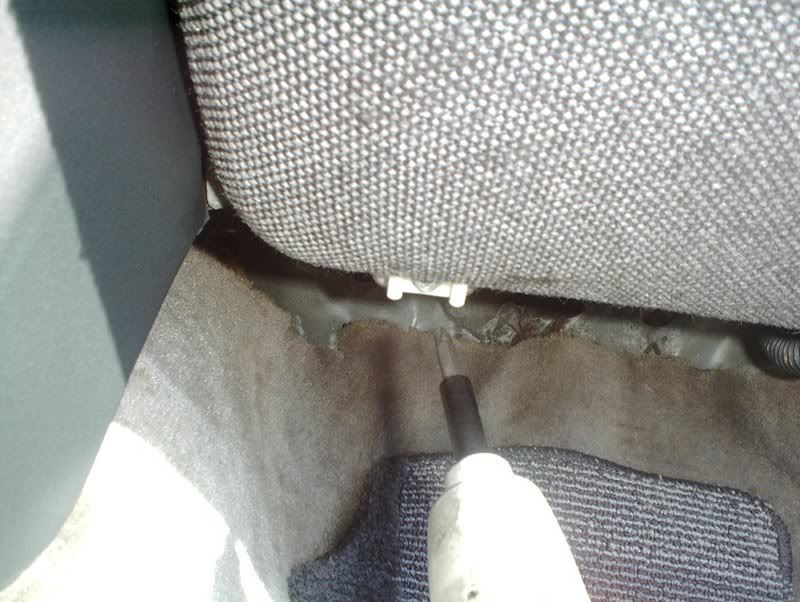
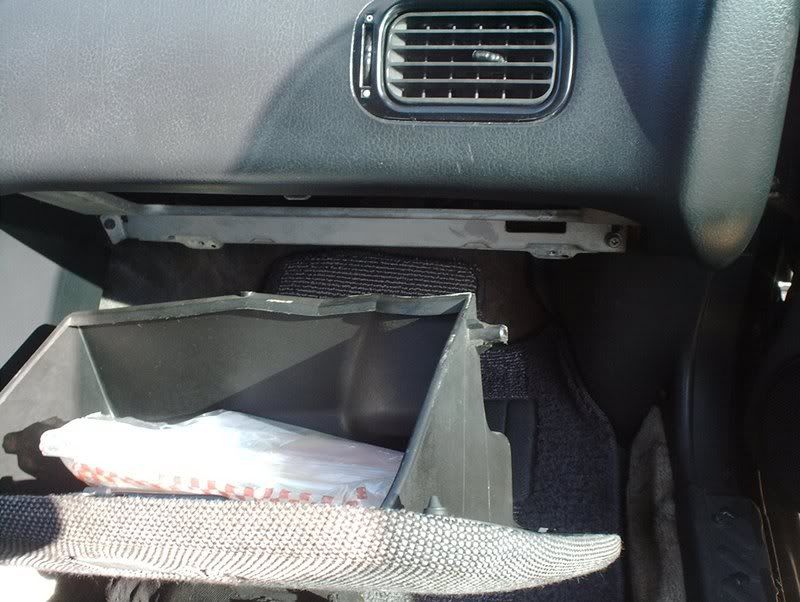
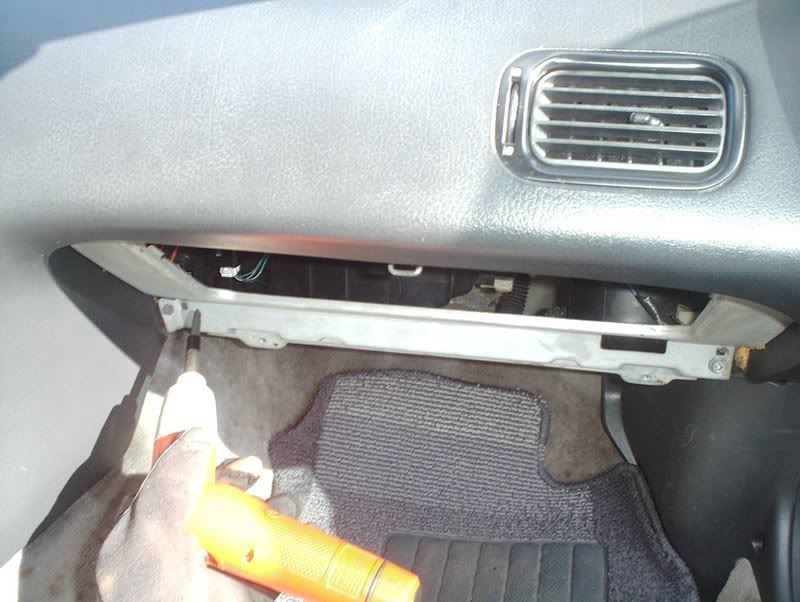
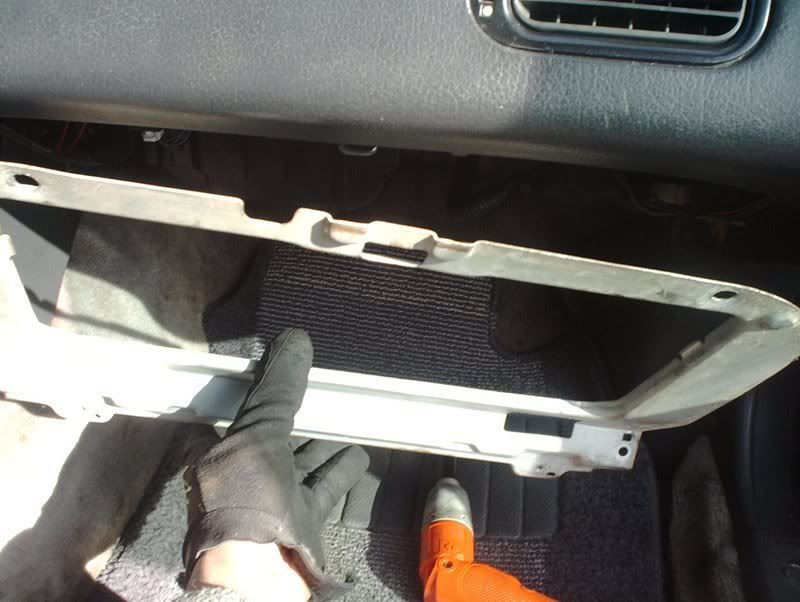
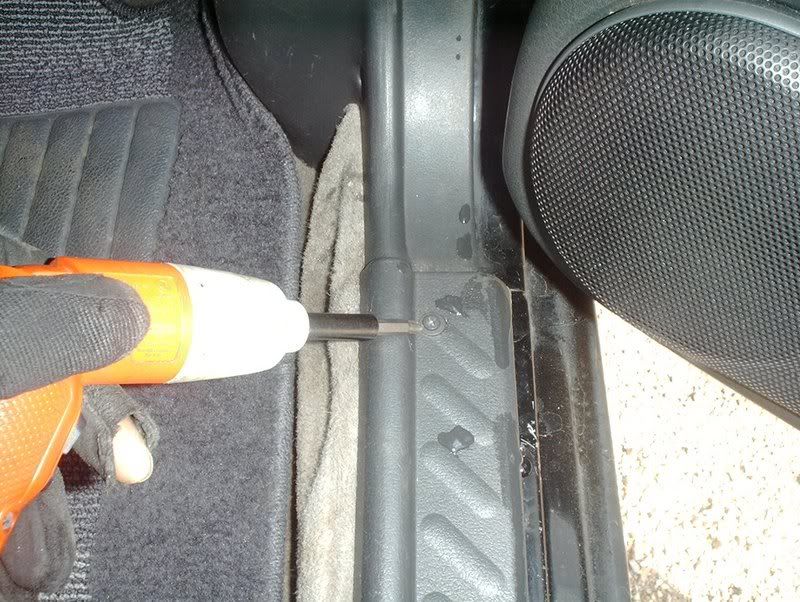
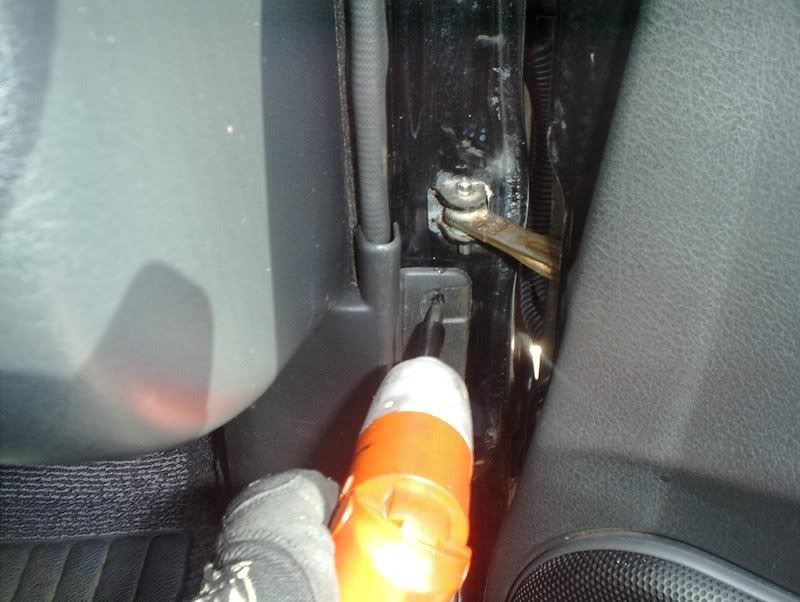
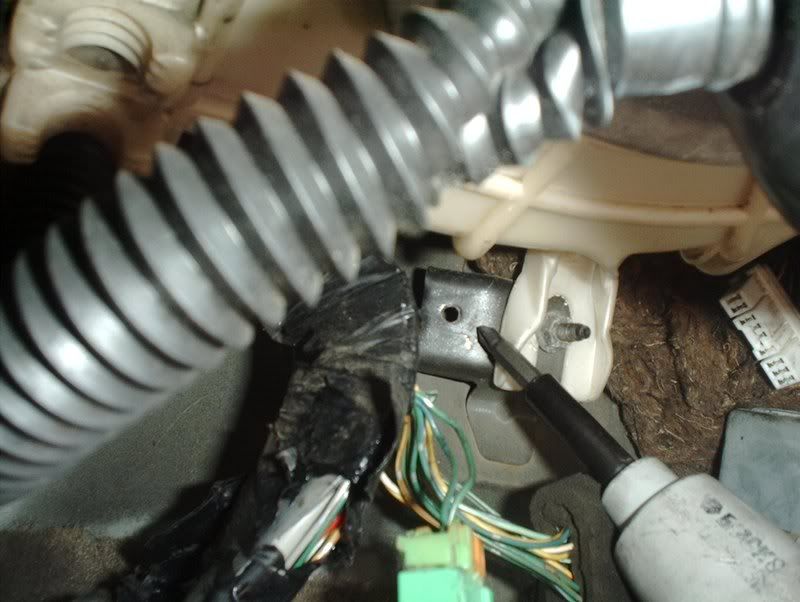
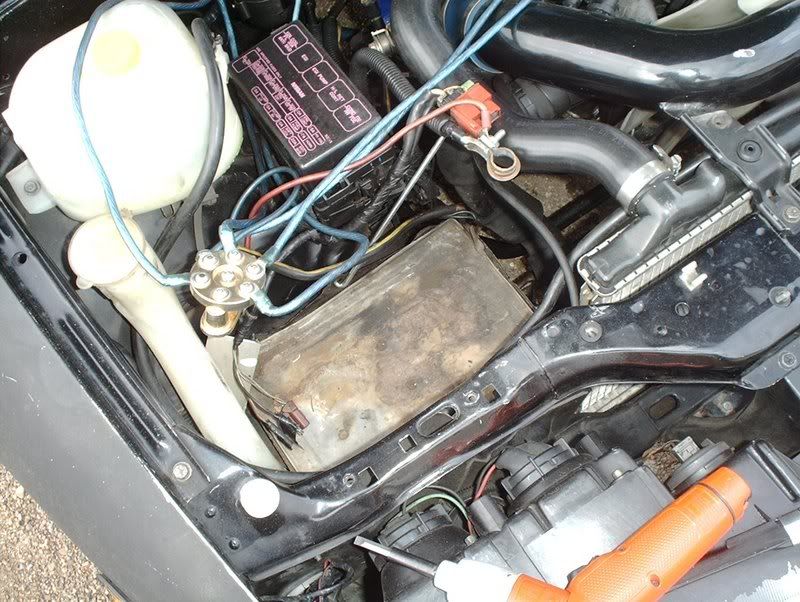
To relieve fuel pressure go to the engine bay and pull the fuel pump fuse 15A from the fuse block, loosen your fuel tank cap, crank the car and run it until it stalls out.
![Image]()
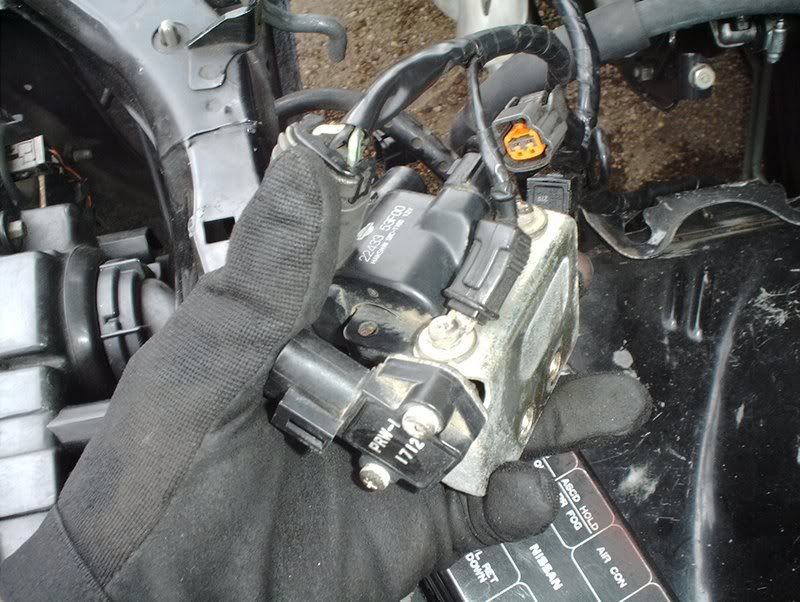
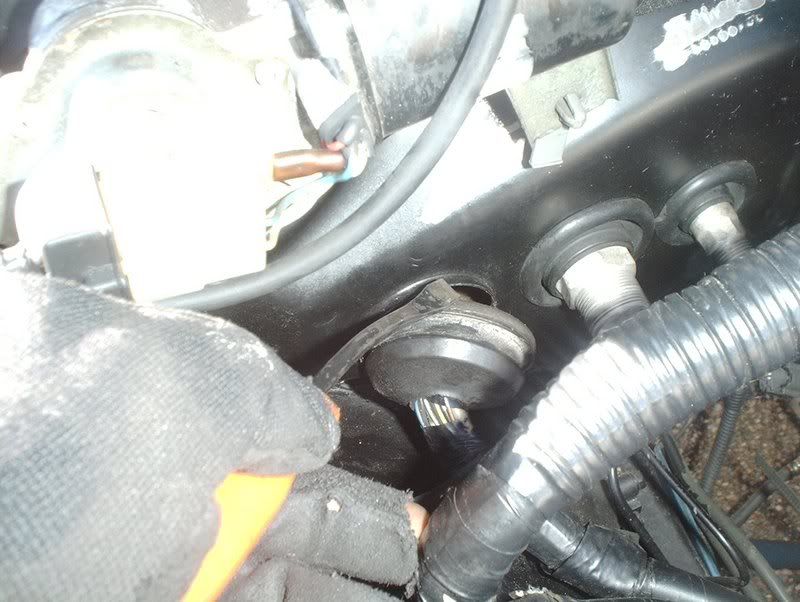
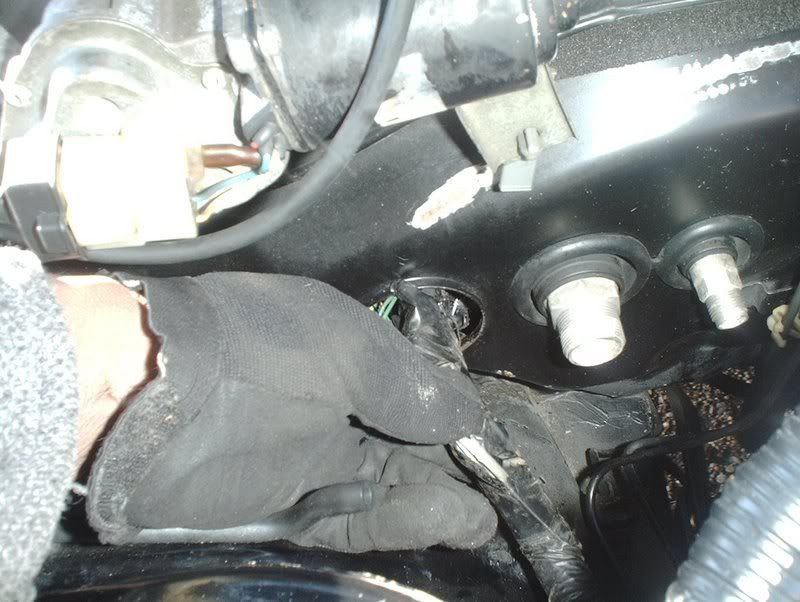
Next, I removed the battery cables and pulled the battery. You can put the fuel pump fuse back now.
![Image]()
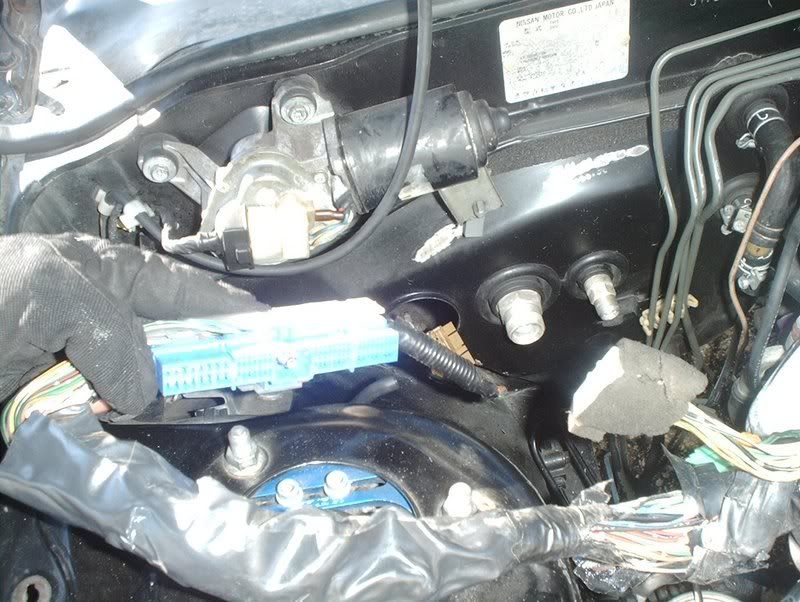
Done!
![Image]()
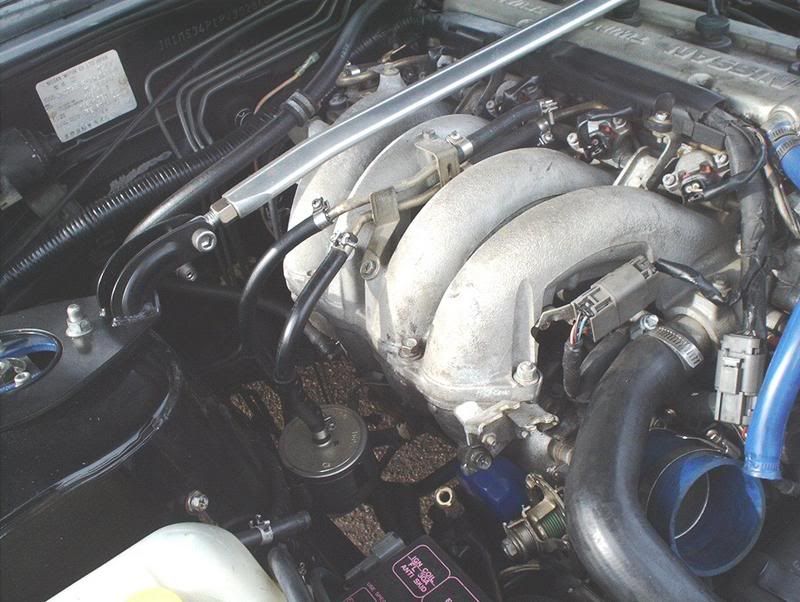
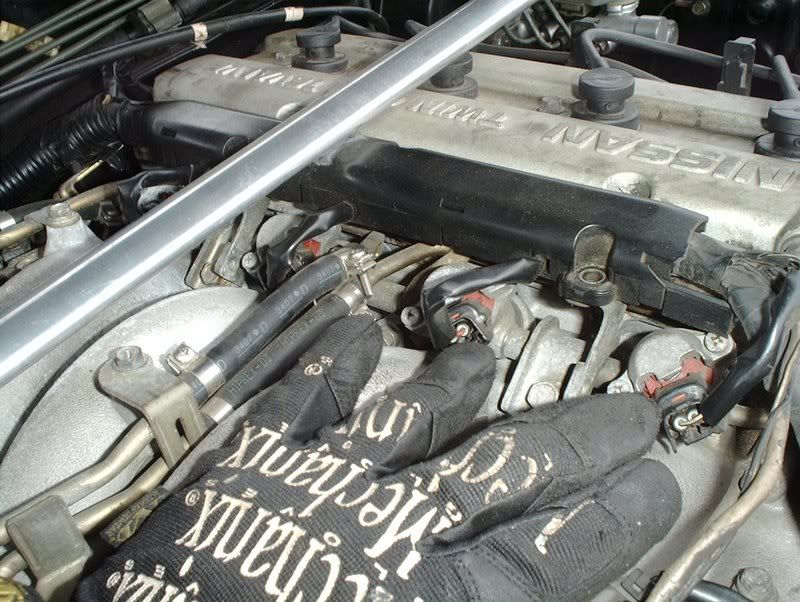
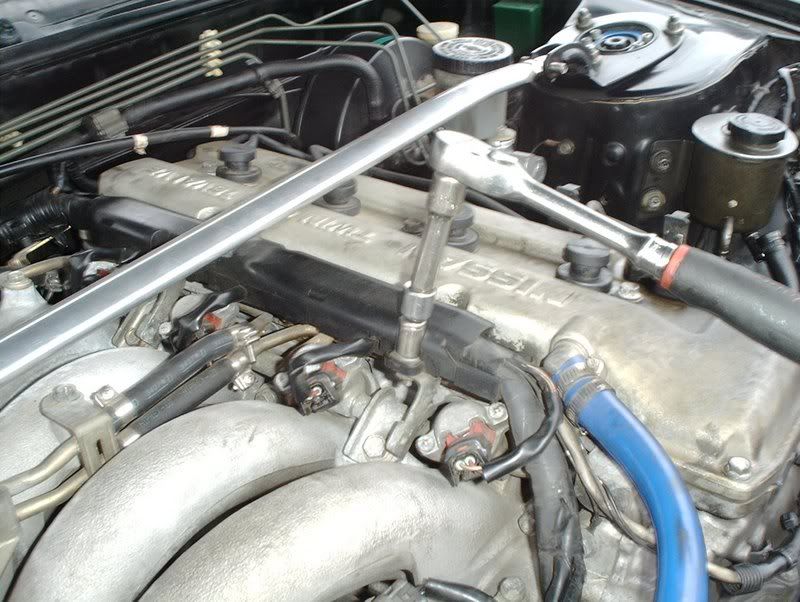
If you have a front strut tower bar now would be a good time to remove it as well. Six 14mm bolts.
![Image]()
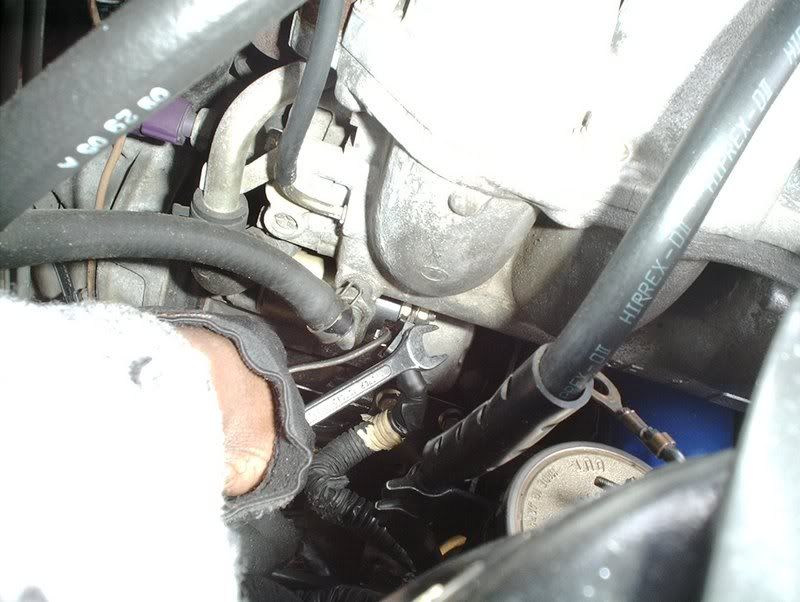
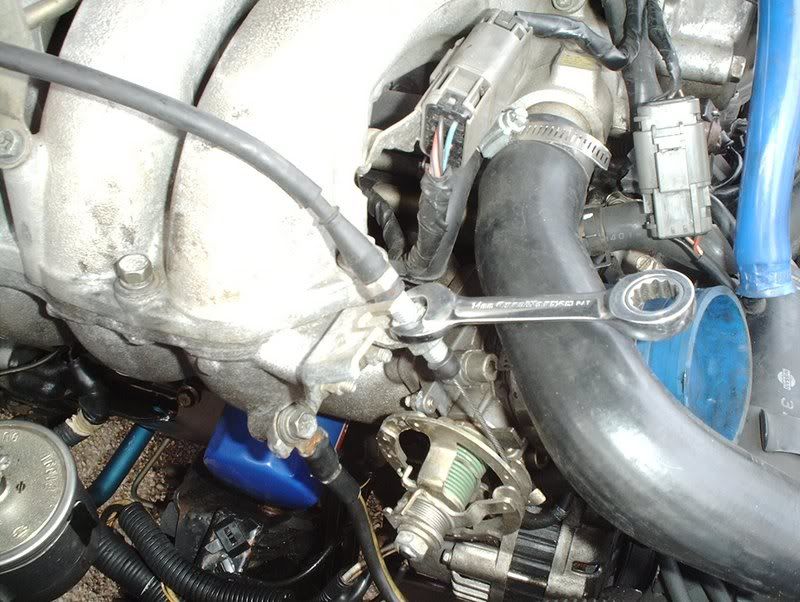
Use a 14mm wrench to loosen the throttle cable nut.
![Image]()
Done!
![Image]()
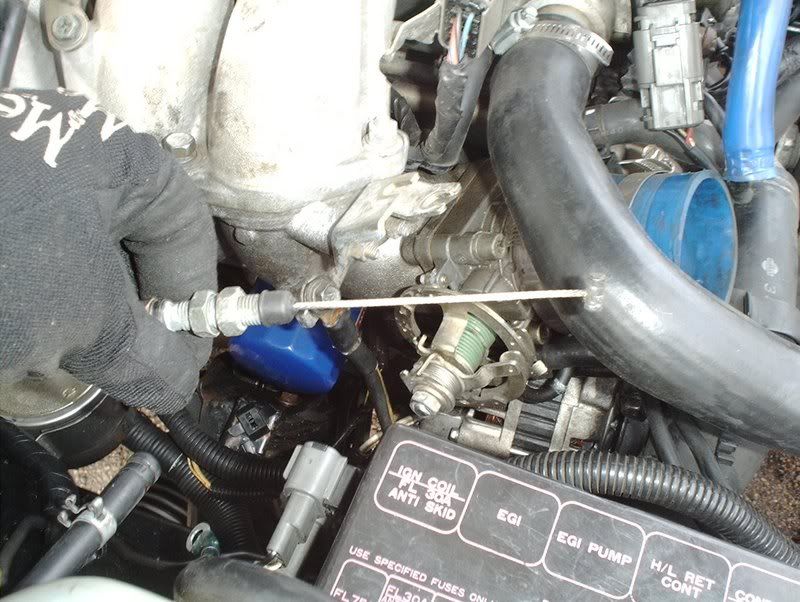
I removed the MAF plug from the MAF sensor.
![Image]()
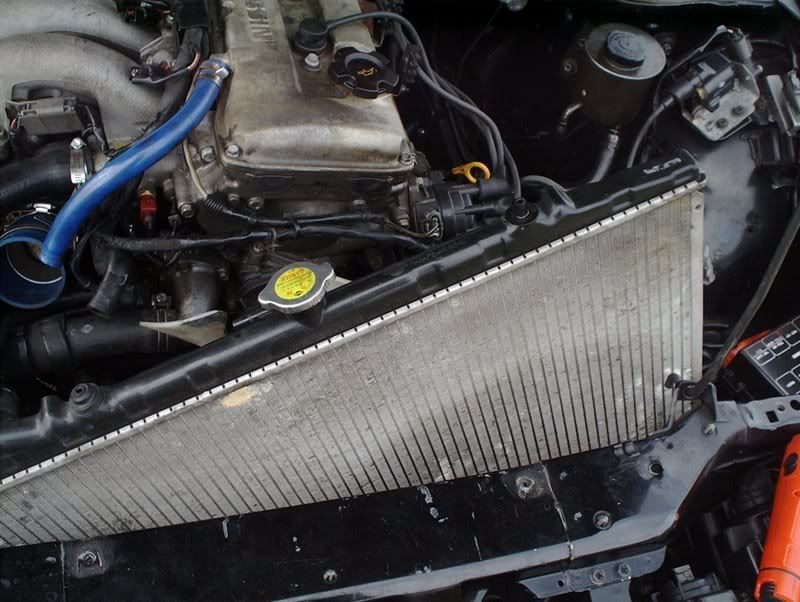
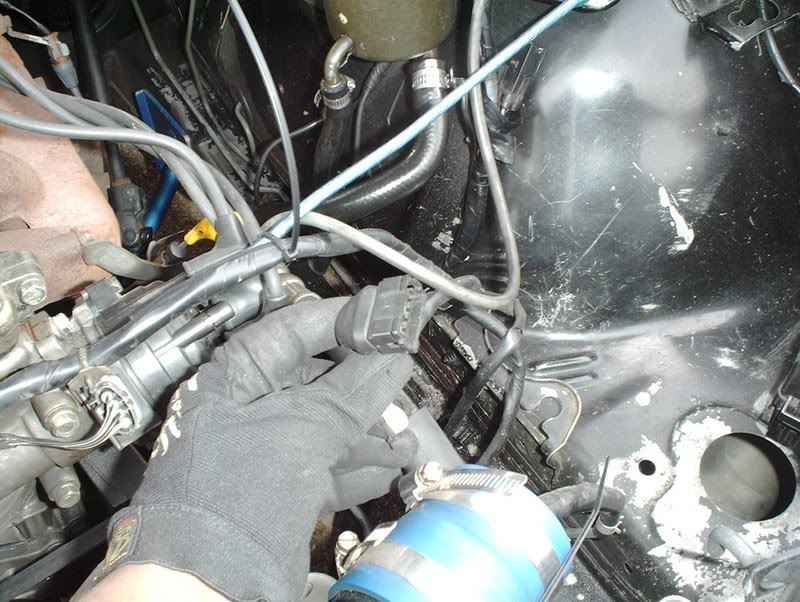
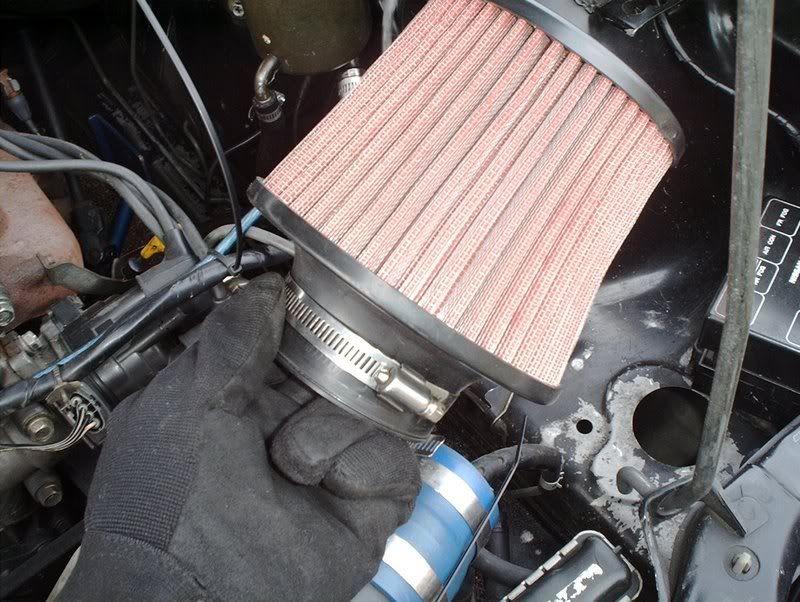
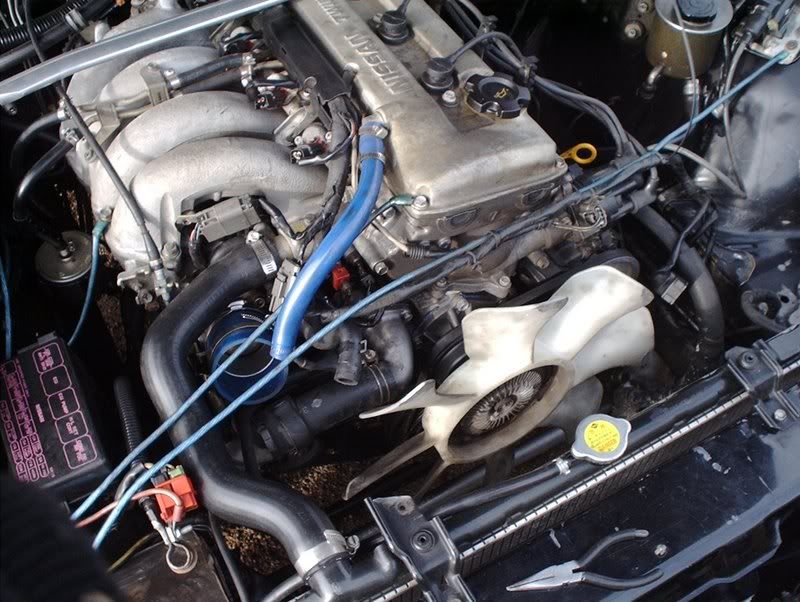
Then the air filter...
![Image]()
and the piping to free up some room.
![Image]()
Done!
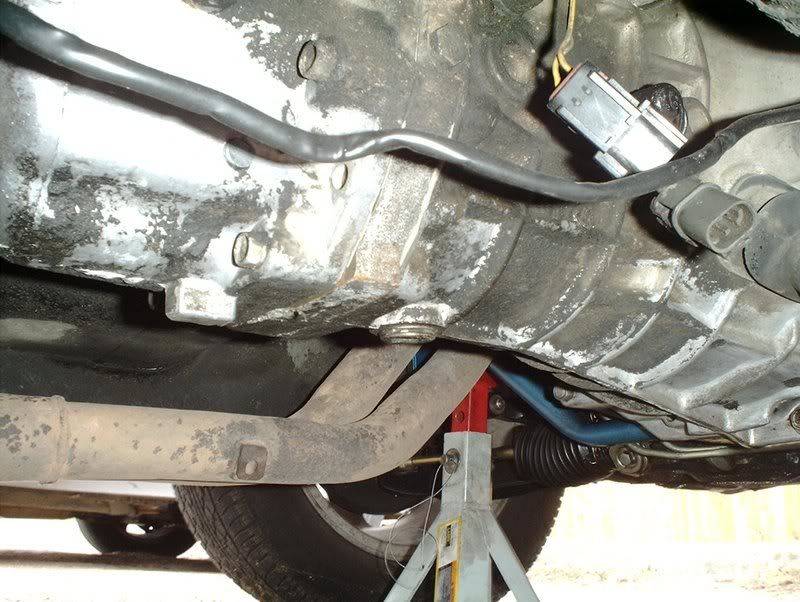
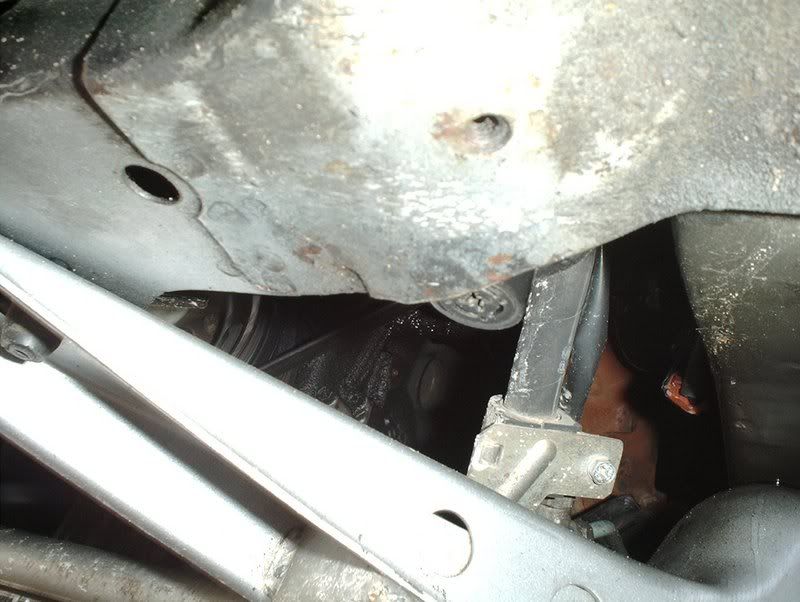
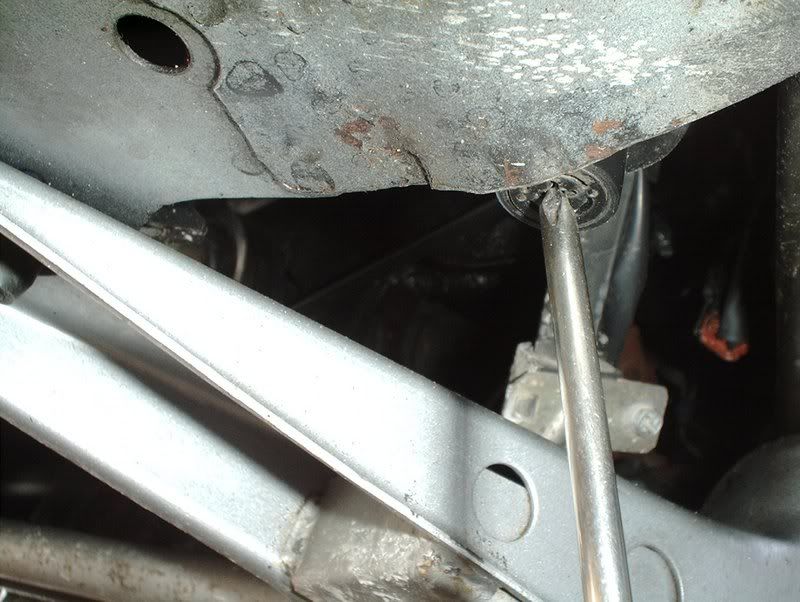
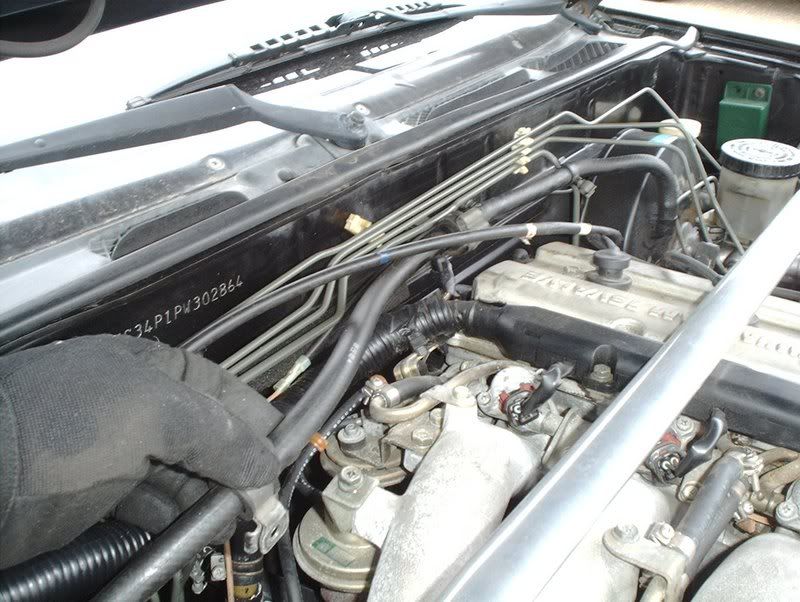
After removing the battery, the throttle cable and the intake I concentrated on draining all my fluids, powersteering, transmission, oil, coolant and clutch.
![Image]()
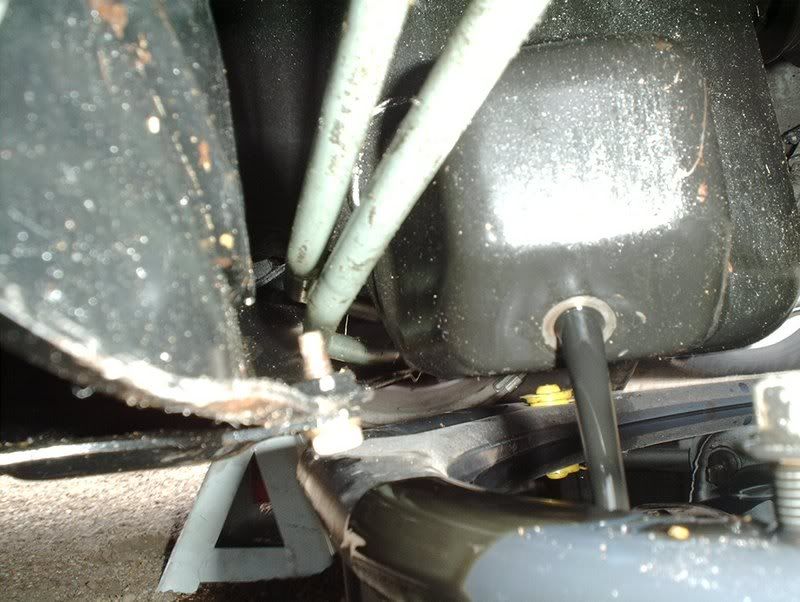
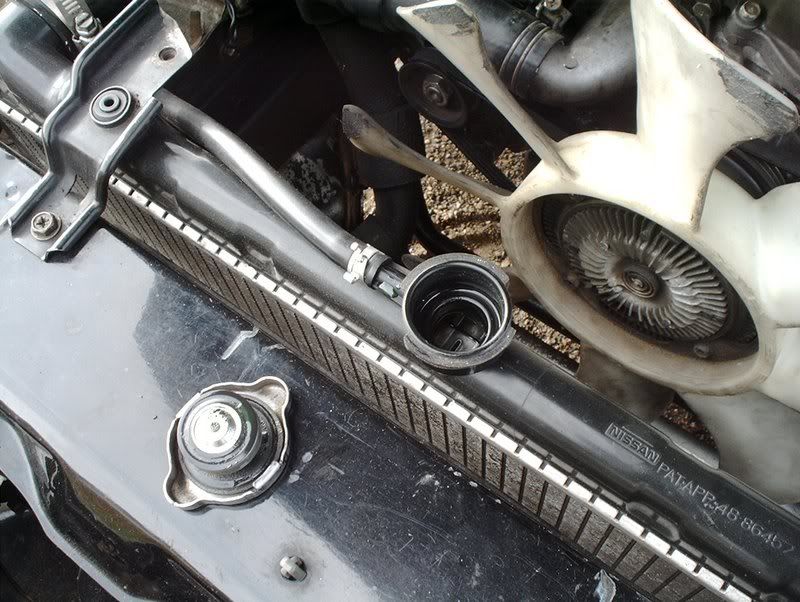
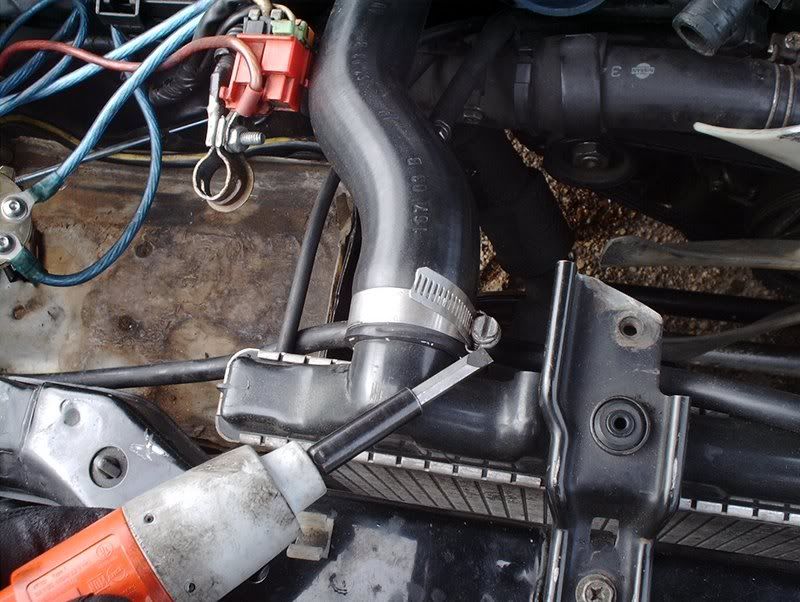
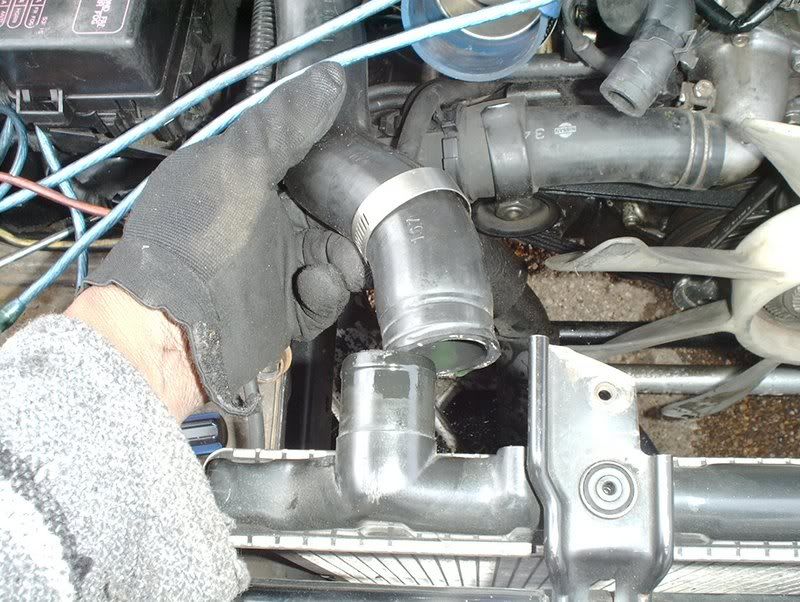
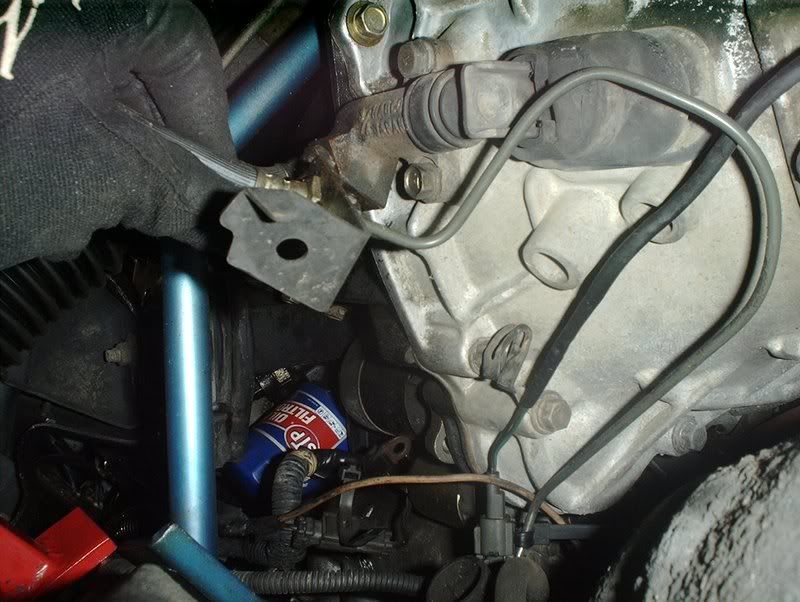
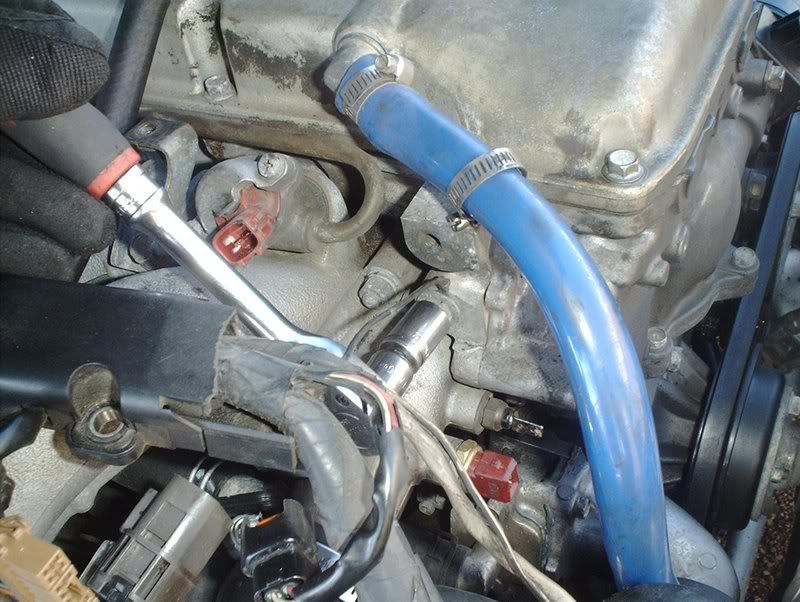
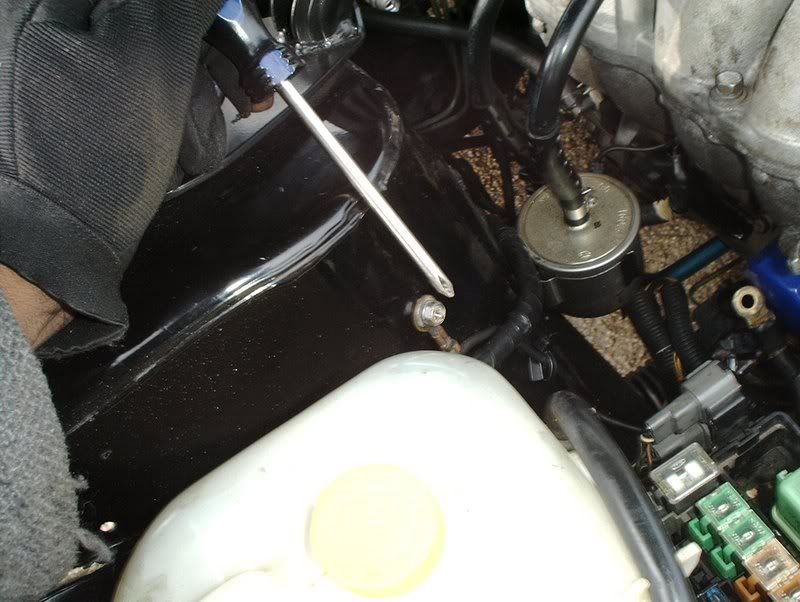
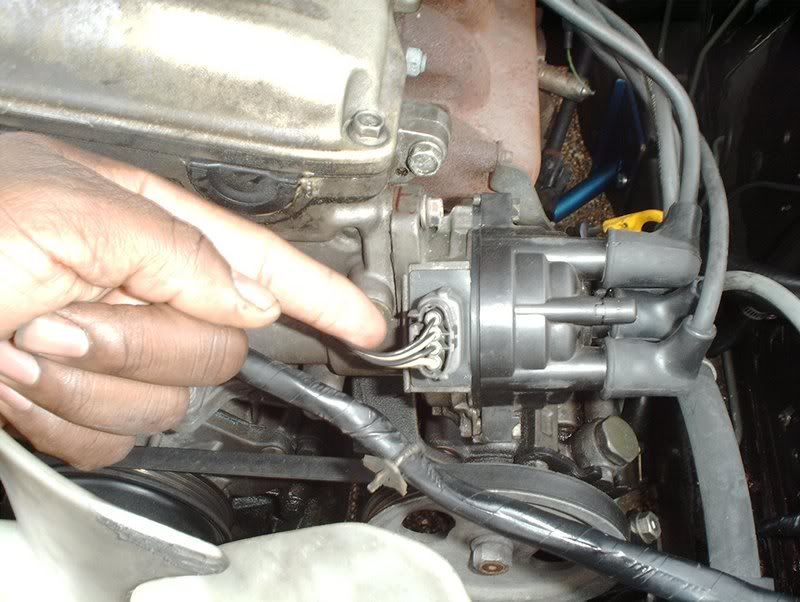
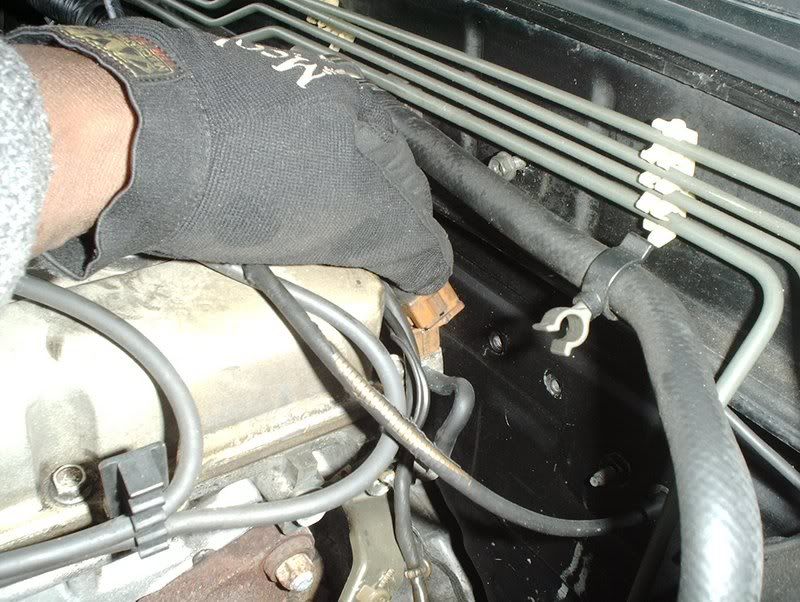
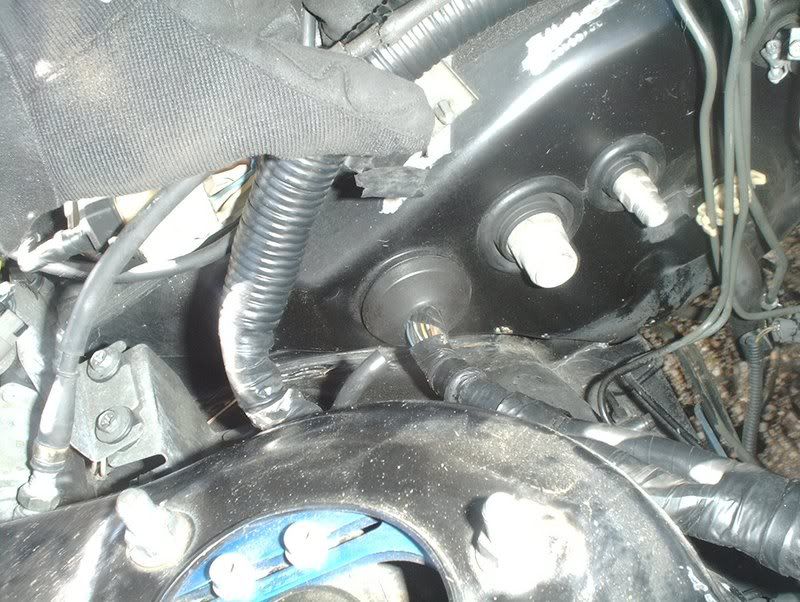
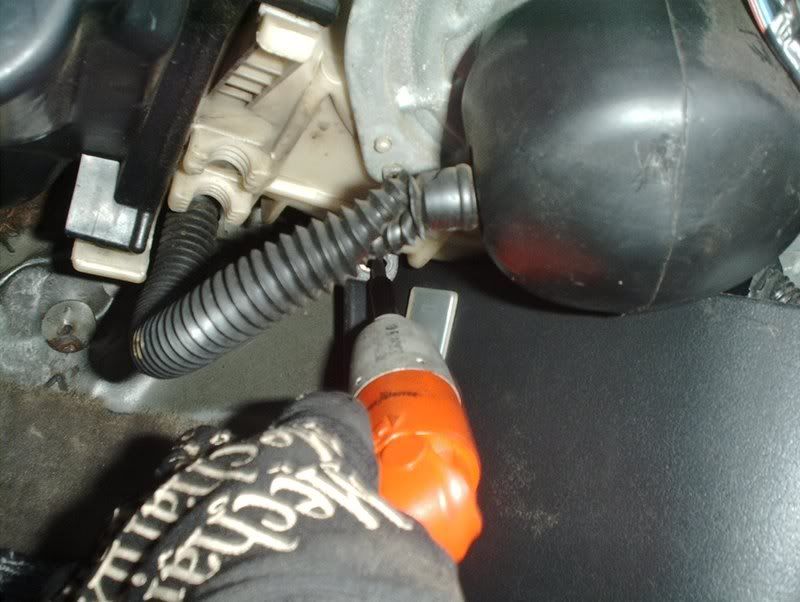
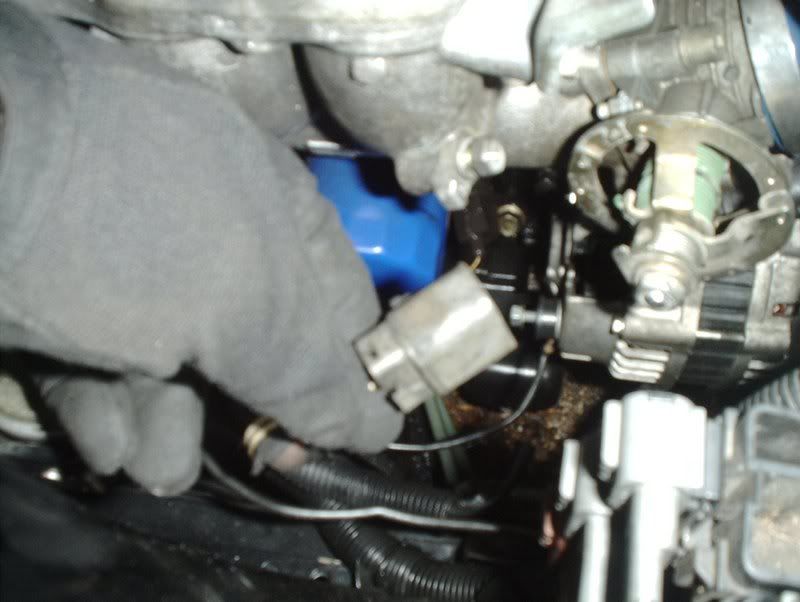
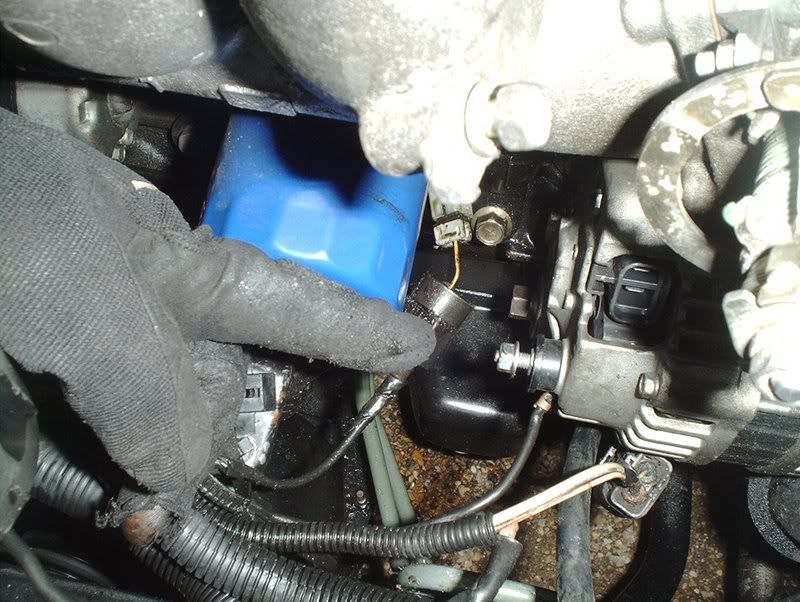
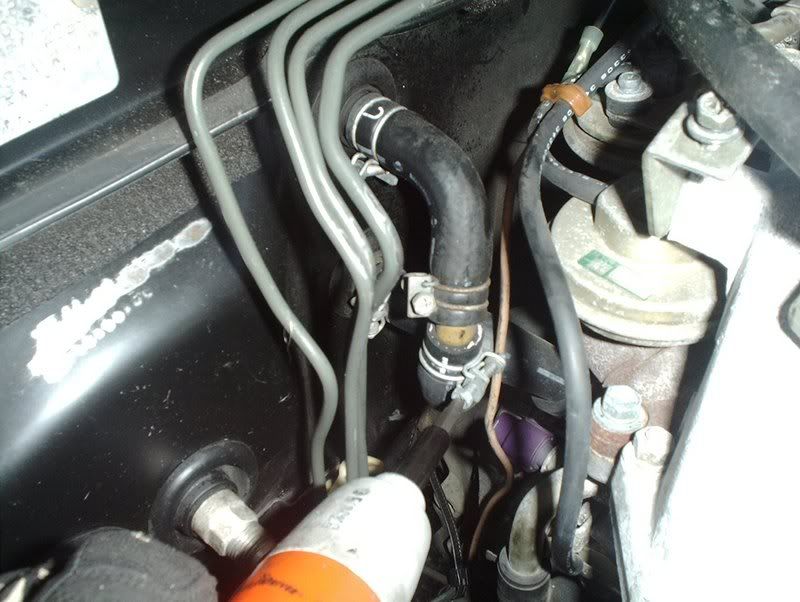
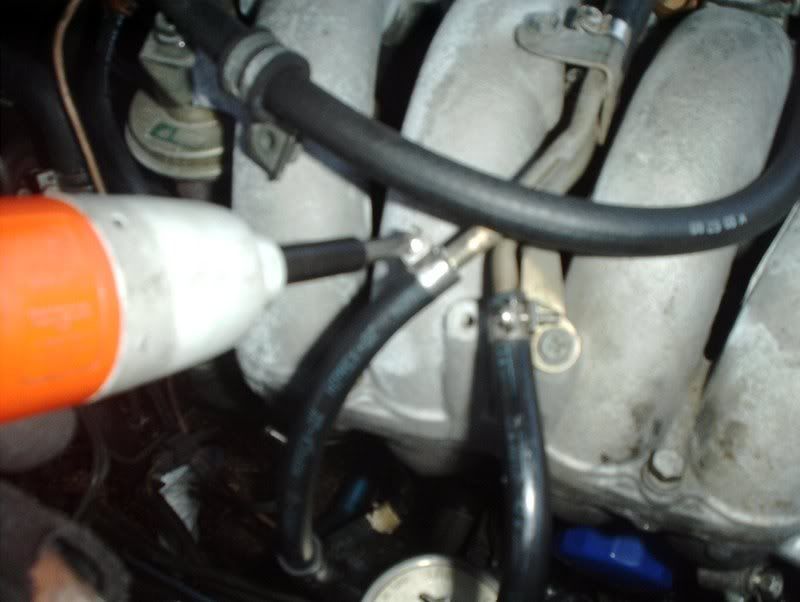
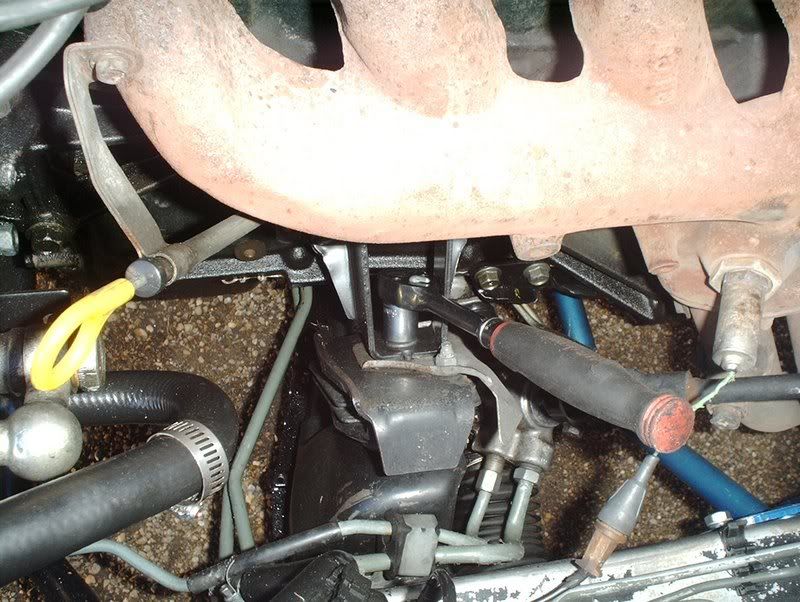
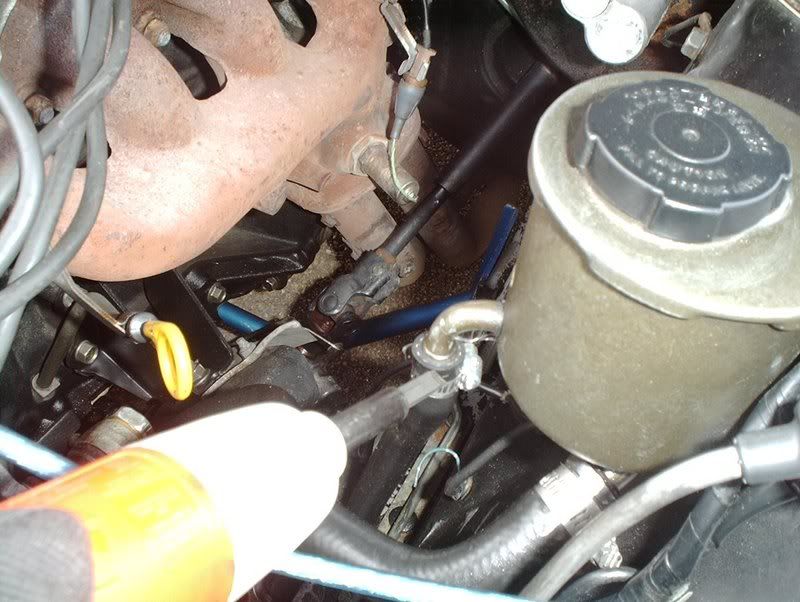
I began with the powersteering fluid by disconecting the two small hoses coming from the P/S resevoir...
![Image]()
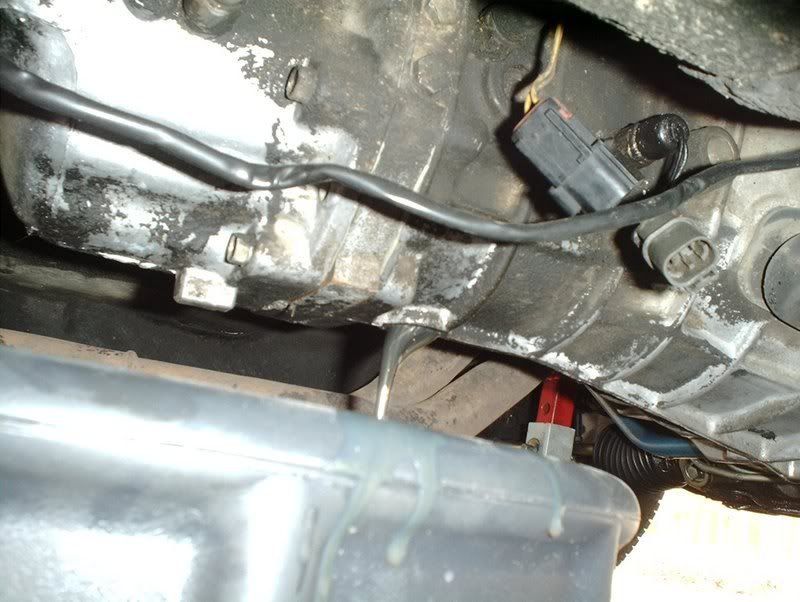
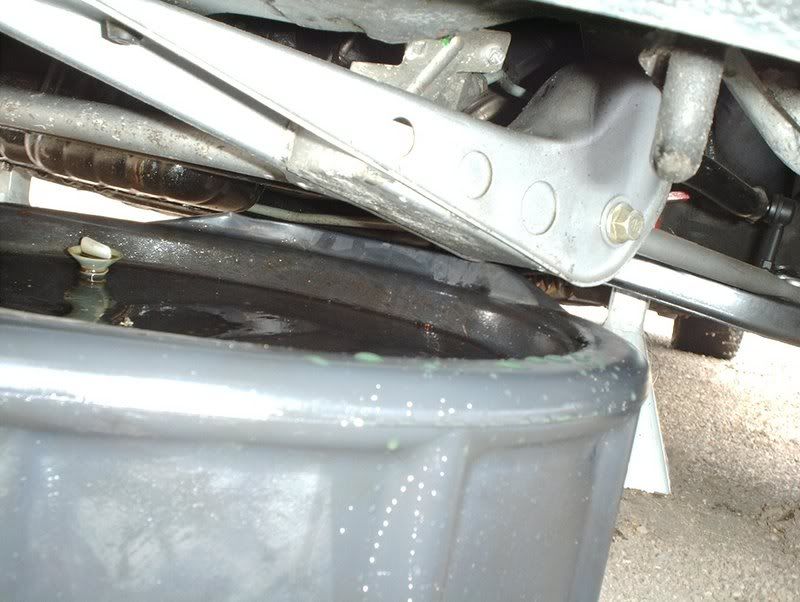
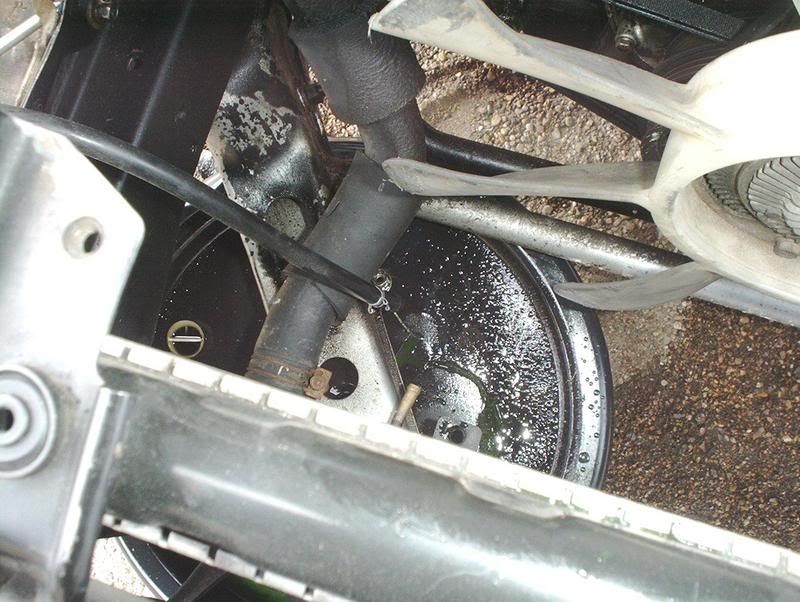
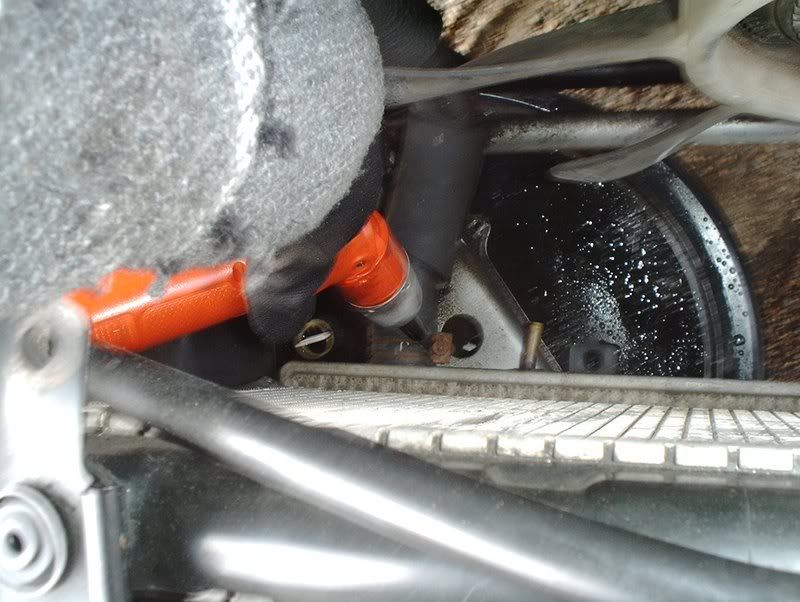
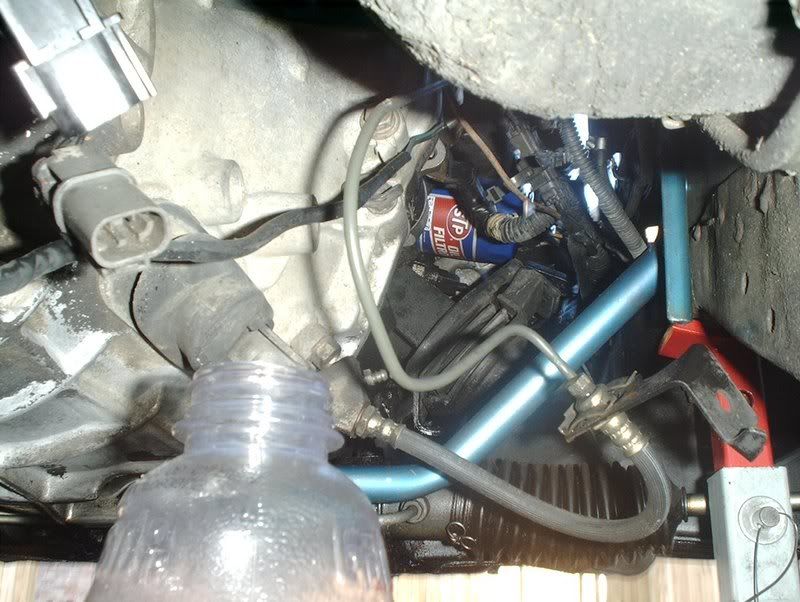
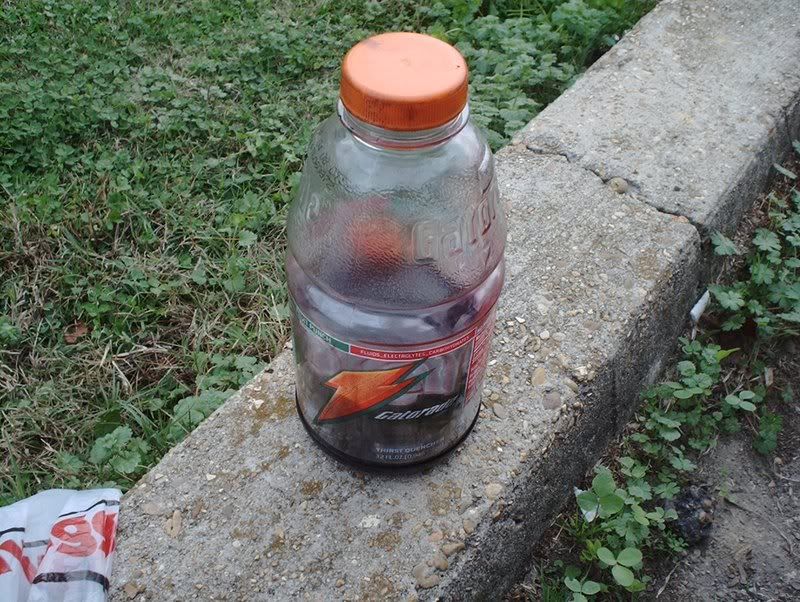
and draining the fluid into a bottle.
![Image]()
Done! Gatorade's newest flavor...P/S grape mango...have some!?
![Image]()
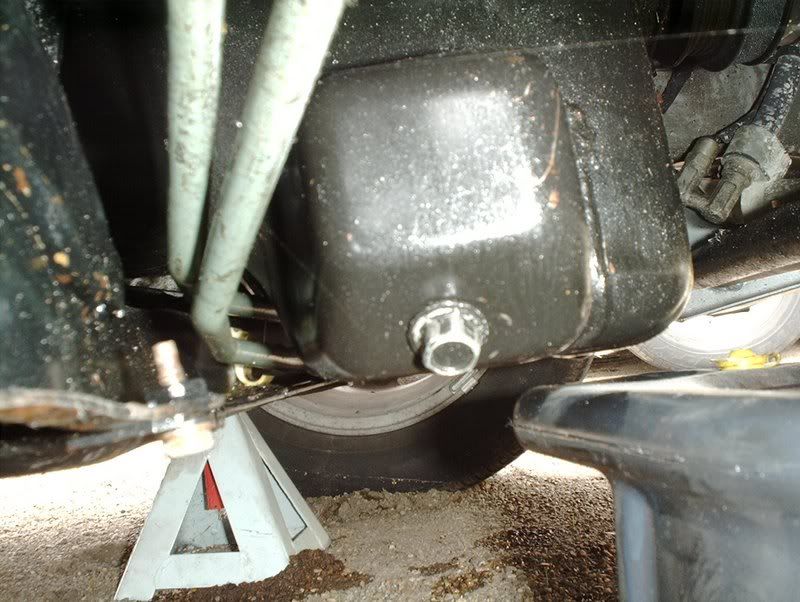
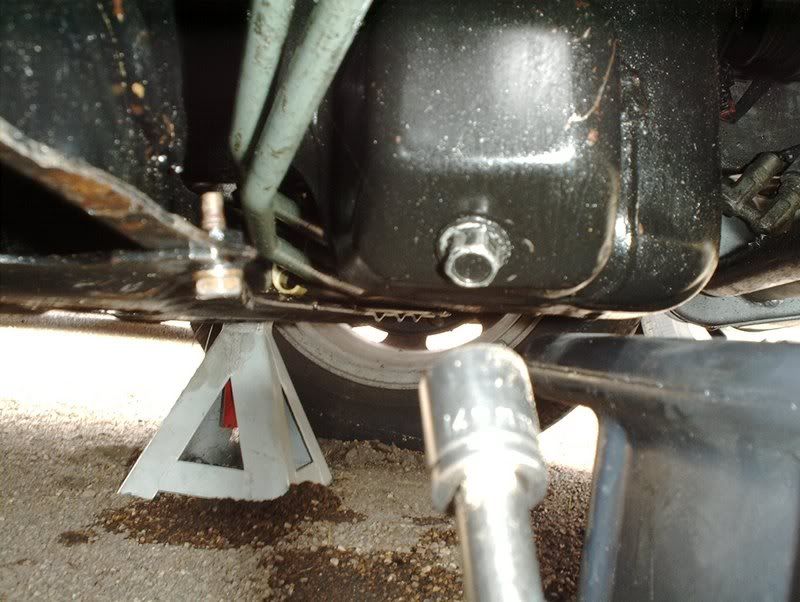
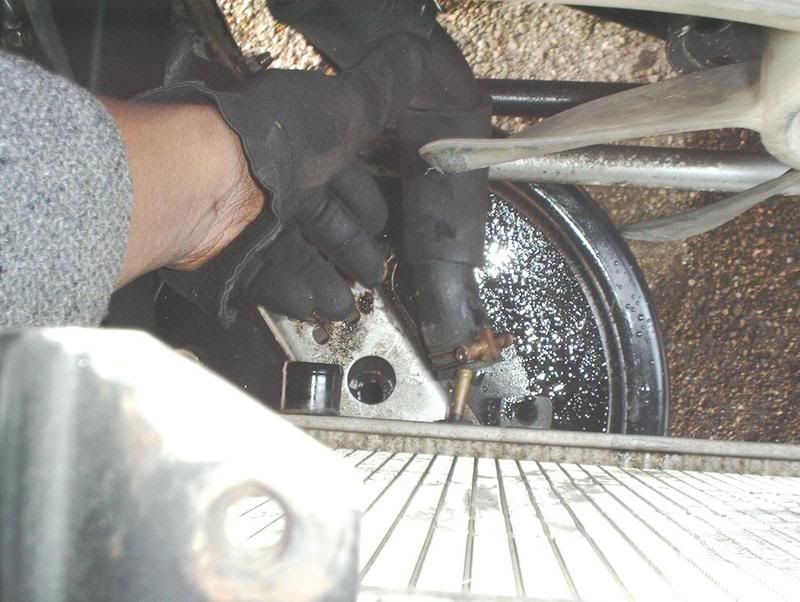
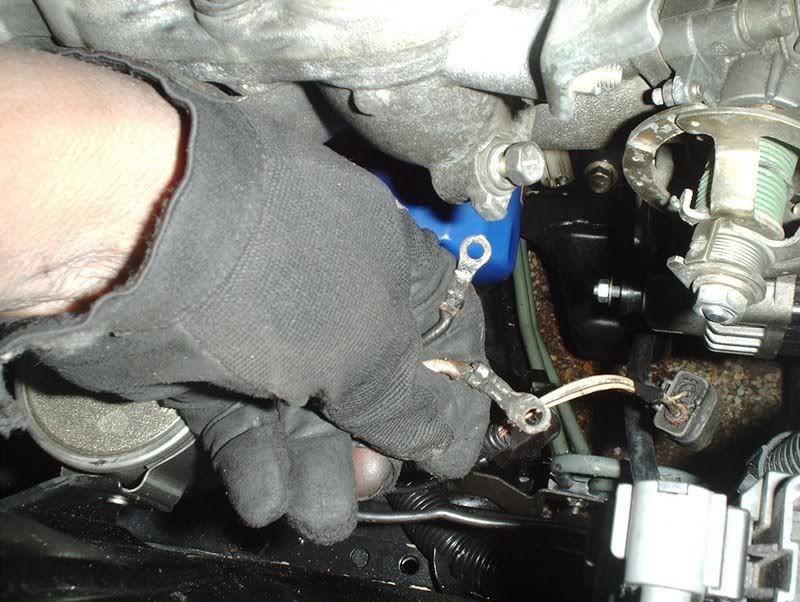
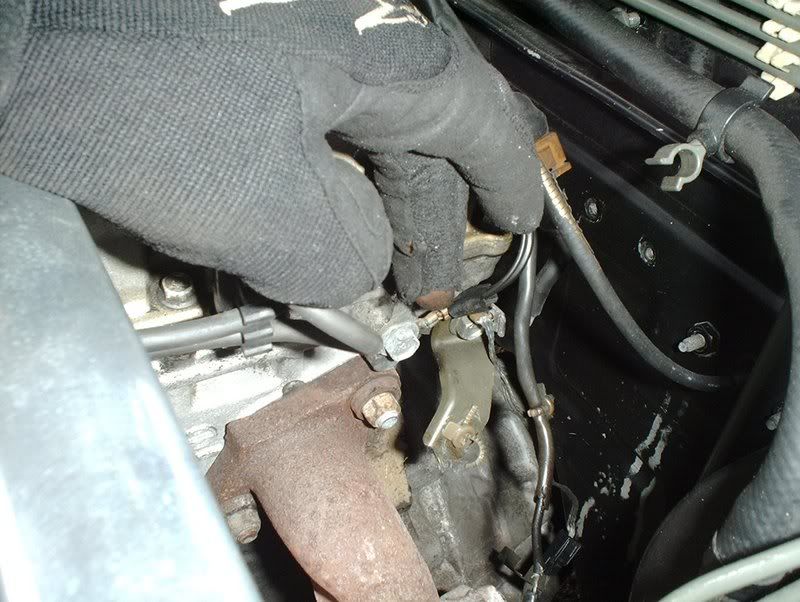
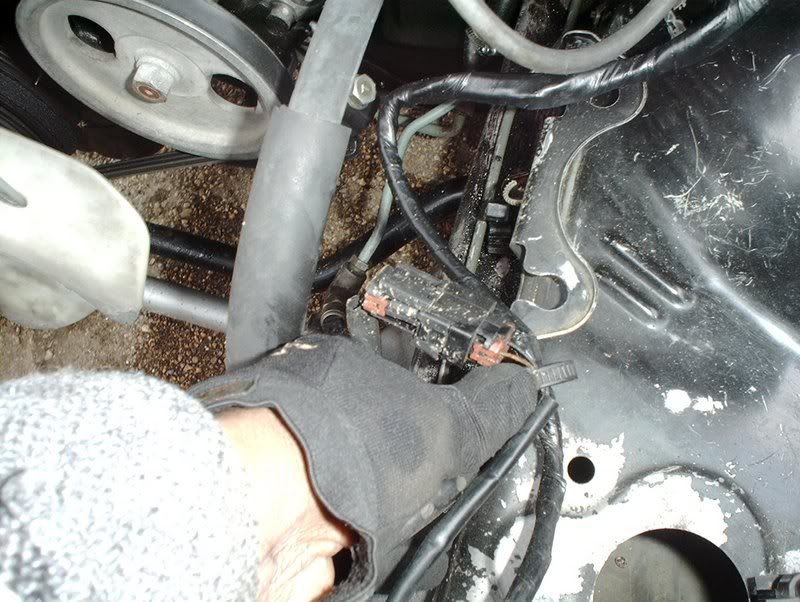
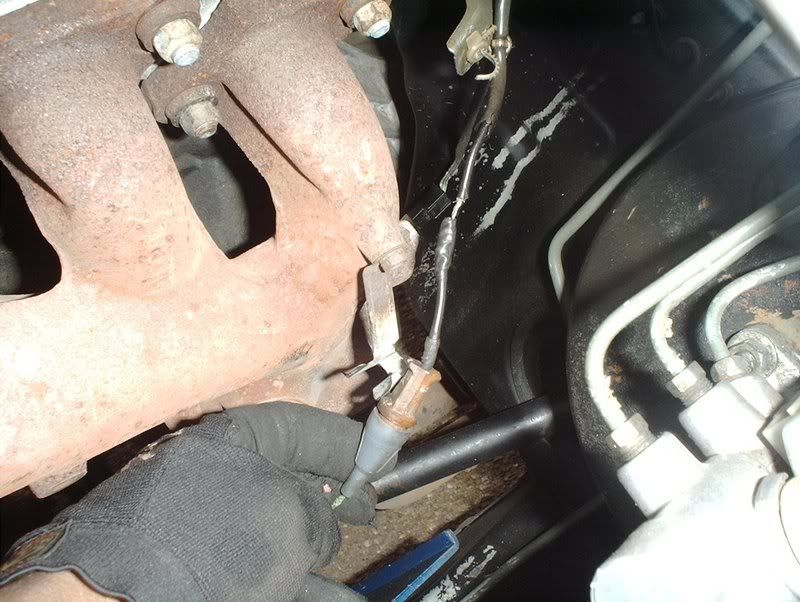
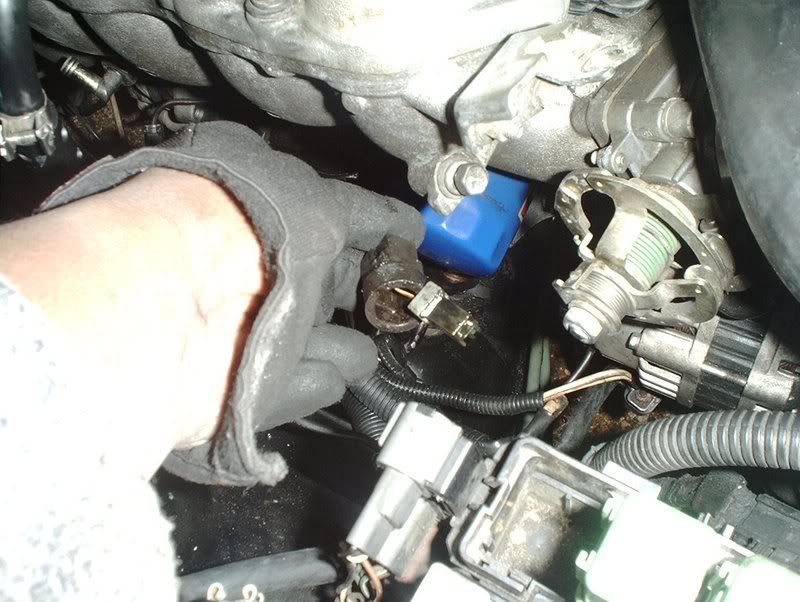
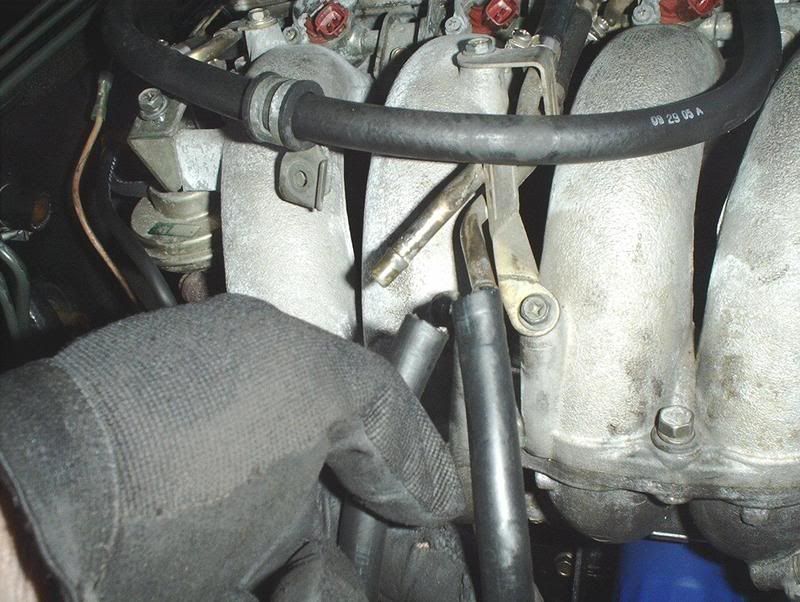
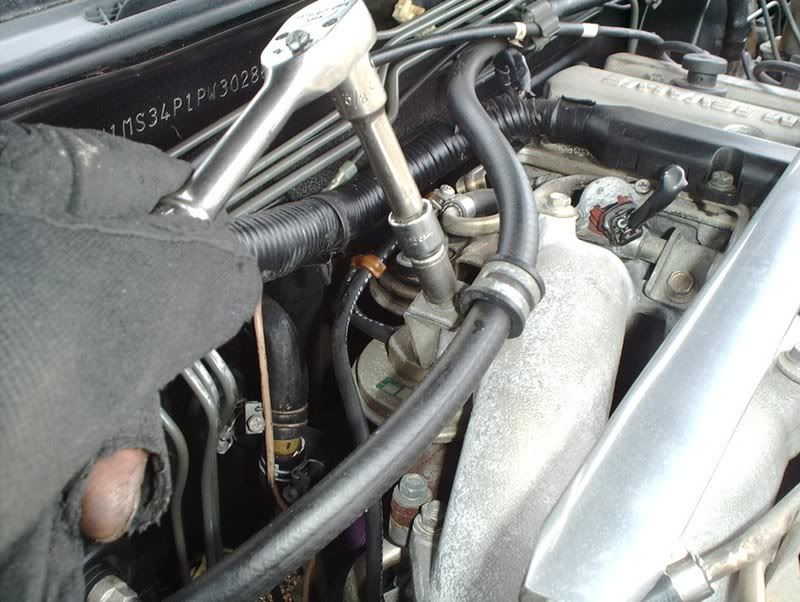
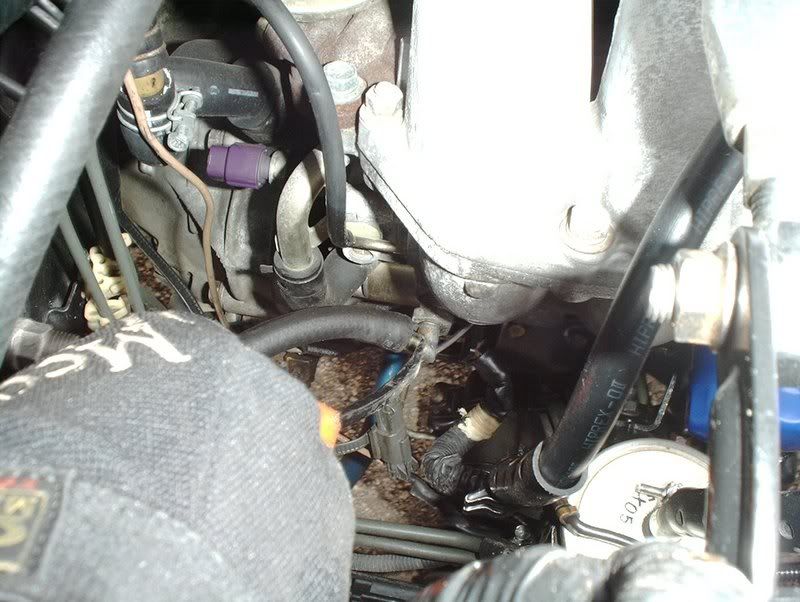
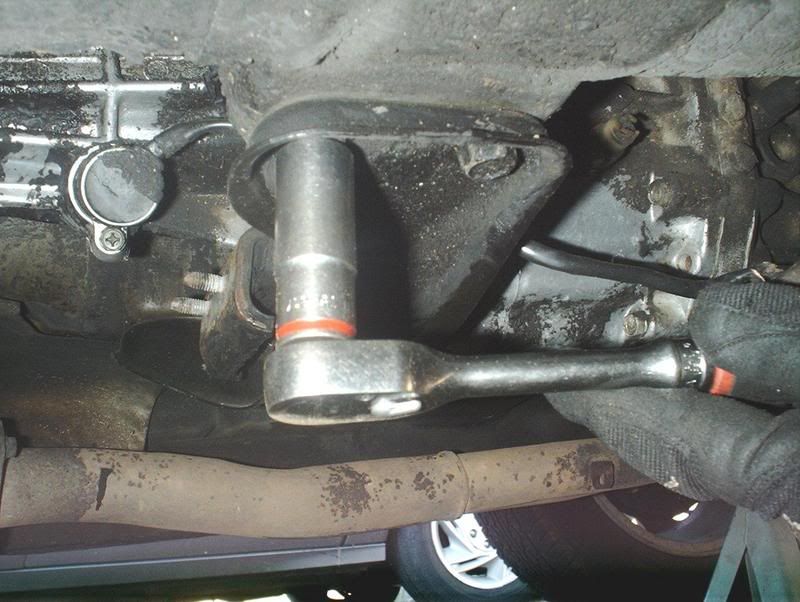
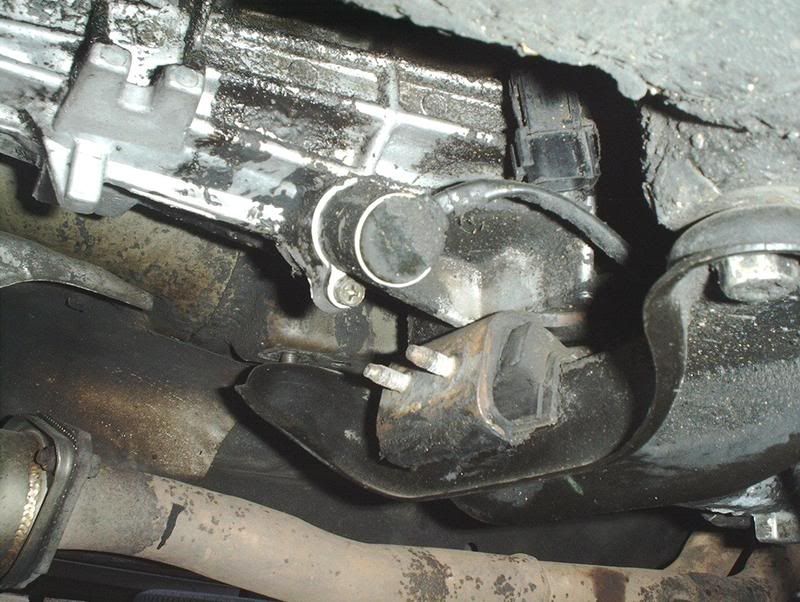
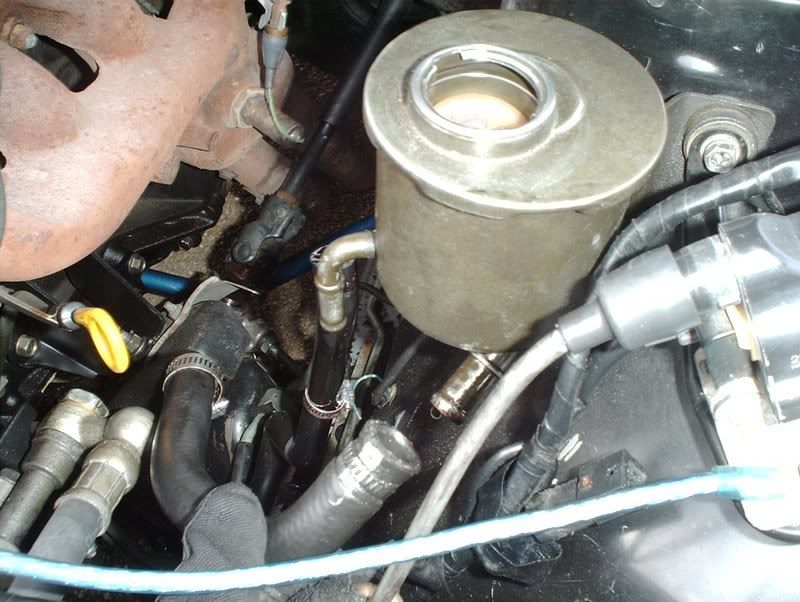
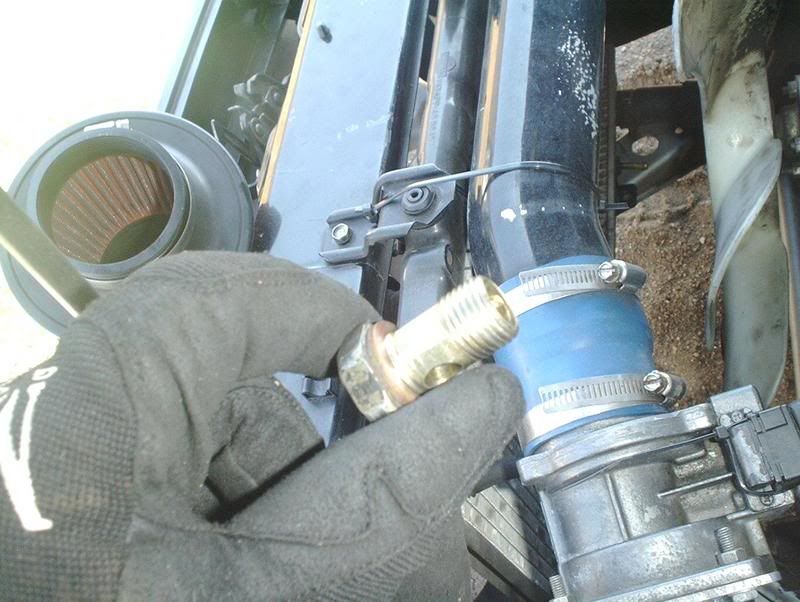
Of course there's some fluid remaining in the P/S pump and the steering rack so I just capped them off to prevent any spillage. Go ahead and remove the powersteering banjo bolt with a 23mm socket. Now you can take the P/S pressure hose off the P/S pump.


Tools needed:
Jack
Jackstands
Wrenchs
Socket wrench
Sockets(different sizes)
Hammer
Screwdrivers(flathead/phillips)
Needle nose pliers
Prybar
Drain pan
Line wrench 10mm
My car is a '93 240SX with a KA24DE engine. This isn't a complete write-up on removing the engine because my car doesn't have emissions or the A/C components so those of you with those will have to look elsewhere about how to handle those systems. I'm just a regular joe doing this swap in the driveway of my apartment with handtools and time.
The first thing I did was to relieve the fuel pressure so when I remove the fuel lines in the engine bay I won't have fuel squirting all over the place.

To relieve fuel pressure go to the engine bay and pull the fuel pump fuse 15A from the fuse block, loosen your fuel tank cap, crank the car and run it until it stalls out.

Next, I removed the battery cables and pulled the battery. You can put the fuel pump fuse back now.
Done!

If you have a front strut tower bar now would be a good time to remove it as well. Six 14mm bolts.
Use a 14mm wrench to loosen the throttle cable nut.
Done!
I removed the MAF plug from the MAF sensor.
Then the air filter...
and the piping to free up some room.
Done!
After removing the battery, the throttle cable and the intake I concentrated on draining all my fluids, powersteering, transmission, oil, coolant and clutch.
I began with the powersteering fluid by disconecting the two small hoses coming from the P/S resevoir...
and draining the fluid into a bottle.
Done! Gatorade's newest flavor...P/S grape mango...have some!?
Of course there's some fluid remaining in the P/S pump and the steering rack so I just capped them off to prevent any spillage. Go ahead and remove the powersteering banjo bolt with a 23mm socket. Now you can take the P/S pressure hose off the P/S pump.