

so you think it's self explaintory because there are no instructions?? you think it's easy as bolting on with no mods??? you think there so cheap there not worth buying???
your wrong on all accounts. so iam gonna tell you the proper way to prep a (Freddy) intake mani for your trusty rb25det.
this is going a s13.
so basically all these copies are made from the originall greddy model. so some are better than others. i opted for this particualr unit.
Bolt on R32 r33 R34 GT s GTS RB25DET Cast Intake Manifold High Flow Fuel Rail | eBay
there are also polished models, i didn't need that much flash so i got this one.
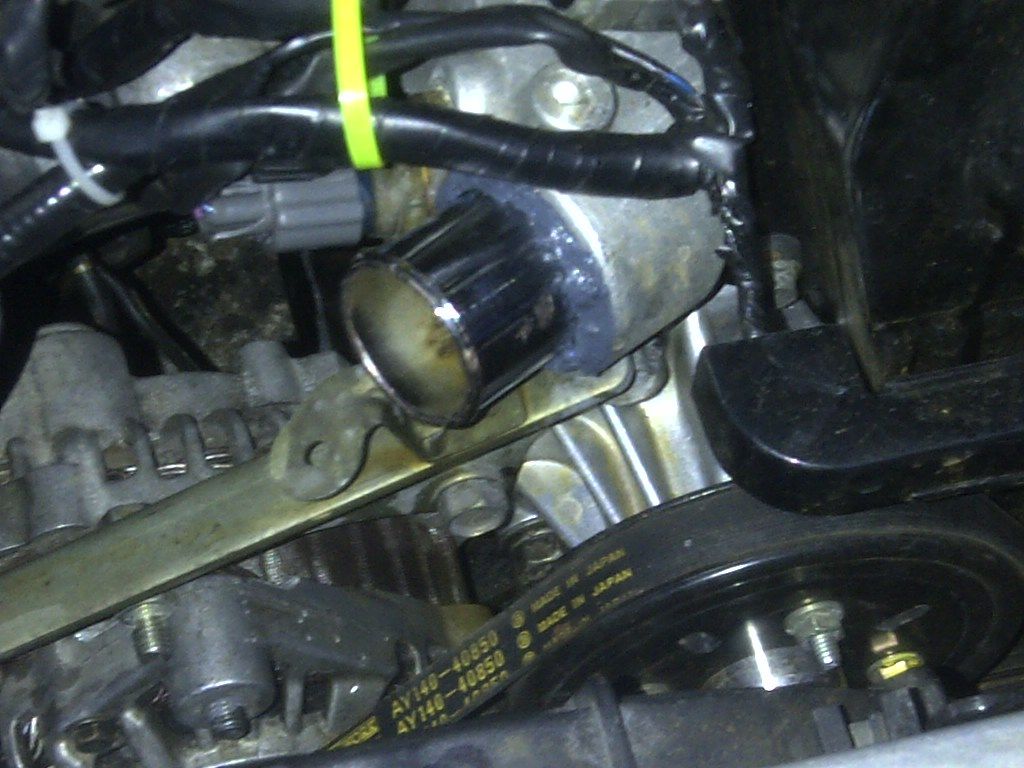
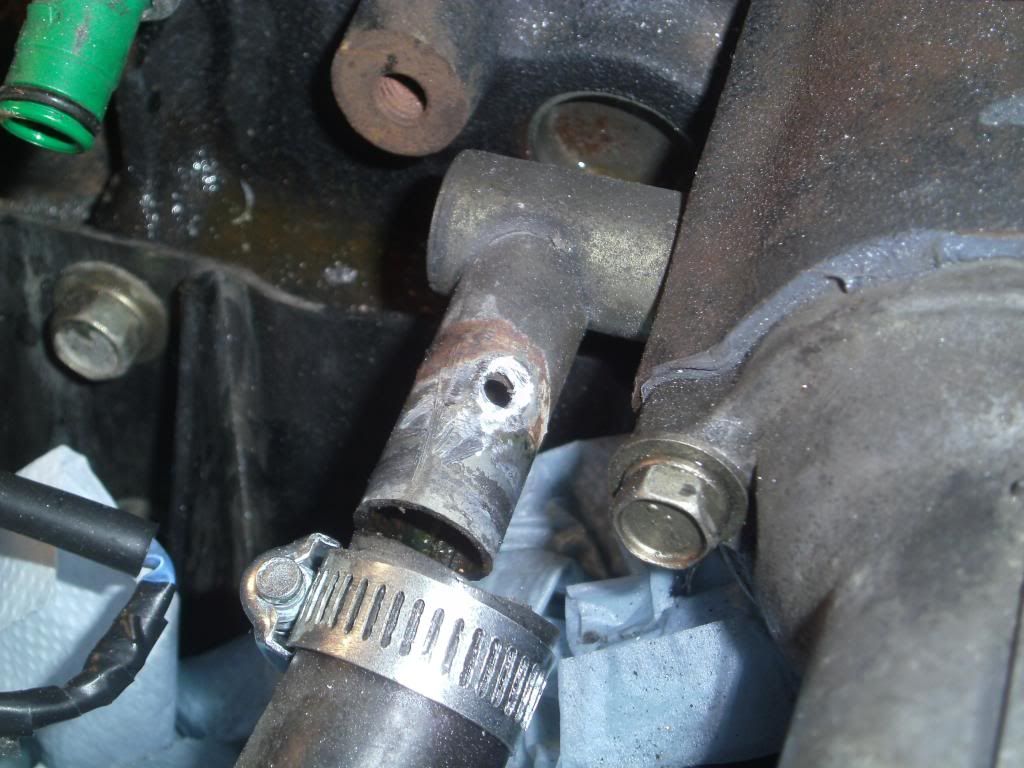
one of the 1st things you want to do is seal the water neck, either welding or rtv.
![Image]()
not securing the water neck will lead to what happend above. coolant/water will seap out so you have to seal this bad boy.
![Image]()
2nd thing is file the flang down for any inperfections. don't take off too much as a little bit will do it. you need to hold the file and use mostly your palm in a forward and backward motion to smooth the flange.
![Image]()
i learned this the hard way after i installed the mani before doing this or my next preperation and water leaked out the bottom of the mani.
my next prep item is the gasket prep.
i brought a brand new, thicker intake mani gasket from cometic.
Nissan 14035 75T01 Intake Manifold Gasket RB25DET RB25DE R32 r33 JDM New | eBay
like i said, before ina rush to slap this on i got a leak when the car ran, so now iam going to do this the "right way"
so after i smooth out the intake mani flange. i then put some nissan rtv around the coolant galleys on both sides of the intake gasket, just for piece of mind.
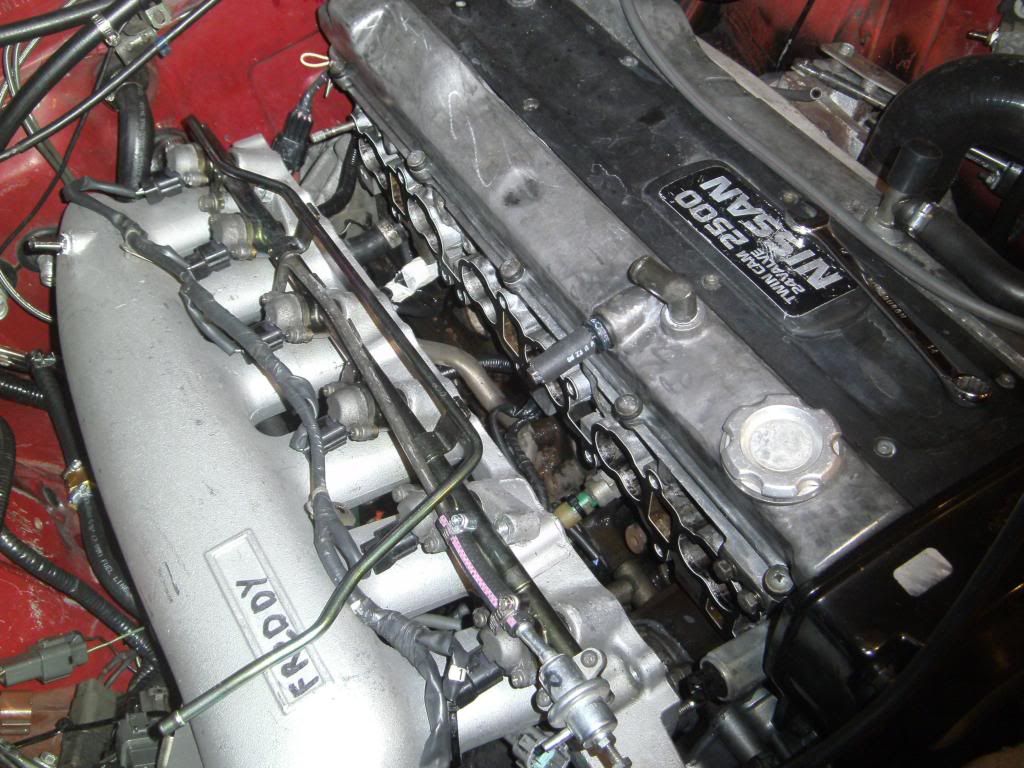
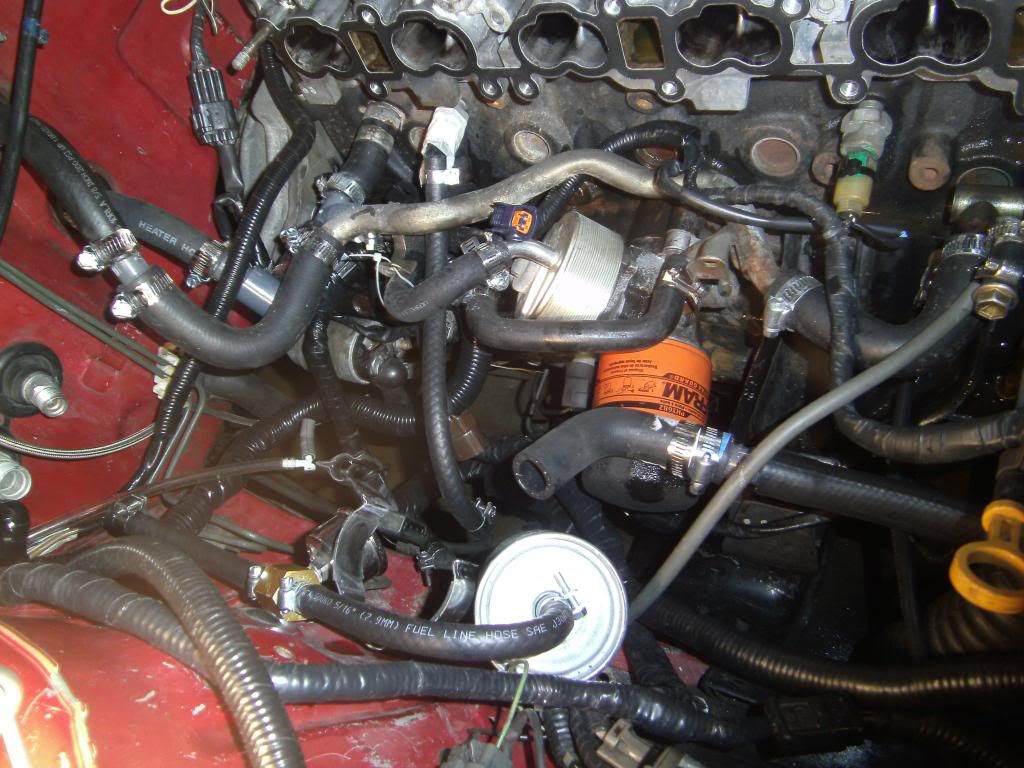
1st remove the mani. i installed this when it was outside of the car. it appears it's a cluster to get off. but with ratchet extensions it's really not that bad.
![Image]()
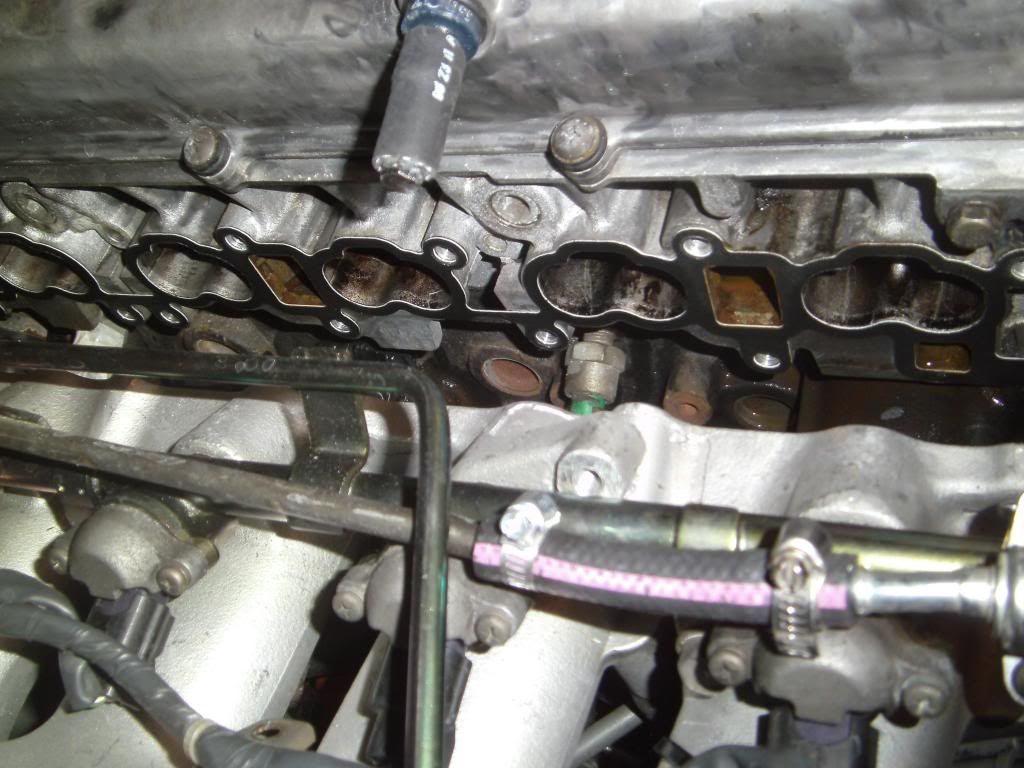
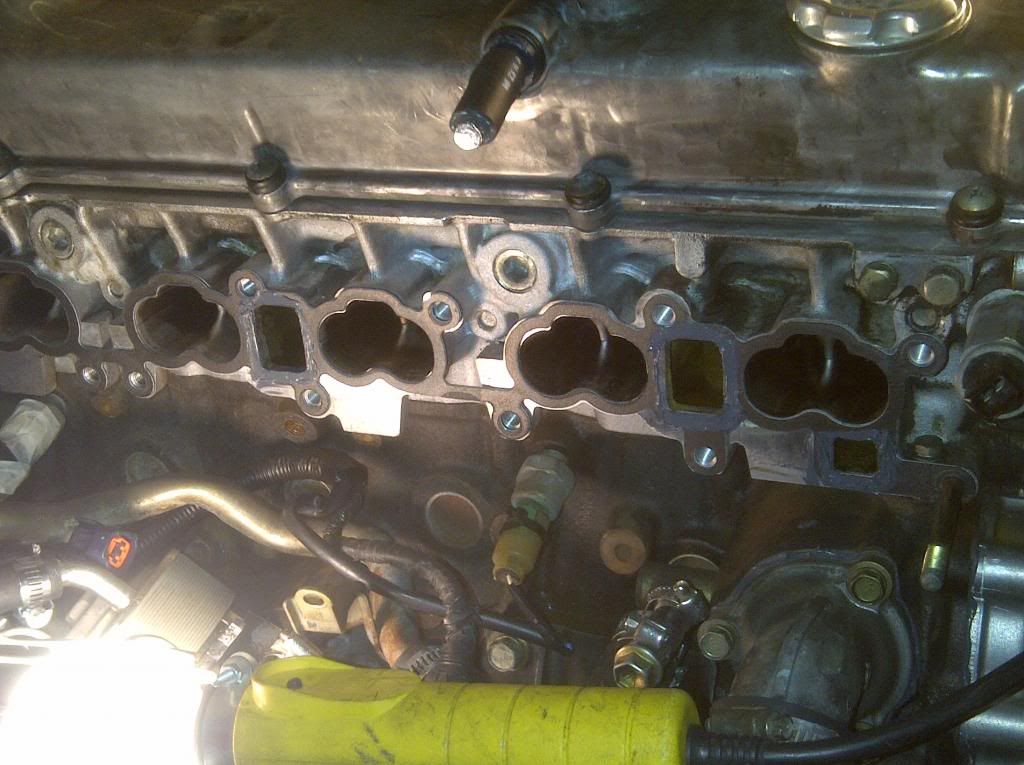
these are the coolant galleys
![Image]()
heres what the coolant/air lines looks like now with the ffim. it took me a small fortune of hoses to cut and make the right ones fit. get a bronze connector t as the plastic ones can't handle the coolant heat.
![Image]()
and while you are downthere, if you havent there is a water neck nipple you won't be needing anymore.
![Image]()
slide the hose over and violia!!
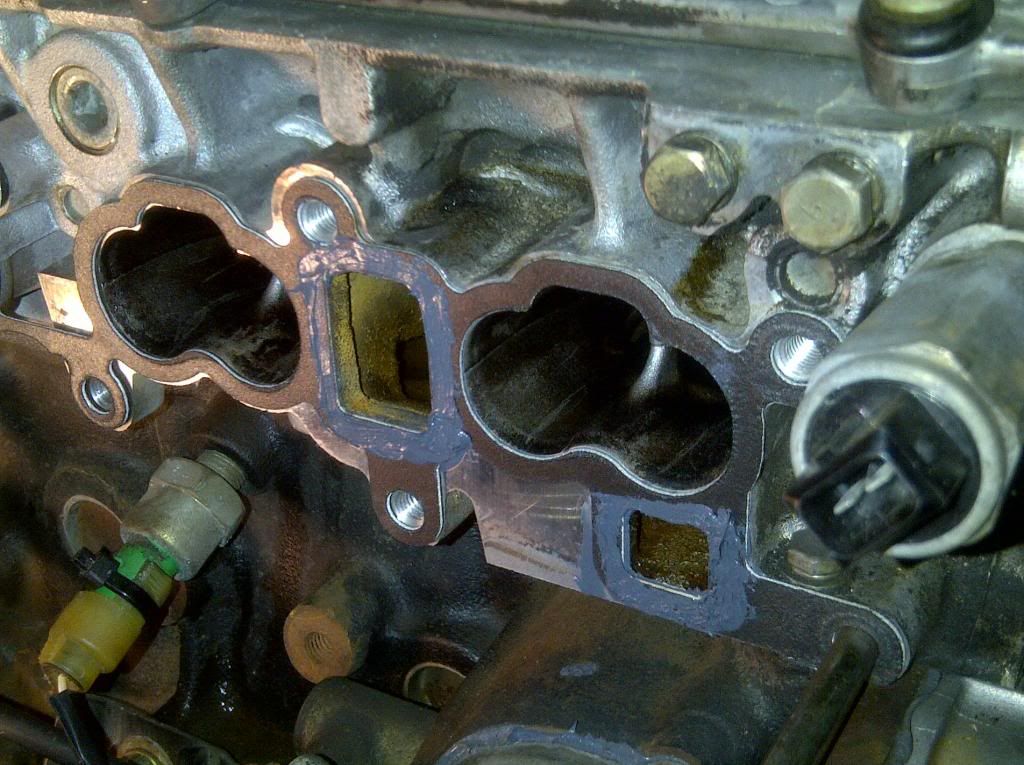
now time for gasket prep
![Image]()
i also put some on the other side so nothing will ever leak again.
![Image]()
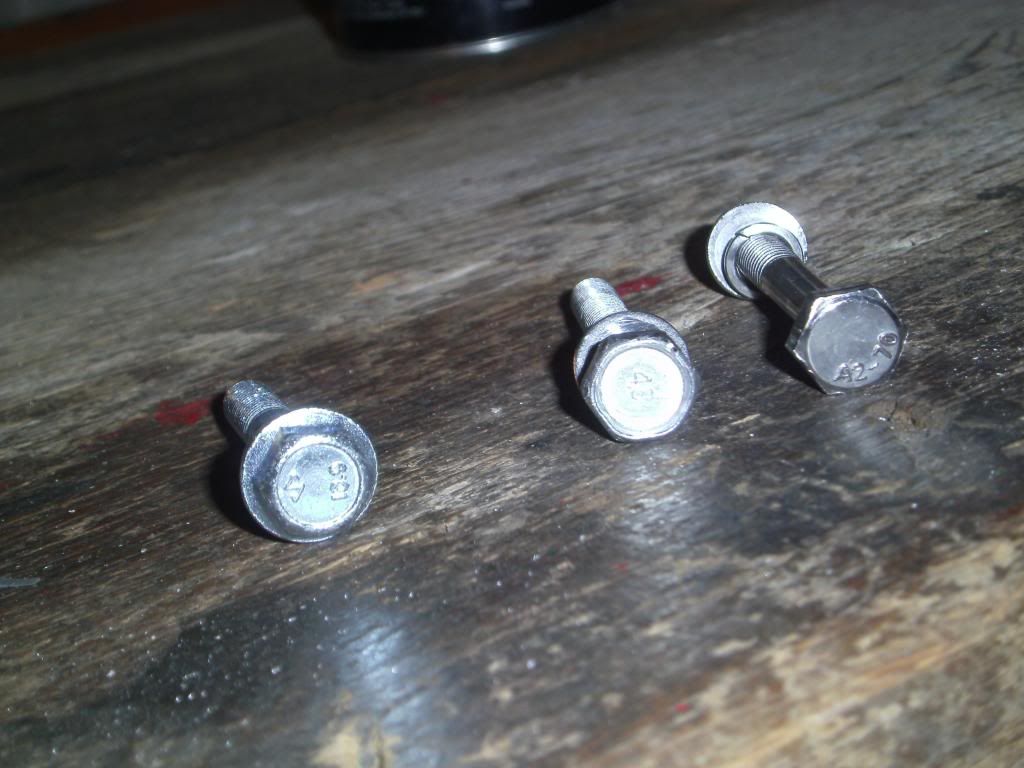
so next up and the main reason why people have problems with these are the ubber cheap bolts!! they aren't strong enough. and with the right tourqe they will break, and you will be butt-f***ed. so i took the bolts that came with the mani, went to local ace hardware, and hot harder bolts.
![Image]()
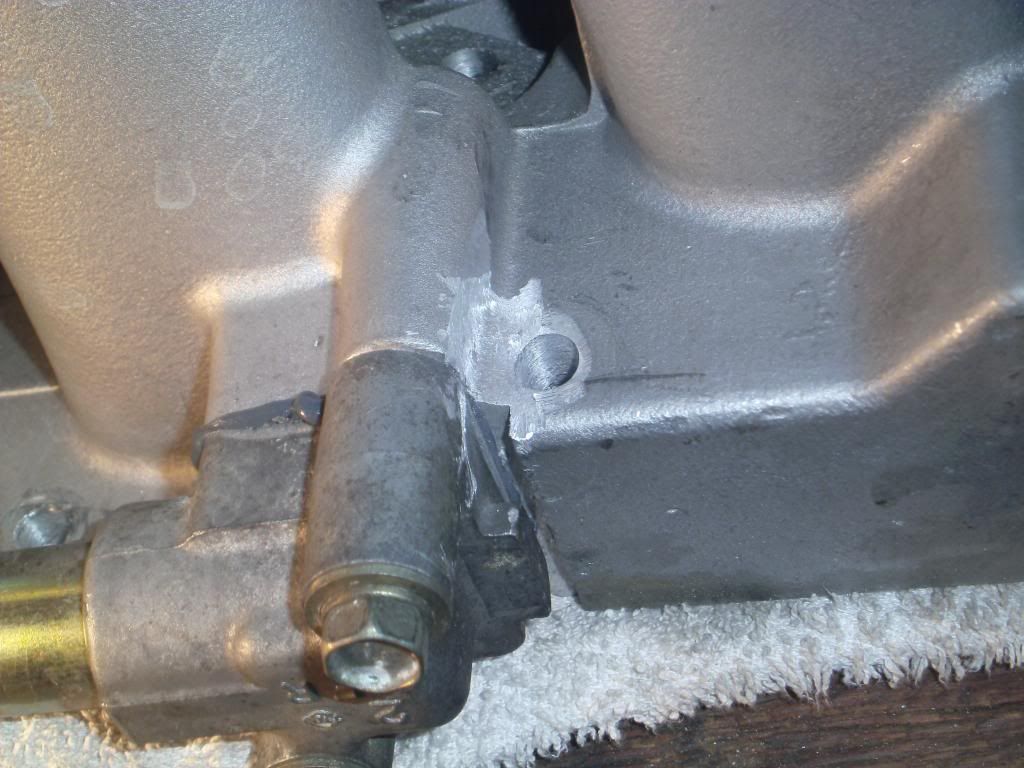
also while you have the manifold off smooth this part over with a die grinder. so you can get a socket clearance to slide over the bolt .
![Image]()
the tq spec are 10-12ft lbs iirc. you won't need a tq wrench for these and do it in a sequence starting with the 2 center bolts, then work your way outward.
install the mani and boom there you go.
your wrong on all accounts. so iam gonna tell you the proper way to prep a (Freddy) intake mani for your trusty rb25det.
this is going a s13.
so basically all these copies are made from the originall greddy model. so some are better than others. i opted for this particualr unit.
Bolt on R32 r33 R34 GT s GTS RB25DET Cast Intake Manifold High Flow Fuel Rail | eBay
there are also polished models, i didn't need that much flash so i got this one.
one of the 1st things you want to do is seal the water neck, either welding or rtv.

not securing the water neck will lead to what happend above. coolant/water will seap out so you have to seal this bad boy.
2nd thing is file the flang down for any inperfections. don't take off too much as a little bit will do it. you need to hold the file and use mostly your palm in a forward and backward motion to smooth the flange.
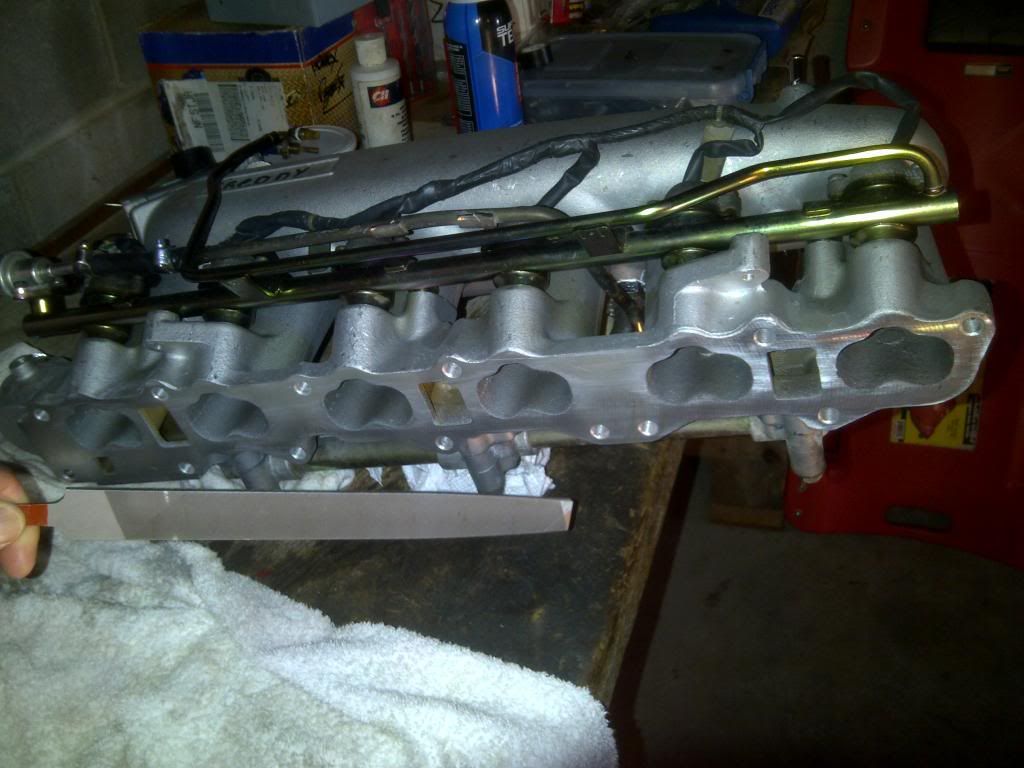
i learned this the hard way after i installed the mani before doing this or my next preperation and water leaked out the bottom of the mani.
my next prep item is the gasket prep.
i brought a brand new, thicker intake mani gasket from cometic.
Nissan 14035 75T01 Intake Manifold Gasket RB25DET RB25DE R32 r33 JDM New | eBay
like i said, before ina rush to slap this on i got a leak when the car ran, so now iam going to do this the "right way"
so after i smooth out the intake mani flange. i then put some nissan rtv around the coolant galleys on both sides of the intake gasket, just for piece of mind.
1st remove the mani. i installed this when it was outside of the car. it appears it's a cluster to get off. but with ratchet extensions it's really not that bad.
these are the coolant galleys
heres what the coolant/air lines looks like now with the ffim. it took me a small fortune of hoses to cut and make the right ones fit. get a bronze connector t as the plastic ones can't handle the coolant heat.
and while you are downthere, if you havent there is a water neck nipple you won't be needing anymore.
slide the hose over and violia!!
now time for gasket prep
i also put some on the other side so nothing will ever leak again.
so next up and the main reason why people have problems with these are the ubber cheap bolts!! they aren't strong enough. and with the right tourqe they will break, and you will be butt-f***ed. so i took the bolts that came with the mani, went to local ace hardware, and hot harder bolts.
also while you have the manifold off smooth this part over with a die grinder. so you can get a socket clearance to slide over the bolt .
the tq spec are 10-12ft lbs iirc. you won't need a tq wrench for these and do it in a sequence starting with the 2 center bolts, then work your way outward.
install the mani and boom there you go.


