Nissan 240SX Forums banner

Sil40 in the making

5.7K views 32 replies 8 participants last post by  KAman19  
#1 ·
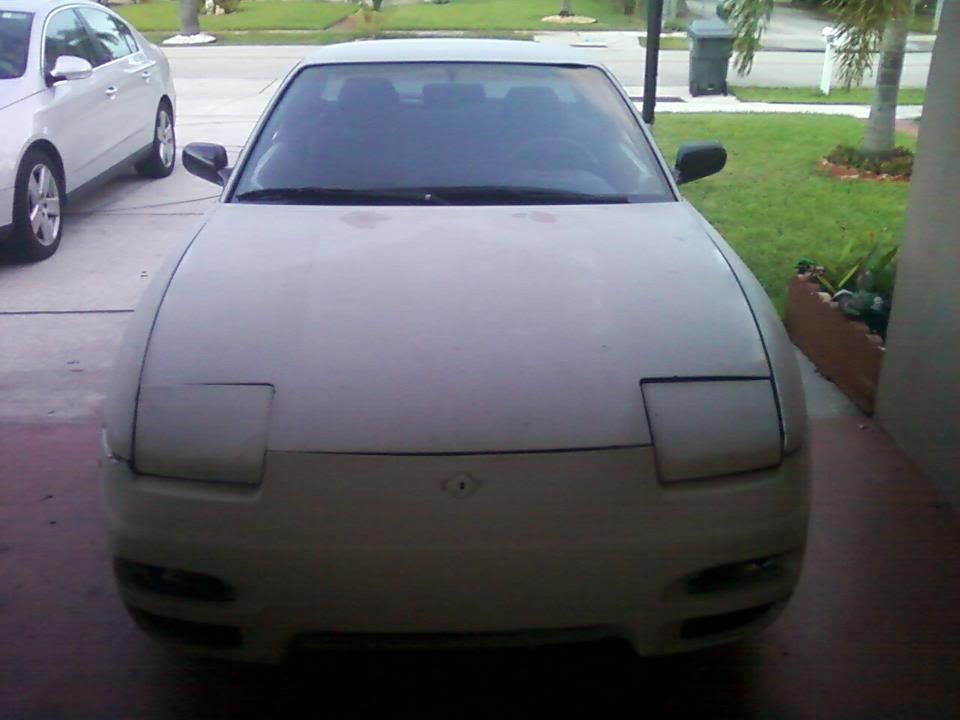
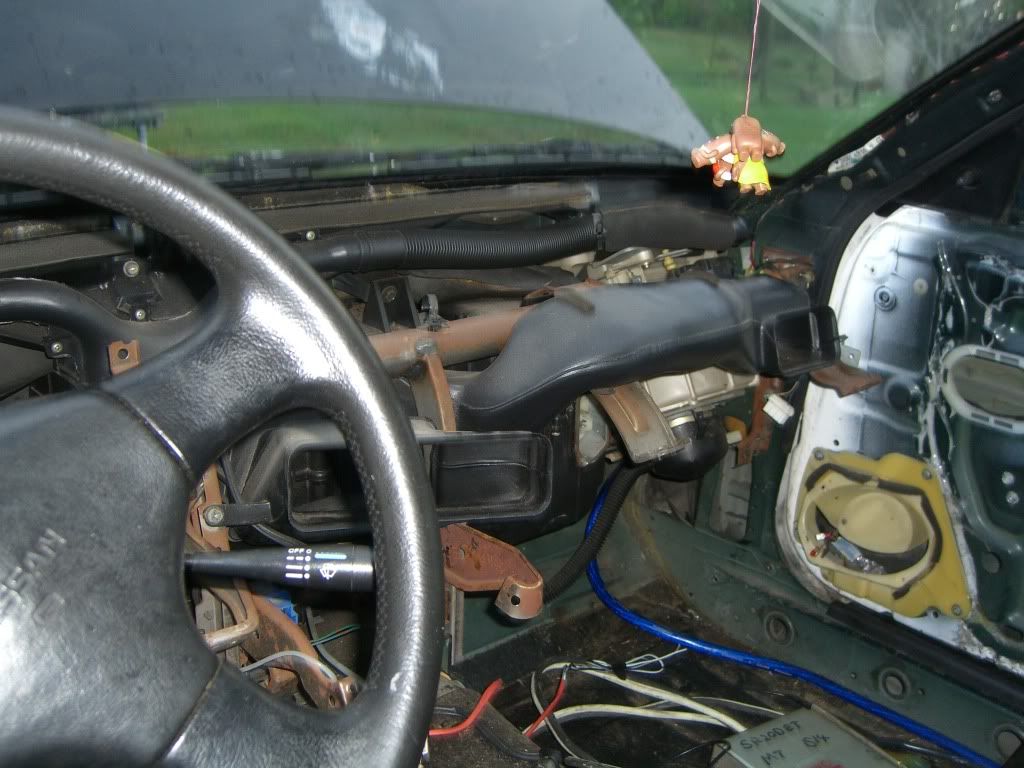
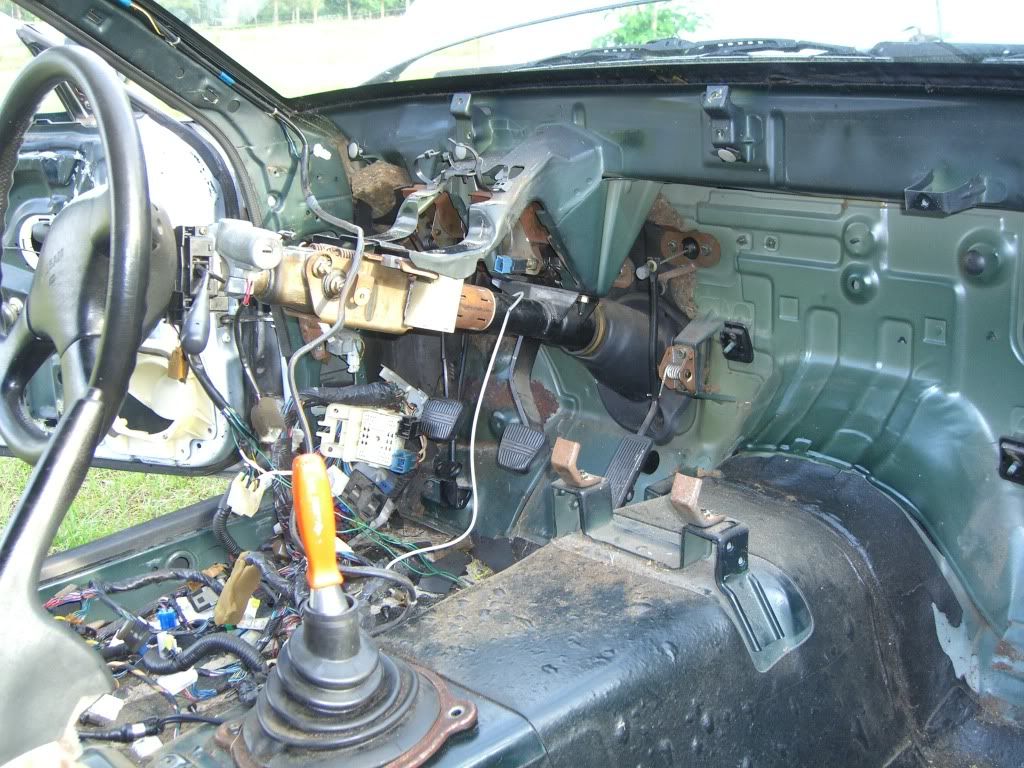
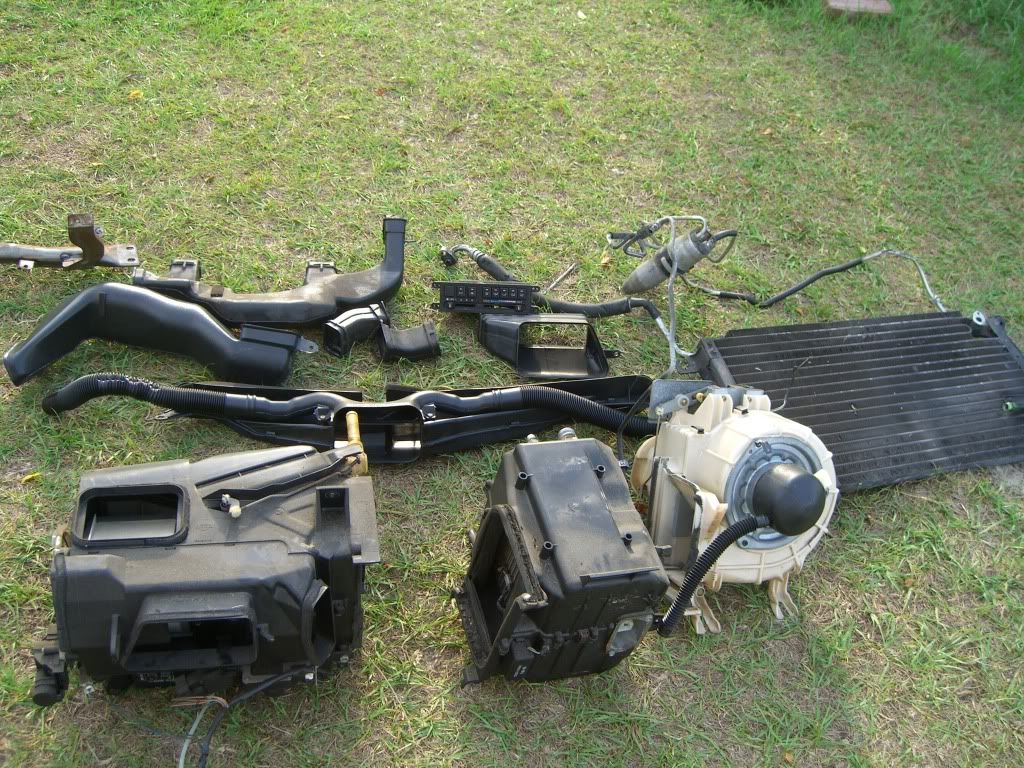
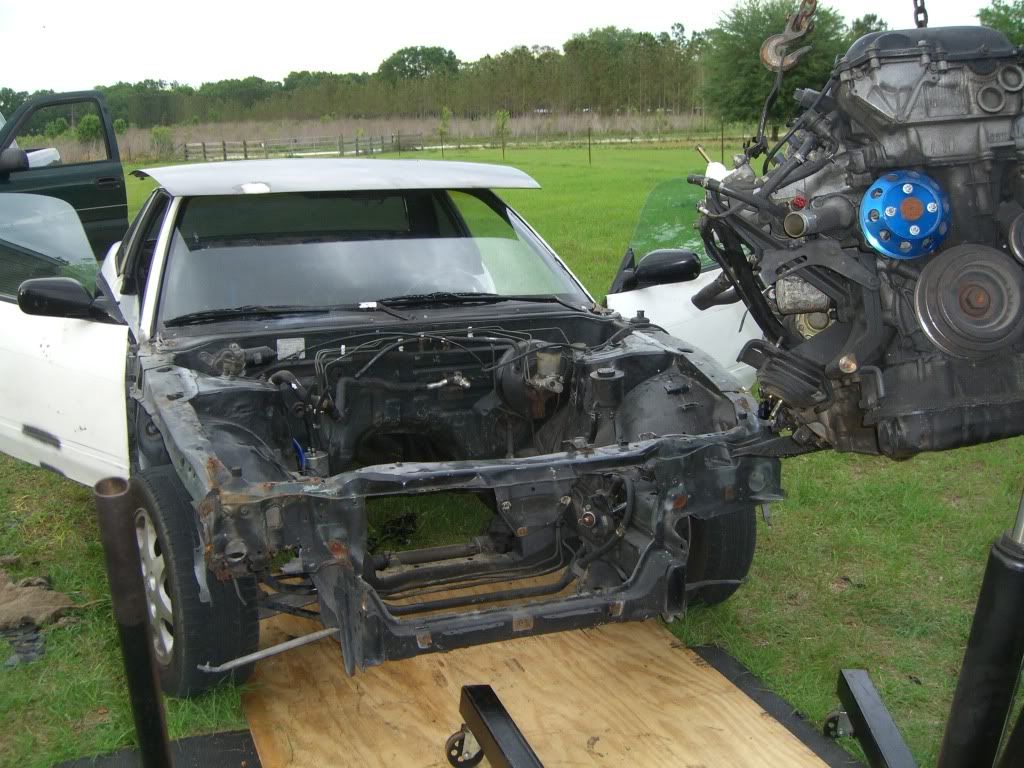
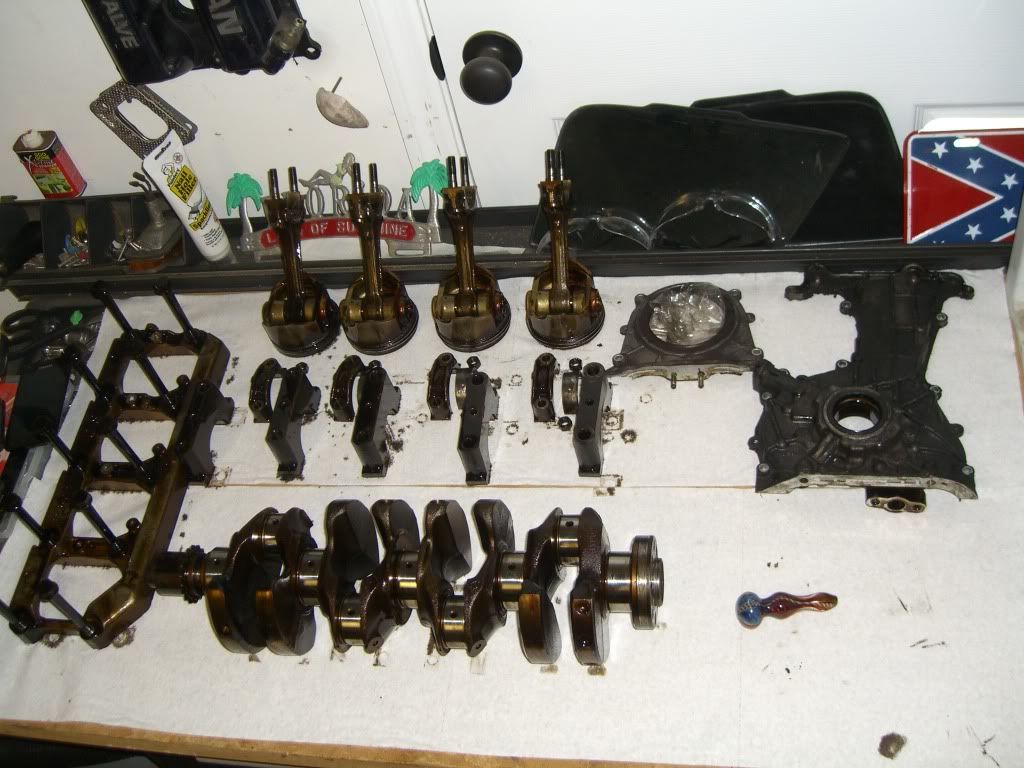
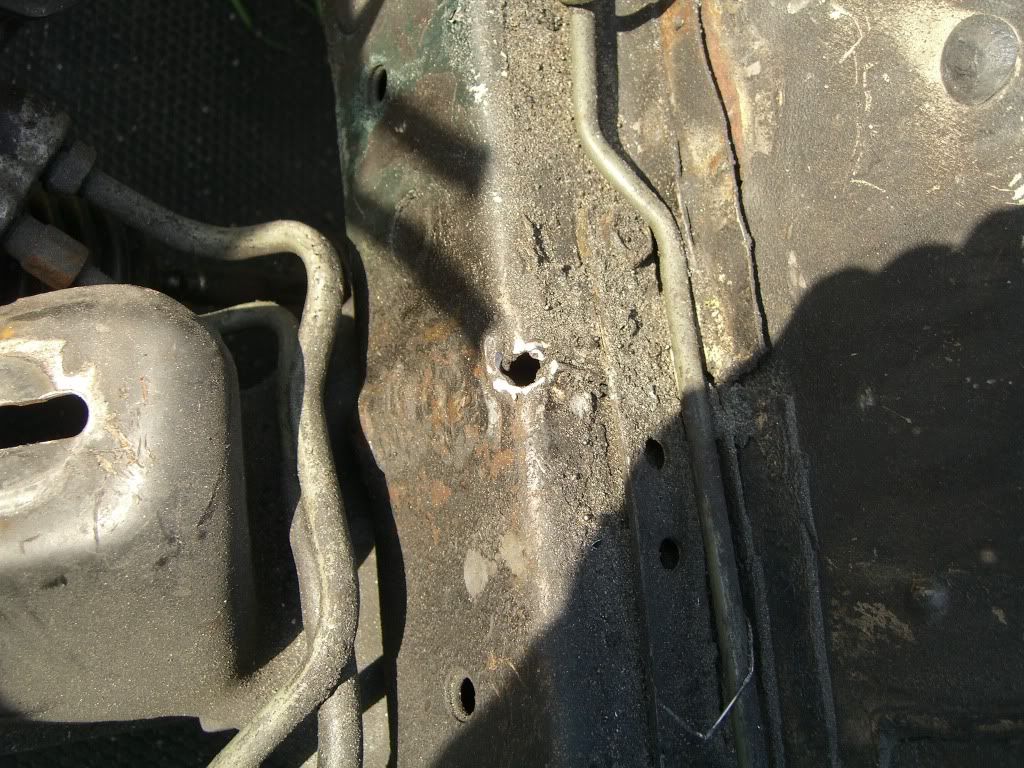
Well to start off this project is going to take a wile do to lack of funds but i figured i show you what i have to work with at the momment. I recenty bought a 93 s13 coupe the inside was a little raggedy but it cleaned up nicely. my buddy jay has pics of the interior befor i did some stuff. so he can post those later.
Image

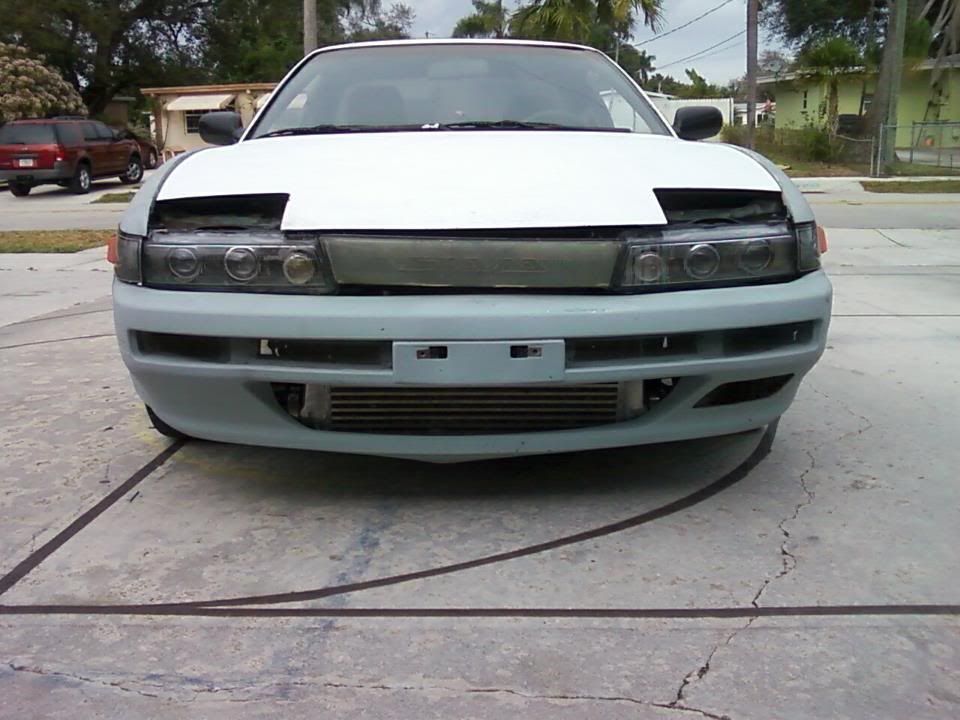
needs the quarter glass and trim I will find somewhere.
Image


Image

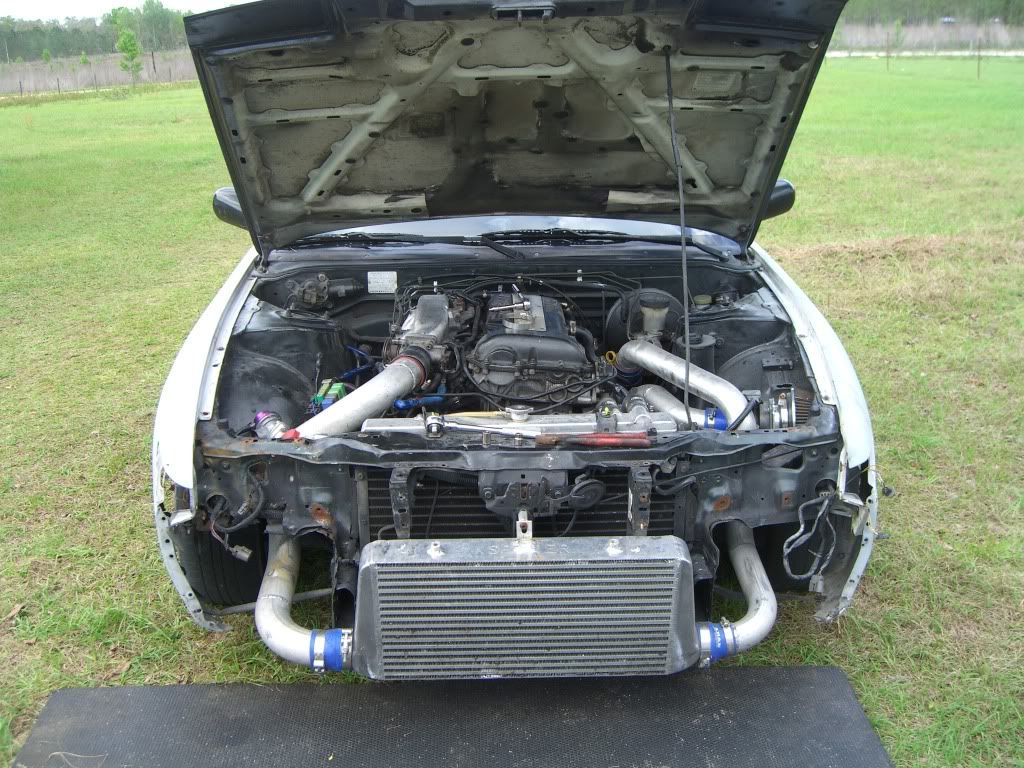
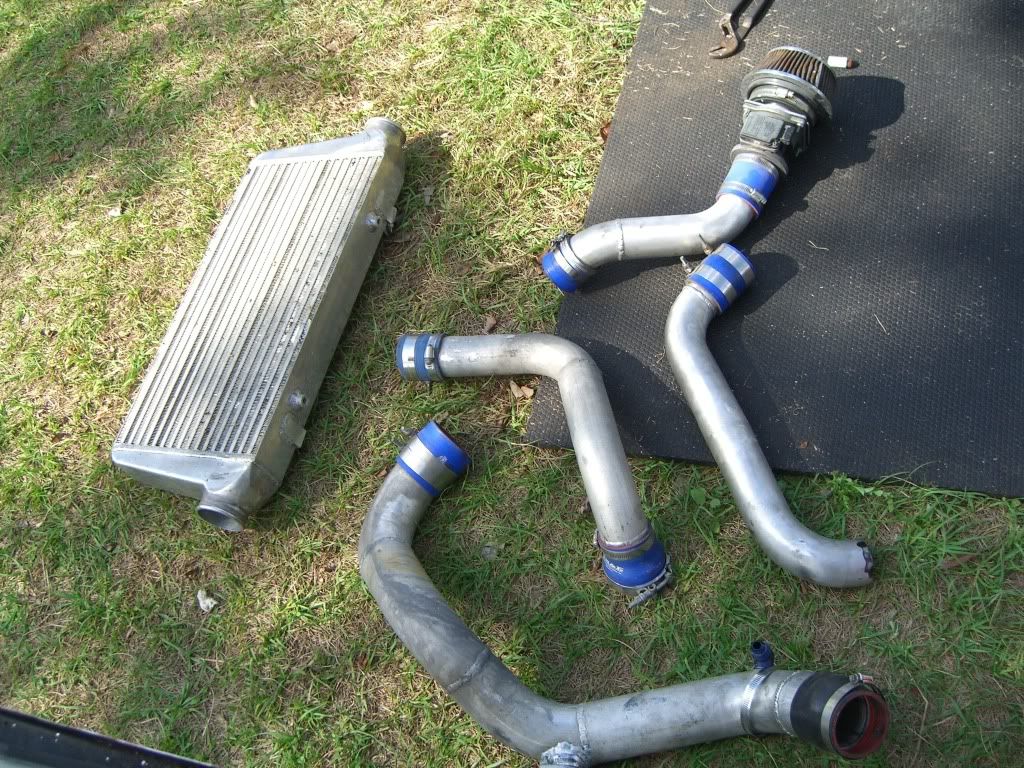
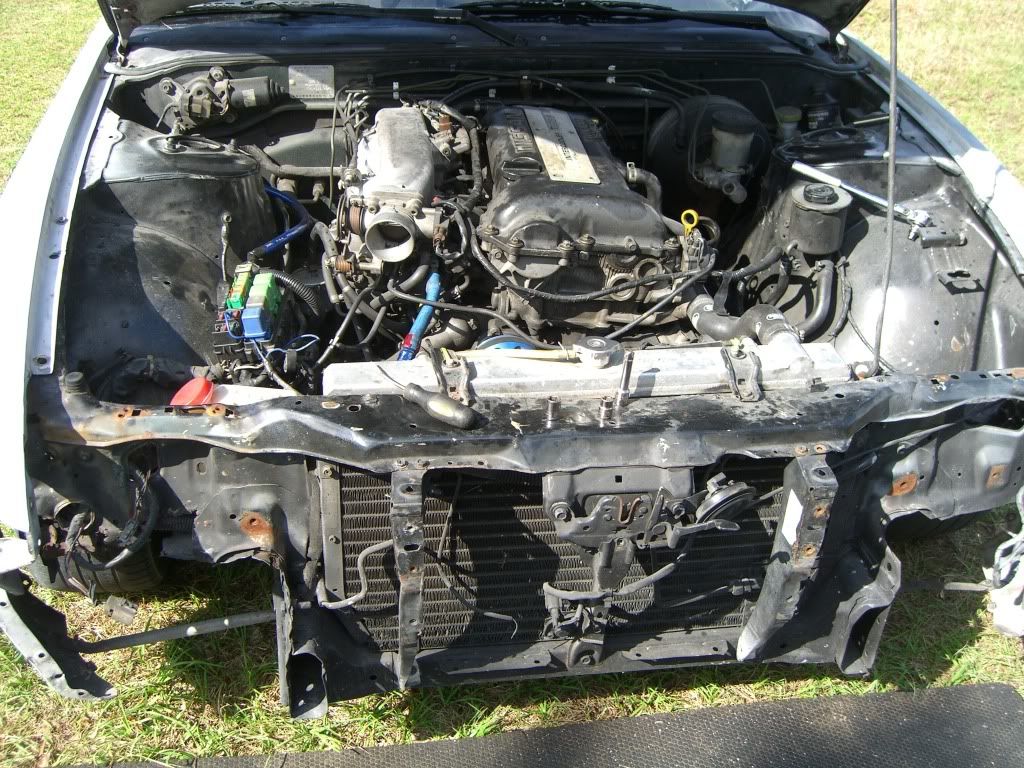
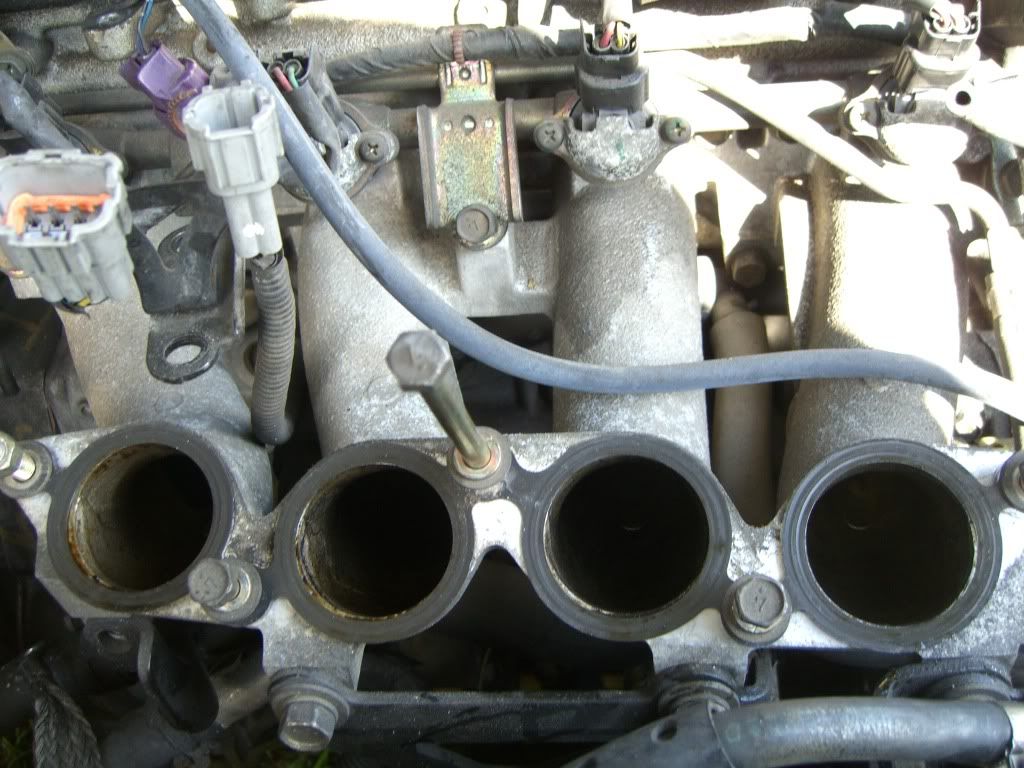
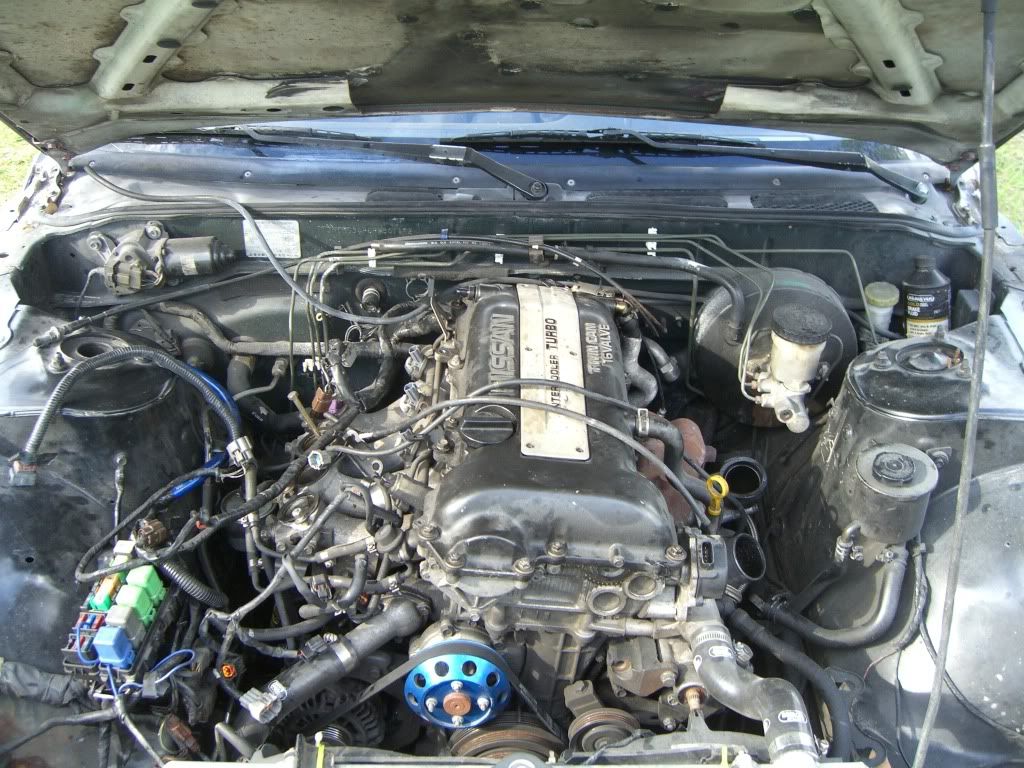
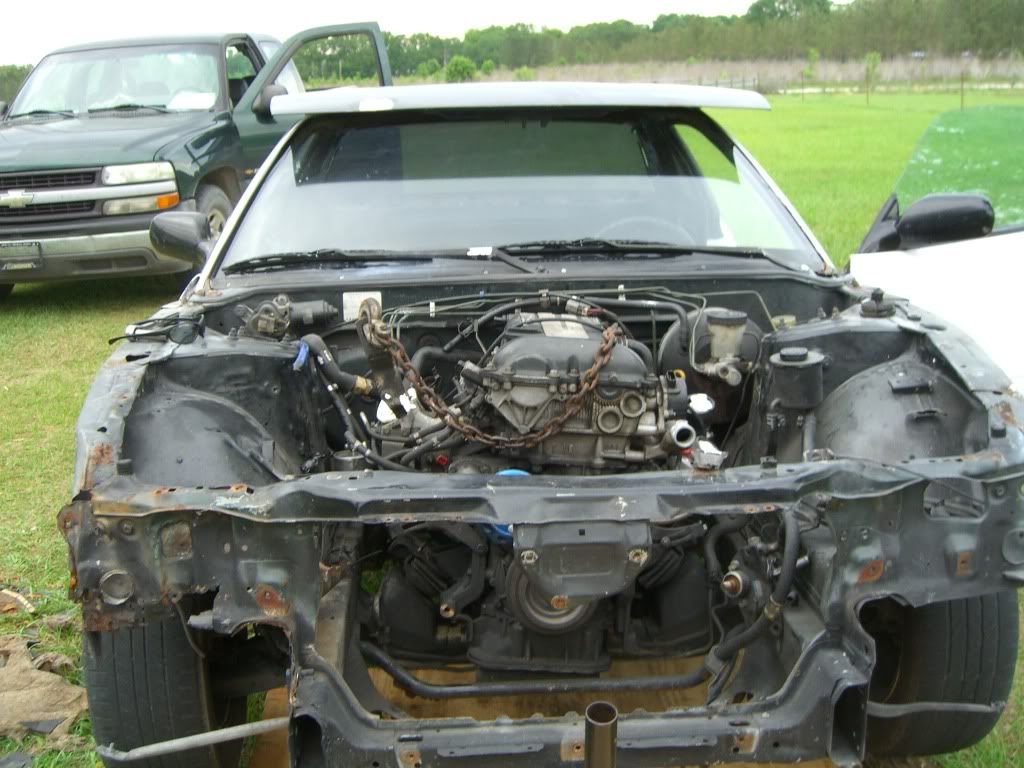
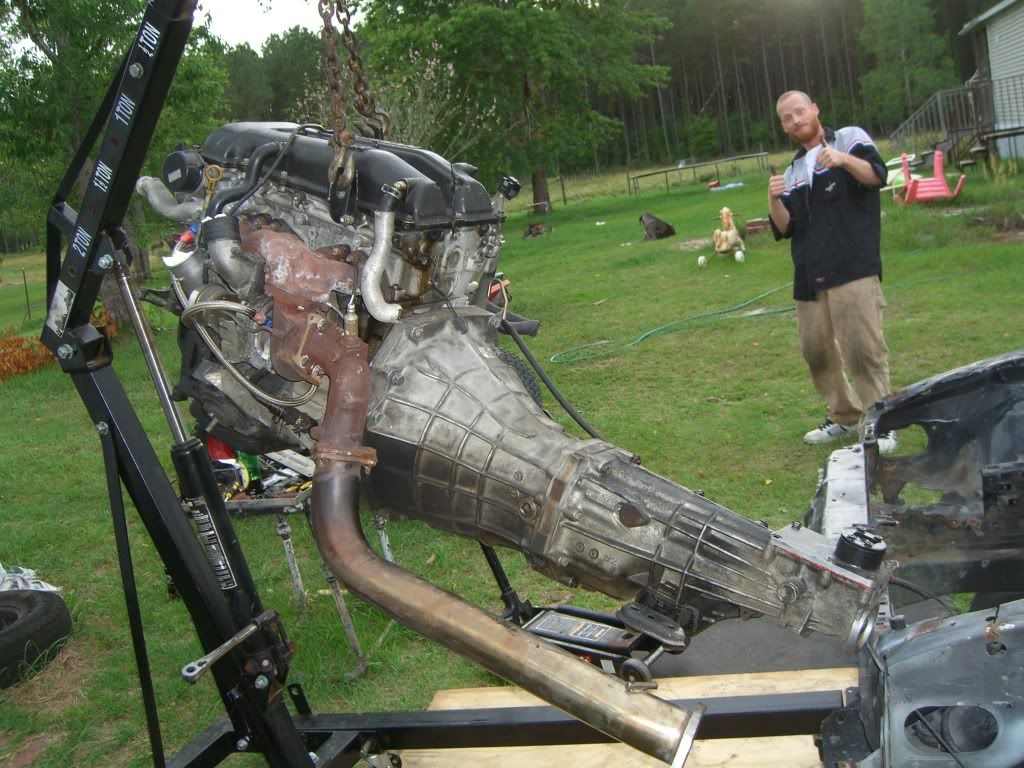
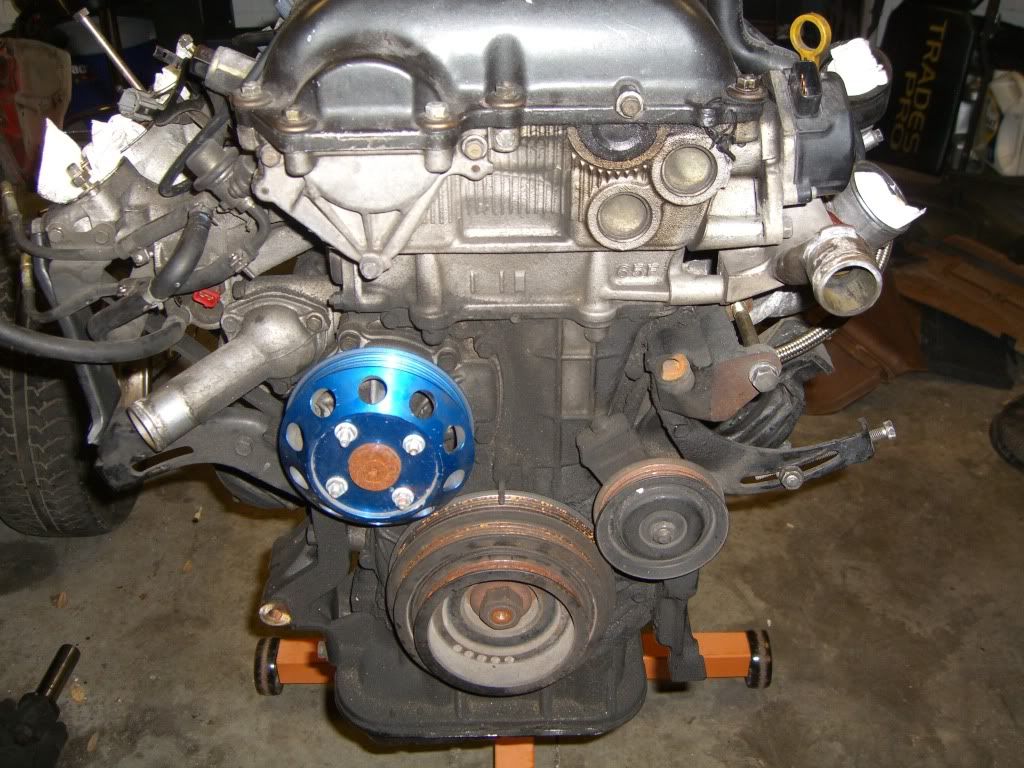
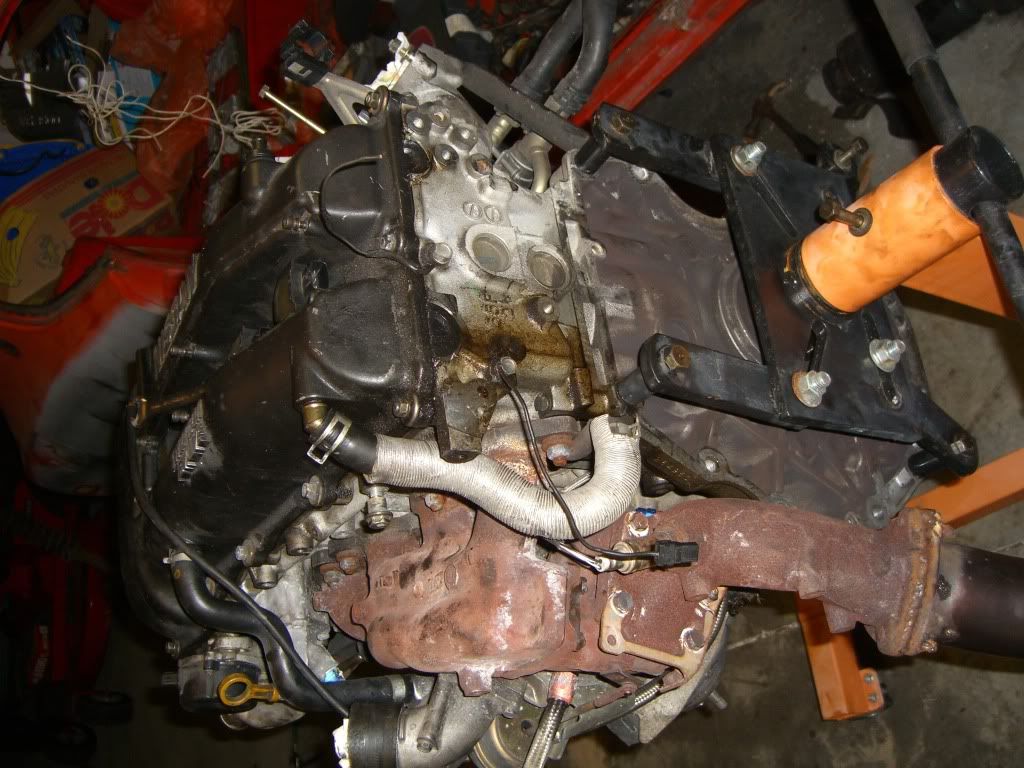
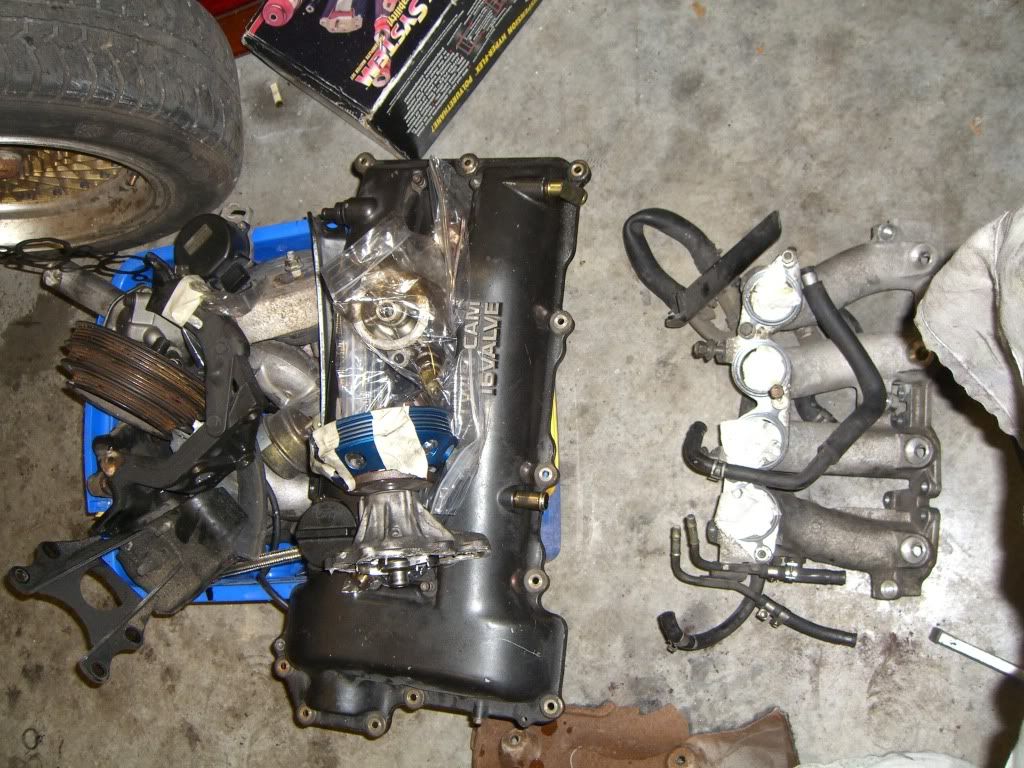
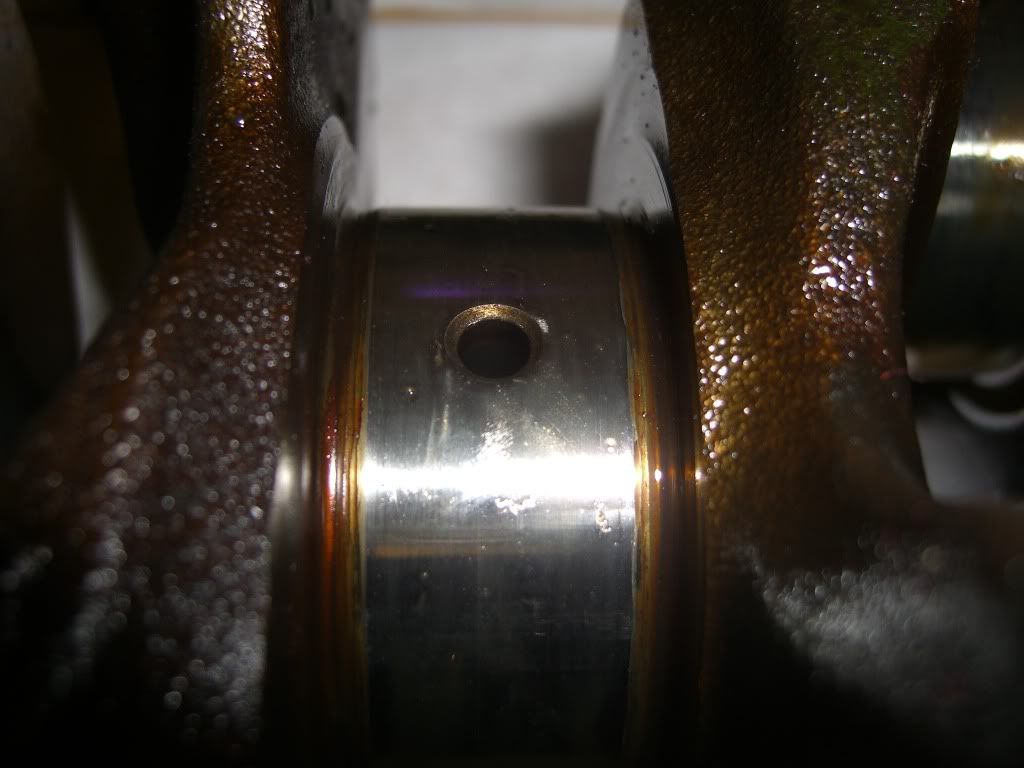
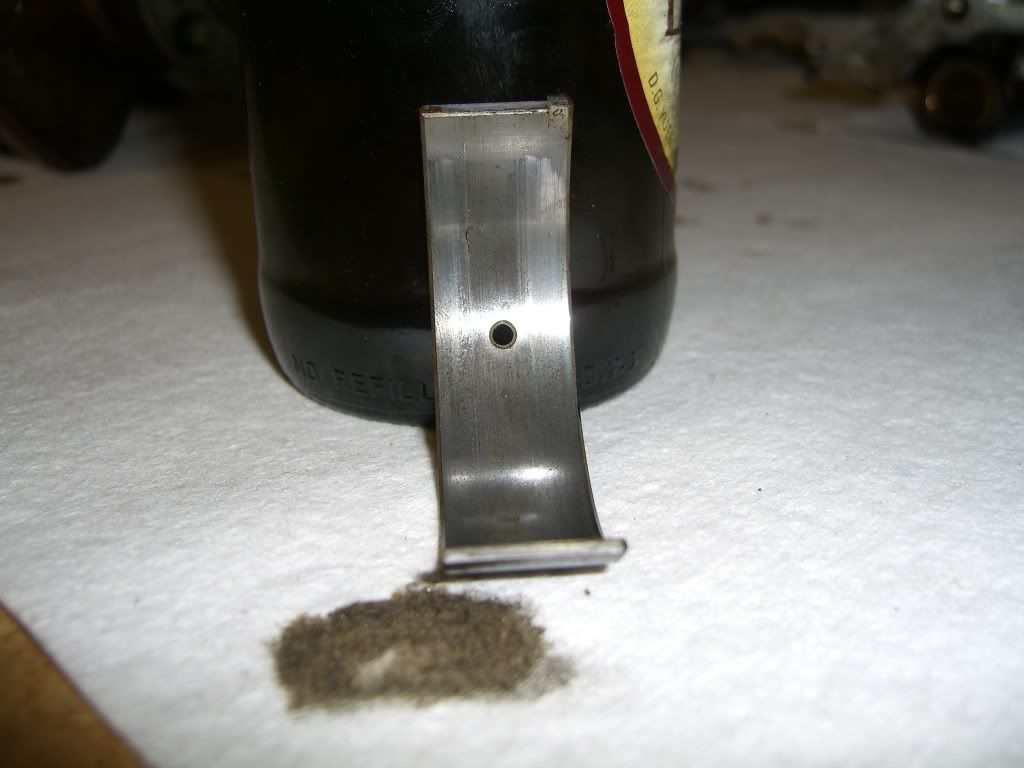
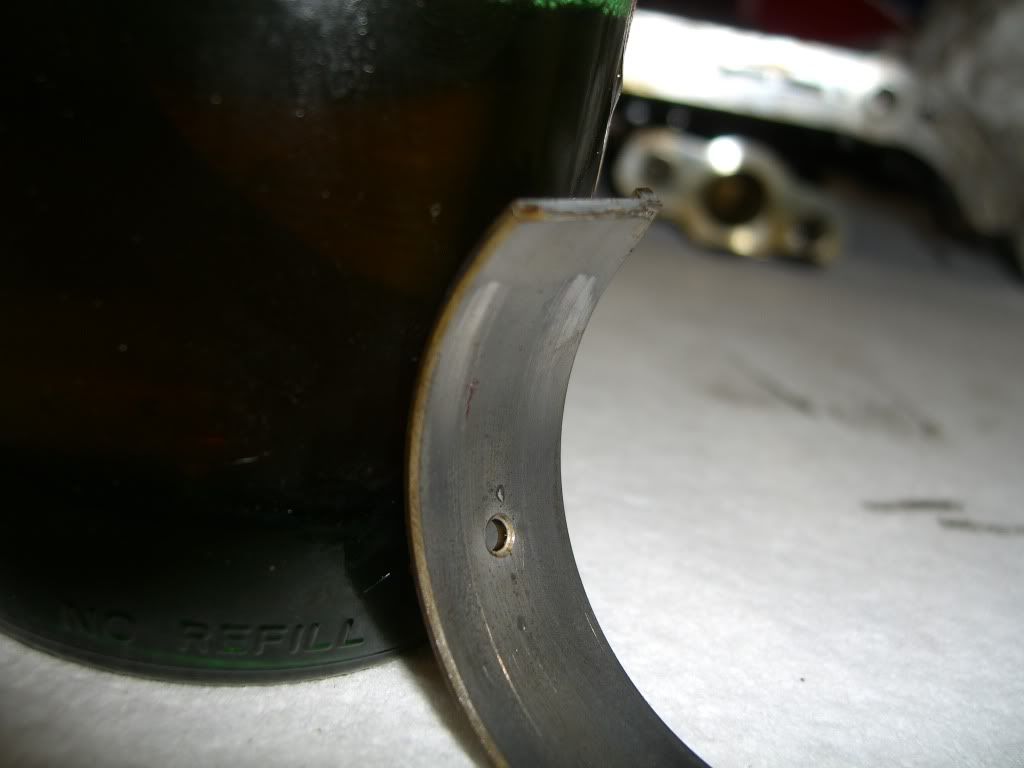
it has altima fans right now looks yucky with the zip ties gunna put flex-a-lights sometime. but its a s14 top notch sr20det on a solid 6lbs of boost and pulls harder than a mother!
Image

the ugly carpet covering was driving me crazy so i pulled it off both driver and passenger side doors and looks much better off =]
Image

I put my s14 front seats in and started making my custom brackets to get the back seats to fit right.
Image

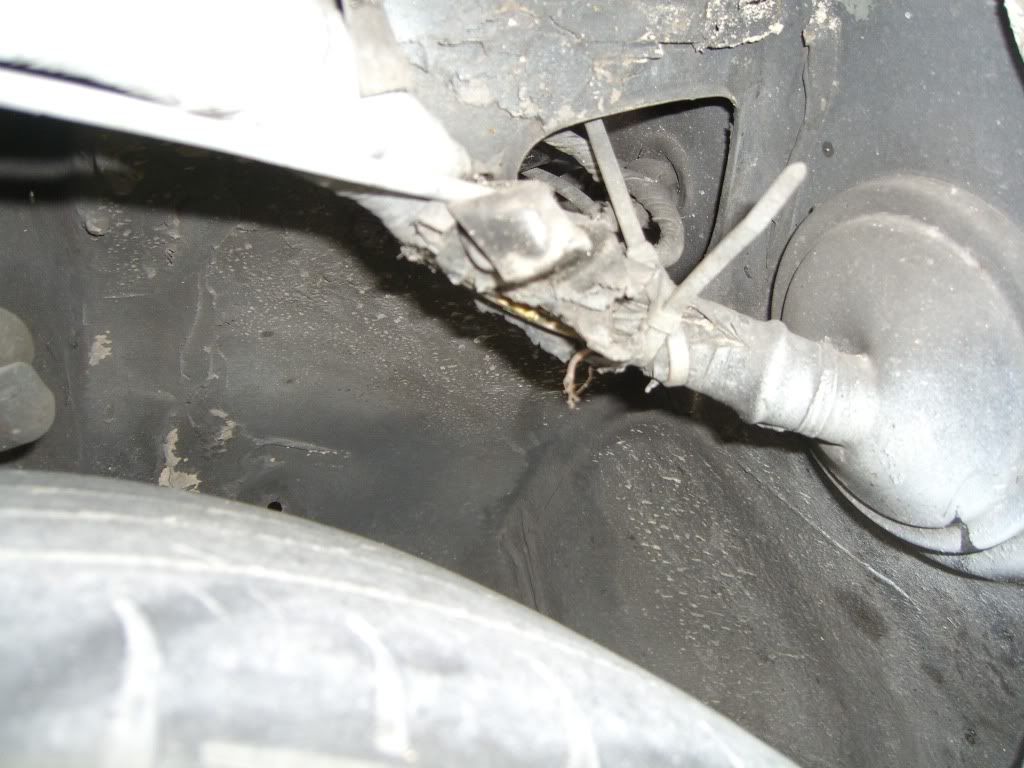
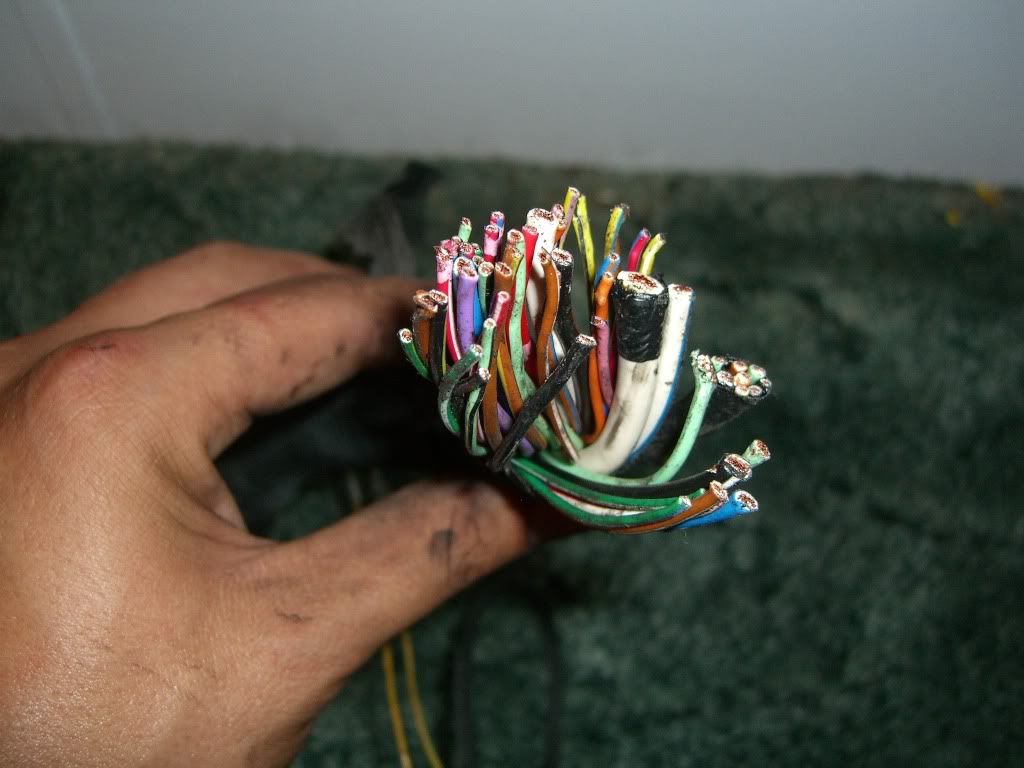
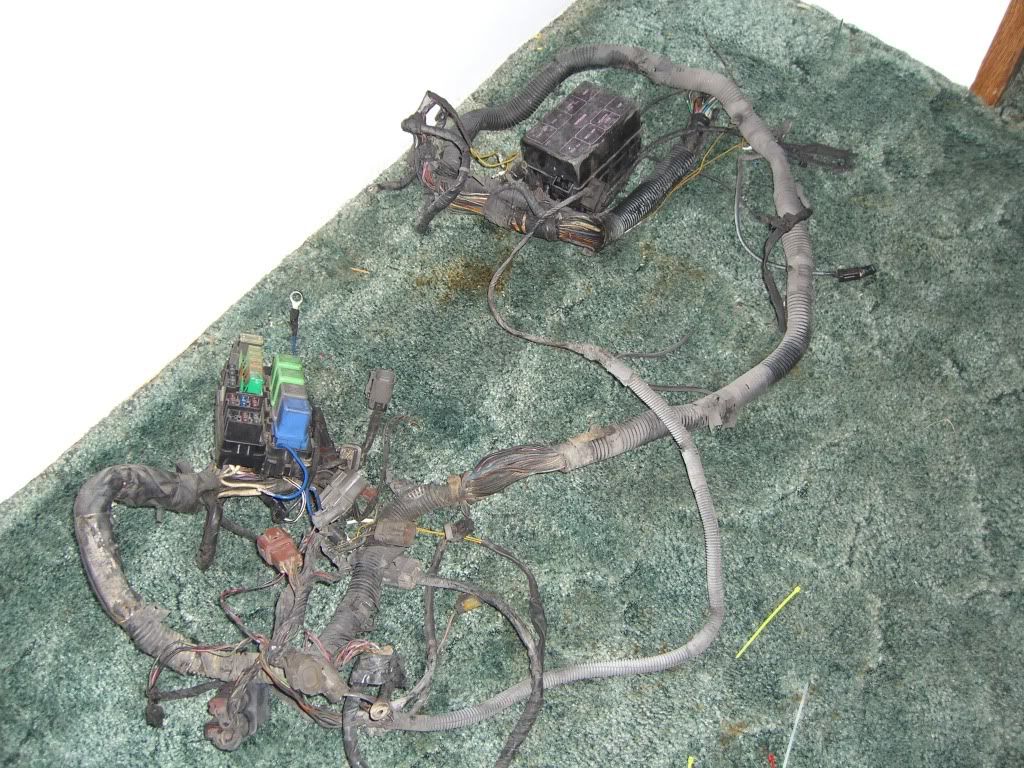
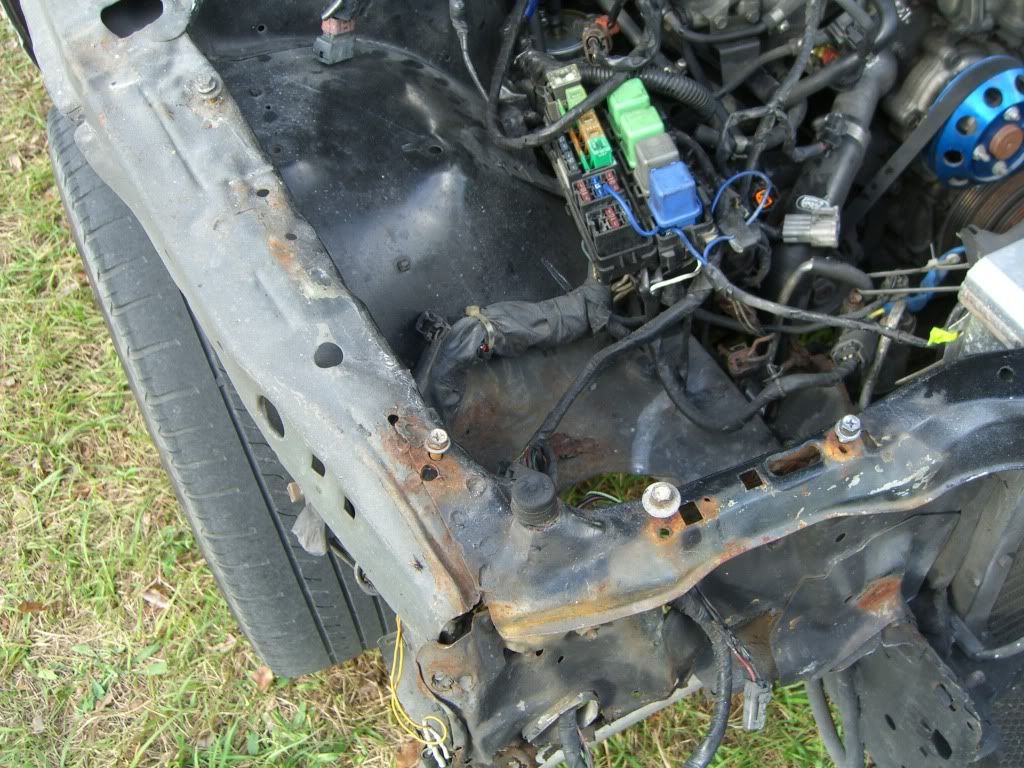
I also put my head unit in, it looks good but the wiring is a cluster f*** cause the harness is cut and can figure what goes were I hate wiring as much as the next guy. but the head unit looks good in the den.
Image

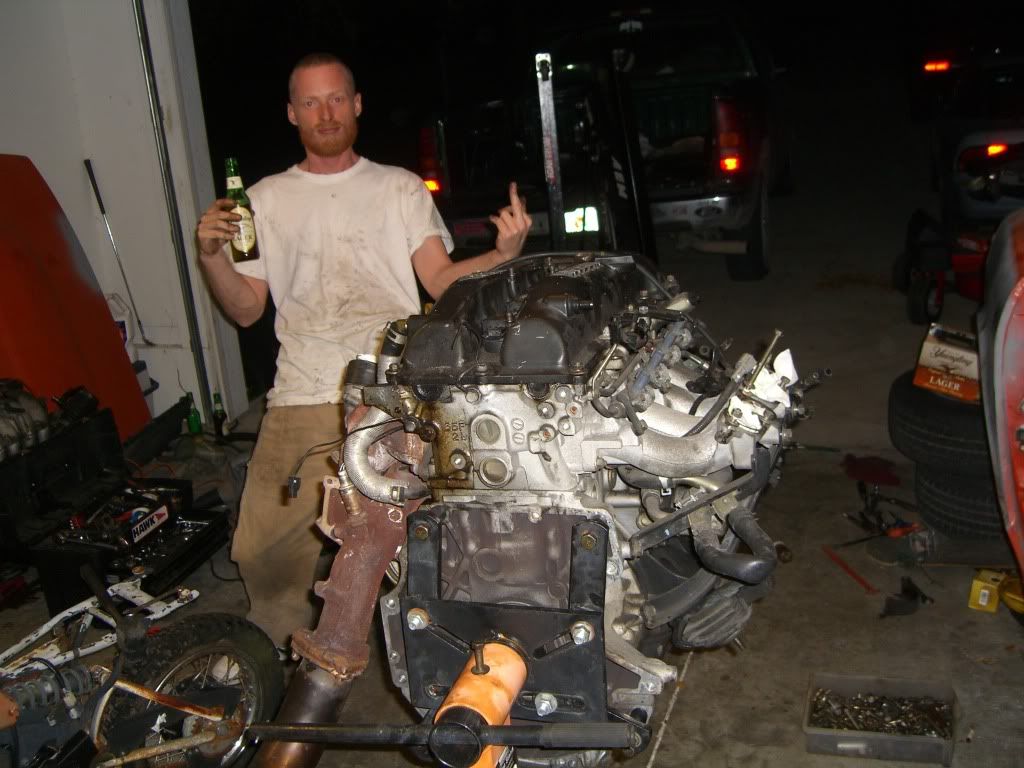
I will update this thred with pick and such as i go along. I plan on swapping to 5 lug and puttin my 18s from my s14 on here. along with my 300zx fron calipers with drilled and slotted rotors.
 
Discussion starter · #4 ·
How did you remove the stuff on the door pannels? That looks real good. I have the same panels and its fuggly haha


Looking good so far with he build. Looks like a clean SR too.

It was fairly simple actually. i took my drivers license and used it to pry out a part of the carpet on the door, or what ever you wanna call it (ugly shit) and pulled it away from the pannel. You have to use your other hand to hold the vinyl so it doesent pull away from the door with the carpet. =] hope that helps you!
 
Discussion starter · #5 ·
Today i got the bottem of the S14 back seats mounted I had the top mounted to but with the bottems in I have some fitment issues. I made some custom brackets to make the top of the back seats mount up and I have to re-drill and move the latches. tomorrow I should have fully functional s14 back seats. will post pics when I got it all in tomorrow. Anyone know where I can pick up some OEM black S13 carpet? I cant find any anywhere!
 
Discussion starter · #7 ·
I actually like wiring I guess I am weird. Really love those door panels without the carpet. Gonna have to do that to mine. Do you think a heat gun would ease the removal
dude to be honest they came off realy easy without it for me but I live in florda and its like 98 everyday so that might have helped. It dident leave any residue. If it does you probbly could take some rubbing alchohol and get it off. =]
 
Discussion starter · #12 ·
Ok for a small update! I have the back seats fully installed and have decided on taking a diffent direction with the build. im going to go with a s13.5 =] insted of my origanal sil40 plans. I got my head unit wired in and my stereo fully opperational. I had a cluster f*** of a mess to work with. I will post some pics tomorrow. =]
 
Discussion starter · #16 ·
Well today was my lazy day no class and I was sleeping in I placed my order for a cupple parts and my clutch, yesterday. Shout out to Enjuku raceing cause my short shifter and my ISIS pullys arived this afternoon :thumbsup So much for a lazy day.
Image

My ISIS light weight pullys! =]
Image

Now I have heard good and bad reviews about the ISIS short shifter as well as the B&M I decided to say screw it and bought the ISIS anyway. So when I get my clutch in and install the short shifter I will give a personal in depth review of it for youguys. :thumbsup
Image

So before night fall I got 2 of my pullys installed as I do not have my power steering hooked up ATM and I dont know about anyone else I had the hardest time to get my altinator pully off. I literally tried every trick I was ever tought to try and get this dam thing off. I tried stuffing the belt with a shop ragg, tried putting a vice on the belt and finally 3 hours later (it shouldent take that long to get a fuc**** pully off) I took the altinator out put a pipe wrench on the pully and a friend hold that. had another friend push the altinator to keep it on the ground and used a breaker bar to break the nut loose. Needless to say im doing that from now on it, took 30 seconds. I was so impressed with my idea. =Ăž (sorry for the shitty pic)
 
Discussion starter · #18 ·
Not good yet still need to put my 5lug and rims on, My ZX brakes, new bushings, get a one peice driveshaft, and get my diff welded. and hunt down a good set of coilovers with some camber plates. then ill be set. :thumbsup
 
Discussion starter · #25 · (Edited)
Well it has been pouring in south florida the last cupple days. More rain then the days we were supposed to get hit my a silly hurriccane. In one of the shittiest days my beauty arrives.
Image

If i could cheat on my GF with a inanimate object it would be this. Why do parts you dont see so sexy?
Stage 3 SPEC clutch.
Image

Six puck sprung
Image

IDK why this pic is small I cant get it any bigger lolz
Image

So today there was a break in the rain so I put her on jack stands and began work.
Image

Pulled the stick out it was leaking tranny fluid up like crazy. never noticed how bad till i pulled it out.
Image

Stuffed a shop rag down in there to keep crap from falling into the tranny when I muscle her out.
Image

pulled out the started and was in for a sight.
Image

This pile of mess i pulled out of the bell housing stuck to the back of the flywheel and the starter. Its whats left over from my clutch. I am verry eager to see what it looks like when I pull the tranny. Has anyone eles seen this before? Its raining again so hopefully more work tomorrow.
 
Discussion starter · #29 ·
Update

Ok so I feel its time to bring this thread back from the dead for a big update. Last time I posted in this thread my car was looking something like this
Image

I had finaly gotten most thing strait and sanded down. then found me a pretty decent front end.
Image

It came with some clear D-max corners that were broke and just completely ugly as all hell so I ordered some OEM corners from good ole japan.
Image

I got tired of looking at the holes for the chuchi hood so I had an extra one laying around so I tack welded some metal stips across the holes and fiberglassed them up for the time being till I could find a hood.
Image

Went to the local muffler shop and told them to give me all the scrap and spare 3" exhaust pipe they have and Built me a exhaust. had it as a strait pipe but just recently welded back on my apexi can.
I moved back up to gainesville florida to be closer to most of the florida events went to cfrc a cupple times KMS and other things. ended up throwing a bearing and got a rod knock or slap what ever you may call it. And so the build really begins.
Image

It starts.
Image

IC piping off
Image

SMH at the mess of a chassis harness.
Image

Intake mani off.
Image

Still SMH at that harness. its mangled and not my fault. I removed the radiator, headlight mounting brackets, hood latch, engine harness, and the chassis harness. I ended up having to cut the harness in the wheel well to get through the fire wall because the smarty befor me decided it was a great idea to tangle the harness in the bay with the dash harness with left me no choice but to cut. plus it was owned by tire at an event and zipties failed.
Image

so I said fuck it, and cut it.
Image

laid everything out and started to deloom this mess.
Image

made a vid
harness.mp4 video by megaman_v2 - Photobucket
Decided that there is to much rust on the core support and this is going to be a trac car I am cutting out the core support and tubbing the fenders when I pull the SR.
Image

started pulling out dash and dash harness.
Image

removed the dash and harness
Image

All AC components are out I have everything but the compressor its all for sale, PM if interested. will ship at your expense.
Image

And this is where she is sitting as of now
Image

Ready to be pulled and disassembled. Should be getting my taxes here soon ARP studs, gasket kit, cosworth head gasket, rod and main bearings, if the walls are too bad in the #1 (where the knock is) cylder its getting bored out. but im going to assume its not to bad. block is getting tanked and decked. all oem parts going in for a OEM spec rebuild. then the rest of my money is going to a cage. also WTT my s14 front and rear seats for a driverside bucket and rail. Any input is much appreciated. =]
 
Discussion starter · #30 ·
Well This is going to be a HUGE update. Well sense my last post quite a few things have gone down and the coupe is no longer the project at hand anymore! But for the sake of documentation I will continue where I left off. Pulling the SR

Image


Image


Image

HAHA my buddy and mentor Marshal SR is out (insert fist pump ) :thumbsup
Image

And so the break down begins. I want to add we pulled motor at 6 PM and had long block completely disassembled by 5 AM went through 2 boxes of hungry Howie's, with spicy crust, and about 4, 6 packs. got some shit DONE!
Image


Image


Image

I welded my down pipe to my J pipe a wile back due to the studs one was stripped, one was broken and the other was fine couldn't replace with engine in so I got aggravated with the exhaust leak and welded that bitch solid.

Image

Head was relatively clean ^ not bad.

Image


Image


Image

Parts bin ^
Image


Image

Lower pan and crank was yucky ass molasses color which is no bueno.
Image

OEM cross hatching is still there so +1 for under 60k SR
Image

Organization is key, if there's anything I have learned from Marshal its organization. I now have CAR OCD because of that guy.
Image

#1 cylinder crank looks fine I caught the problem before damage occurred so that's a good sign.
Image

The culprits dam bearings.
Image

And as for now motor is still sitting waiting to send Head, block, crank, to get decked, tanked and specked out. And I still need to order parts to rebuild. I had all the cash needed for the cost of rebuild but then found damage to the frame rail of the coupe and stumbled upon a REALLY REALLY REALLY good buy and couldn't pass it up so engine is at stand still.
Image

Frame damage that I could not have known about, nor was I told about when I both the car. but oh well
 
Discussion starter · #32 ·
its hard for me to see the damage in the pic... and +1 for catching the rod knock before it did any damage!
Yea it was a substantial knock instantly killed ignition as soon as I felt the engine off ballance and called a buddy and trailerd it home. started it at my house to confirm the knock upon engine start the motor shook pretty bad but no sound and the rod would only knock at 2400 RPM, but there was no knock when the car was under load. SO.... the engine was pulled.